123FormBuilder Knowledge Base
Search our documentation platform for answers, service specifications and 3rd-party integrations.
Knowledge Base
In the form builder, go to the Form Editor. Here you can select multiple fields to duplicate or delete them at the same time. This increases the experiences and eases the effort to build the web forms you need.
In the layout of the editor, click on the first field. Now, hold the CTRL-key from the keyboard and select with your mouse other fields.
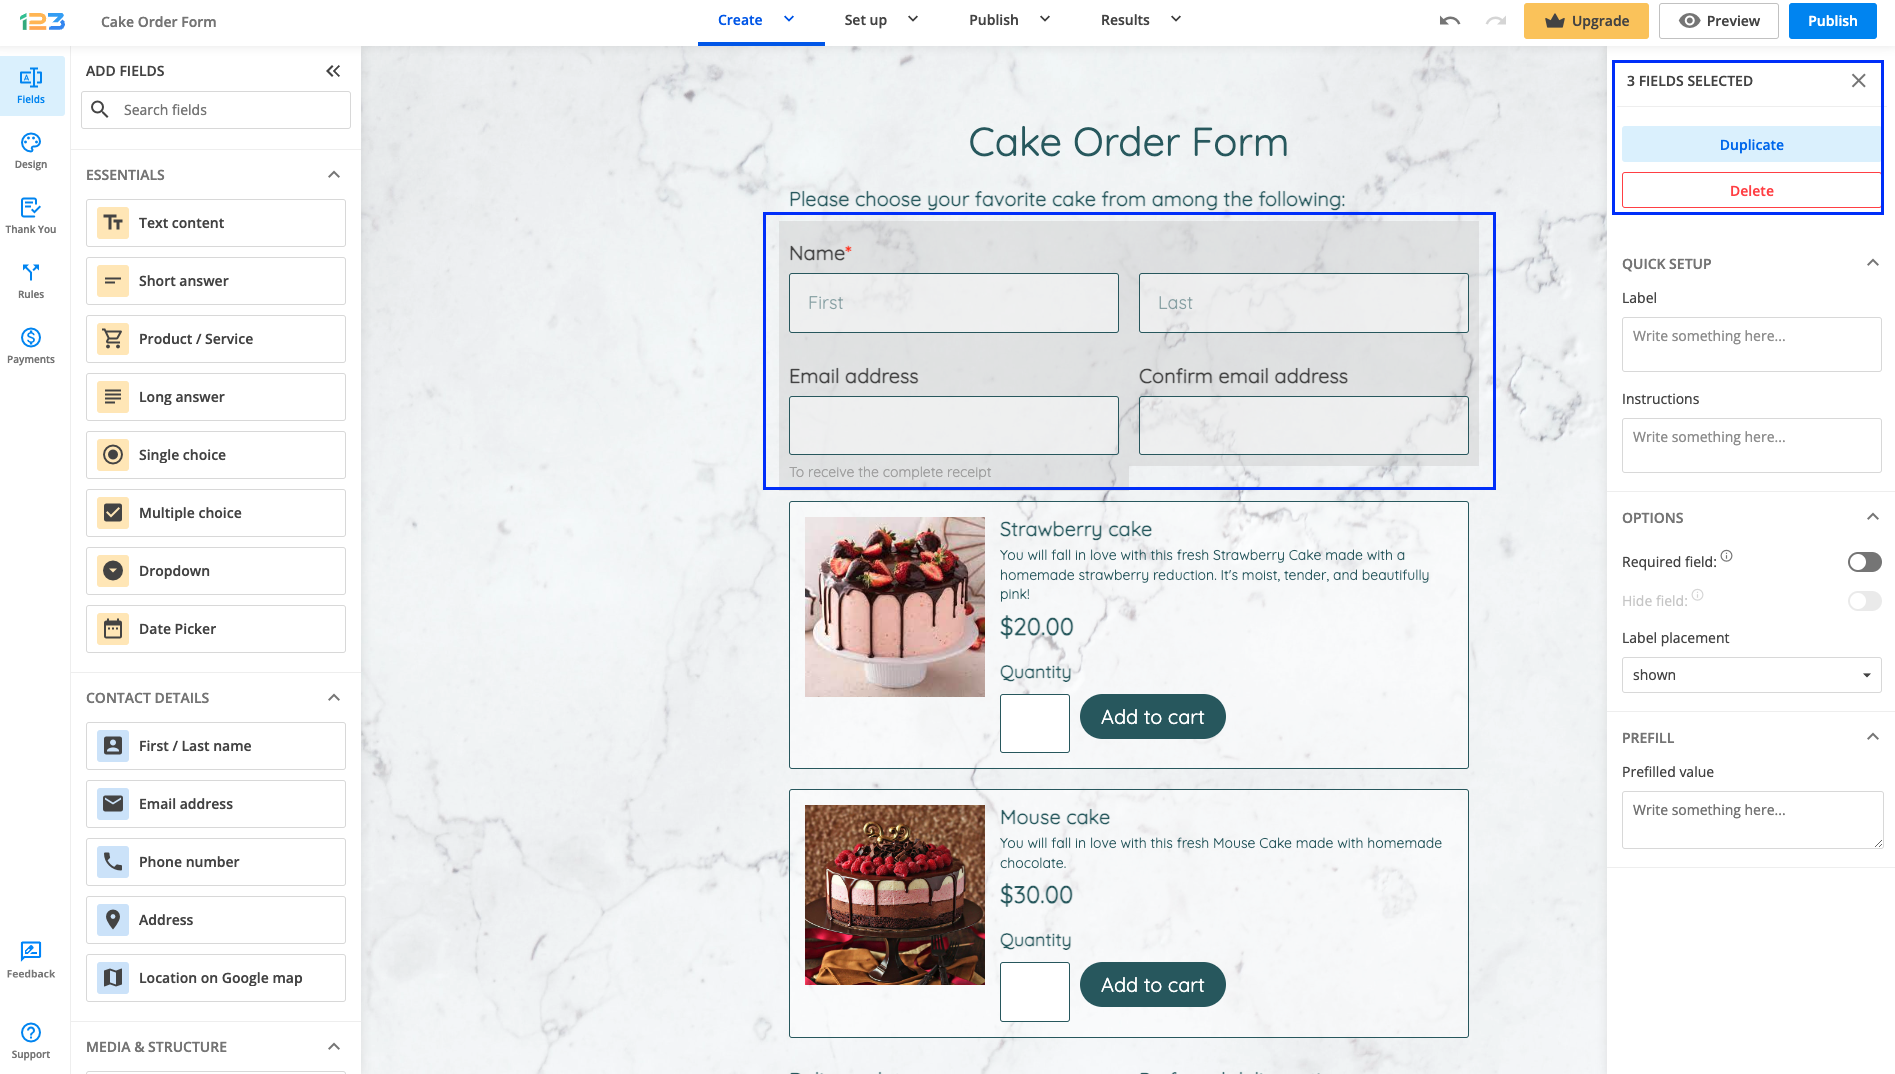
A counter will appear on the top-left corner of the editor. The counter shows the number of fields you have selected.
Below the counter, you’ll find two buttons: Duplicate and Delete. Press the first button to instantly duplicate all the selected form fields or the second button to delete them at the same time. Each duplicated field will appear at the bottom of the layout.
Related articles
Go to the Results section of your form and navigate to the Submissions tab.
Use the mouse to resize the table columns as you need. Hover over the left or right end of the column and drag the line to resize the column.
Once you have finished editing the submissions table, the changes are saved automatically. Therefore, you can exit the Results section and return to find the table the same as you left it.
By default, single choice option can not be unchecked by your respondents, so they can only check other options instead.
If you want to offer your respondents the possibility of clearing their answer for a single choice question, you have to select the Single choice field and in the right side panel, under the Options section, you can find the Clearable option.
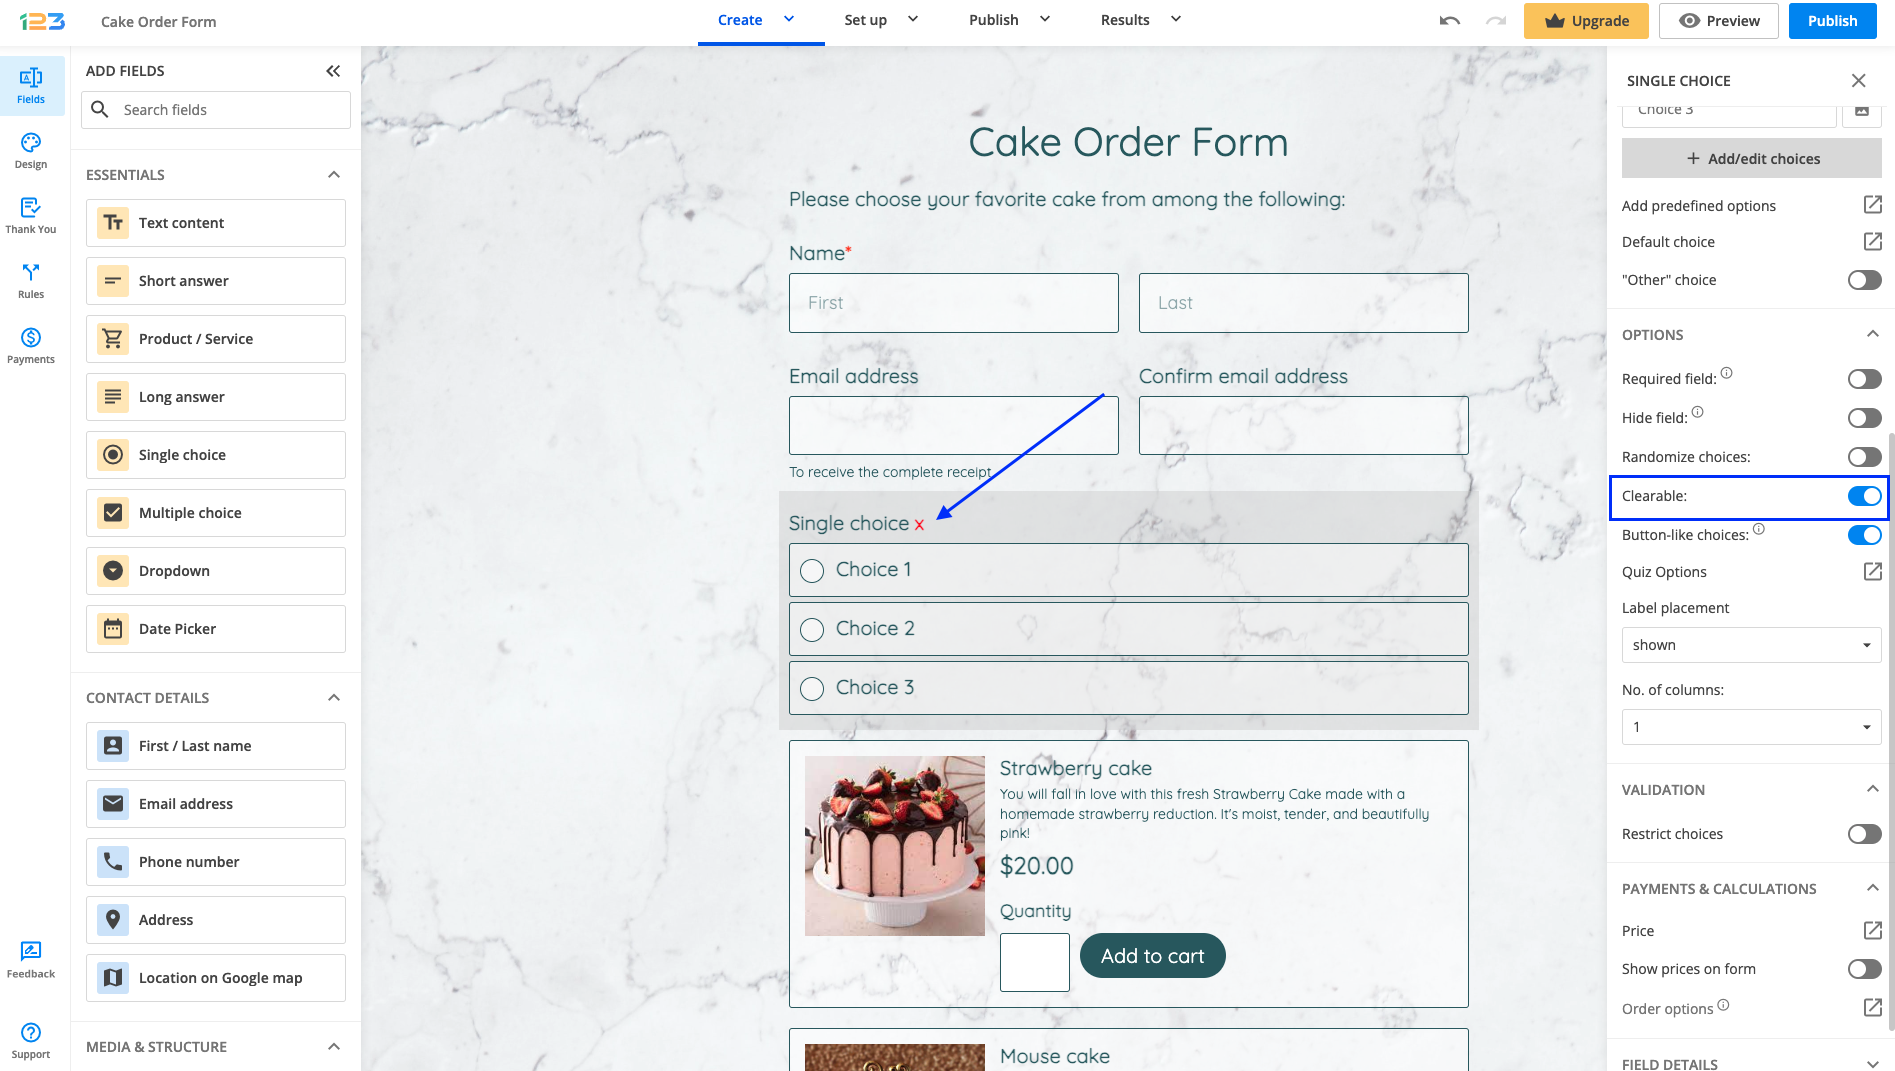
By enabling this setting, an X will appear next to the field’s label. When clicked, the selected answering choice will become unchecked. You can also add instructions to your field in order to inform your respondents that the question is clearable.
After you have enabled the Authorize.Net payment integration within the form builder, you might receive the Email is required error when trying to submit the order form. This happens as a result of your current configurations in your Authorize.net account, where the email field is set as required.

The same error might occur if you have set the Phone or Bill to First Name field as required in your Authorize.net account (Phone is required or Bill to First Name is required).
To fix this, log into your Authorize.net account and go to Account → Settings → Payment Form → Form Fields. There, change the referenced field (in this case, the email field) to not required. Uncheck Email, save your settings and try submitting your order form on 123FormBuilder again.

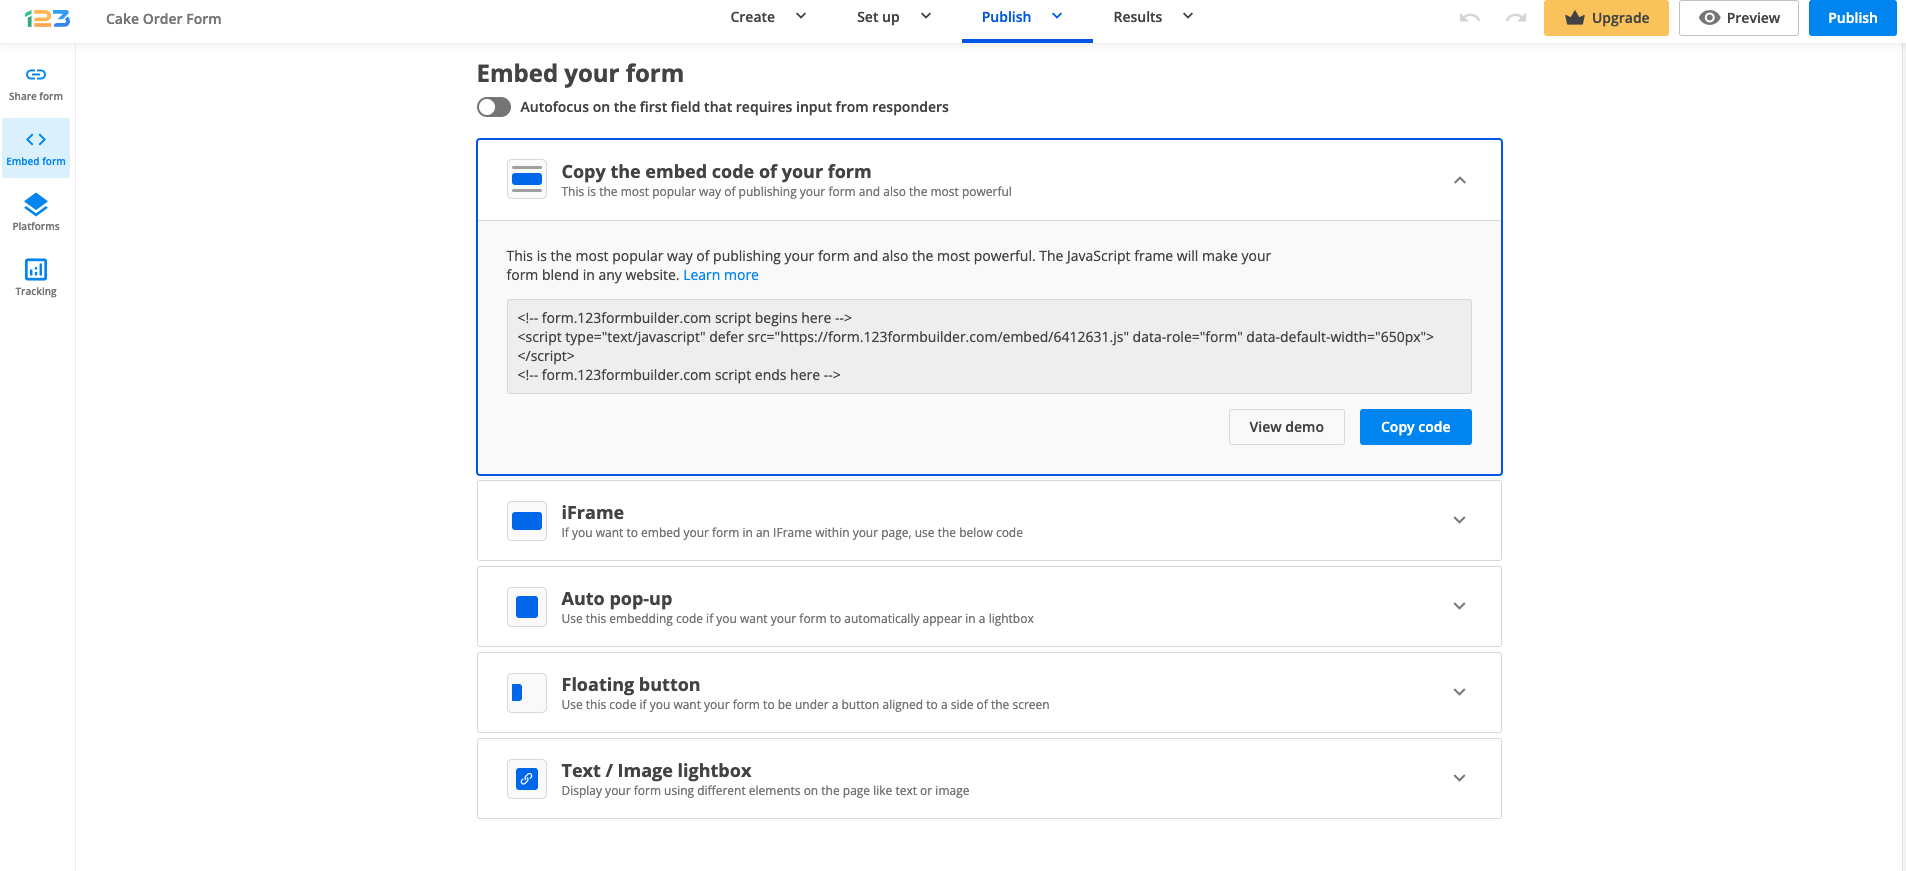
Online forms that you build with the form creator by 123FormBuilder can be easily added to your Webflow websites. All you need is the JavaScript code of your online form and the ability to use the Embed widget from your Webflow webpage editor, as it is a paid feature.
Go to the Publish section of the form you are interested in embedding and copy the JavaScript code.

Enter the editor of the webpage in WebFlow where you want to include your online form. In the left panel, go to Add (+) → Widgets and add the Embed widget on your webpage.

Inside the Paste HTML code, paste the JavaScript code of your online form and hit Save & Close.
Save changes and you are done. If you cannot see the online form in the page preview, don’t worry. Click on the Publish button from the top, go to the provided link of your website and you’ll see the online form smoothly embedded on the front-end of your webpage.
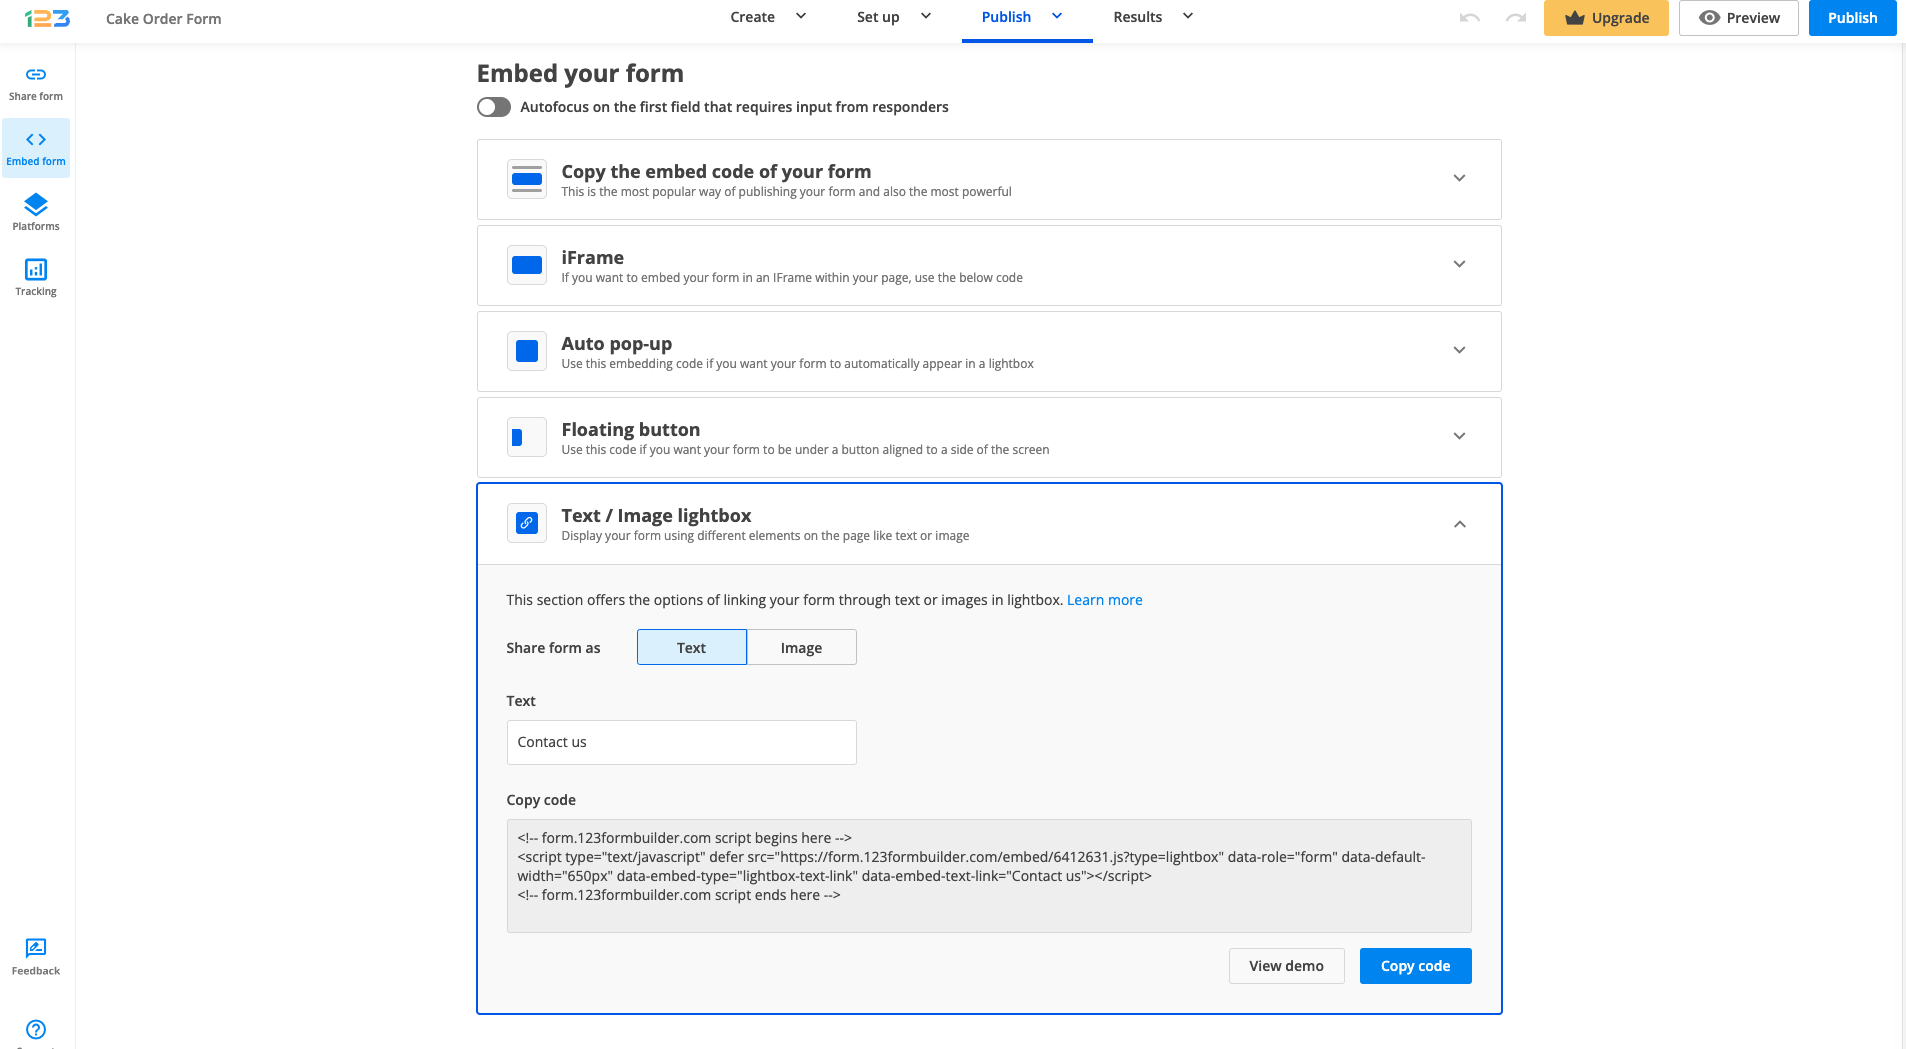
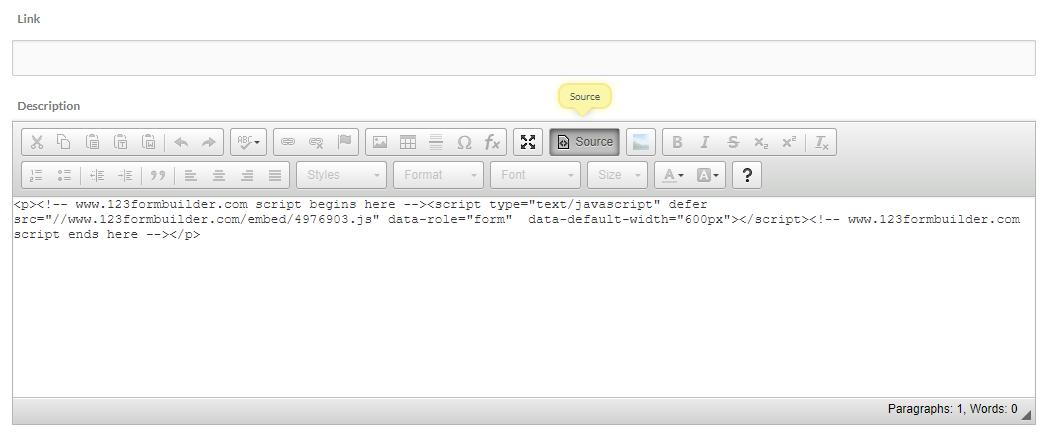
If you want to add a lightbox to your webpage, repeat the steps above but instead of using the JavaScript code of your online form, use one of the codes from the Text/Image lightbox.
123FormBuilder is HIPAA compliant, and you can use our platform to build HIPAA compliant online forms.
Being HIPAA compliant is critical for any company collecting Protected Health Information through electronic forms. If you work in healthcare and handle sensitive medical data, you can ensure your compliance with HIPAA regulations through the features included in our Enterprise Compliance Plan.
Because most HIPAA compliance requirements revolve around data security, 123FormBuilder’s Enterprise Compliance Plan enables you to have multiple user roles with different access levels. You want to ensure that only authorized staff views and manages your patients’ data, so you have complete control over data privacy. You can check the user roles you can define in your HIPAA account.
We also offer a BAA (Business Associate Agreement) to ensure the protection of PHI through strong security and privacy standards.
123FormBuilder uses a 256-bit SSL connection throughout the whole form-building experience. All data (at rest and in transit) is encrypted and it’s hosted on AWS (Amazon Web Services) with multiple data centers across the US and Europe. The server rooms are highly secured, monitored 24/7 by trained guards and electronic surveillance, with a multi-factor access control system and daily back-ups that safeguard the integrity of any data moving through our system. We ensure all of these while being GDPR Compliant and ISO27001 and ISO9001 certified.
When you choose 123FormBuilder’s HIPAA compliant forms, you’ll also count on advanced security measures such as:
- Automatic system log-off occurs after a period of idle time defined in line with industry standards. It prevents unauthorized access to ePHI.
- We can provide single-tenant installation for enhanced security.
- Upon request, ePHI and any other patient-related data can be deleted.
- You can increase the security of your account with user multi-factor authentication (e.g. 2-step verification). Access the My Account section to enable this feature and add an extra step to your login process.
- Password protection. One of HIPAA’s requirements for data integrity regulates the way users identify themselves prior to accessing any type of data. When using 123FormBuilder, you’ll be required to create strong login passwords and you’ll also have the option to protect your forms with passwords. This way, you can guarantee that only verified individuals in your organization or outside of it can have access to your account and your forms.
- We use spam, virus, and malware protection services provided by McAfee. All potential threats are carefully monitored and cleaned daily so that our partners and users can navigate in a secured environment.
- Every 123FormBuilder user gets a unique ID, which allows you to easily track the activity on your account and online forms, so you can trace all events in case there’s an incident that needs investigation.
123FormBuilder uses robust technical, administrative, and physical safeguards to ensure the compliance of your organization while handling PHI through our online forms. All our employees have signed confidentiality agreements and are up to date with the HIPAA regulations, so you can rest assured that your data is in safe hands. Check here for all our security measures.
If you need more details about 123FormBuilder’s HIPAA Compliance, get in touch with us, we’d be more than happy to walk you through your options.
If you teach on Edvance360 and use 123FormBuilder to create web forms for your students, follow this guide on how you can add those forms to an Edvance360 LMS module. Create, edit and customize your online forms in 123FormBuilder, and afterward publish them on Edvance360 with the help of the JavaScript code located in the Publish → Embed form section of each form you want to use.
The JavaScript code establishes a live connection between your form builder account and wherever the online form is published. If you edit your form at a later time, the changes automatically take place in Edvance360.
To add online forms to Edvance360, follow the steps below:
1. In your 123FormBuilder account, go to the Publish section of your online form and click on the Embed form tab on the left. Click on the JavaScript box and copy the script.

2. Log in to your Edvance360 admin account, go to Courses and select the course where you want to add your online form.

3. Go to Settings and add a new module to your course.
4. Click on Source inside the Page Content. Next, paste the JavaScript code of your online form in the content and hit Submit to save the module.
Don’t forget to enable the module in Settings so that your students can see the module and complete the online form. Each entry will be sent to your 123FormBuilder account, in the Submissions section of your form.
To embed online forms on your Duda webpage, copy the embed code from the Publish → Embed form section of your online form and paste it in the HTML widget within the Duda webpage editor. We recommend the JavaScript code, as it automatically applies changes to your form on the webpage when editing it in 123FormBuilder.
In Duda, enter the webpage editor and in Widgets section, search for HTML and drag & drop it to your website. Now all you have to do is to paste the Javascript code of your form and click on Update button.
You can use 123FormBuilder with Zapier. We have incorporated in our Integrations section the most popular zaps. All you have to do is to go to Integrations section and click on Use Zapier tab. After you click on Use this Zap you will be redirected to a pop-up window to continue setting up your integration.
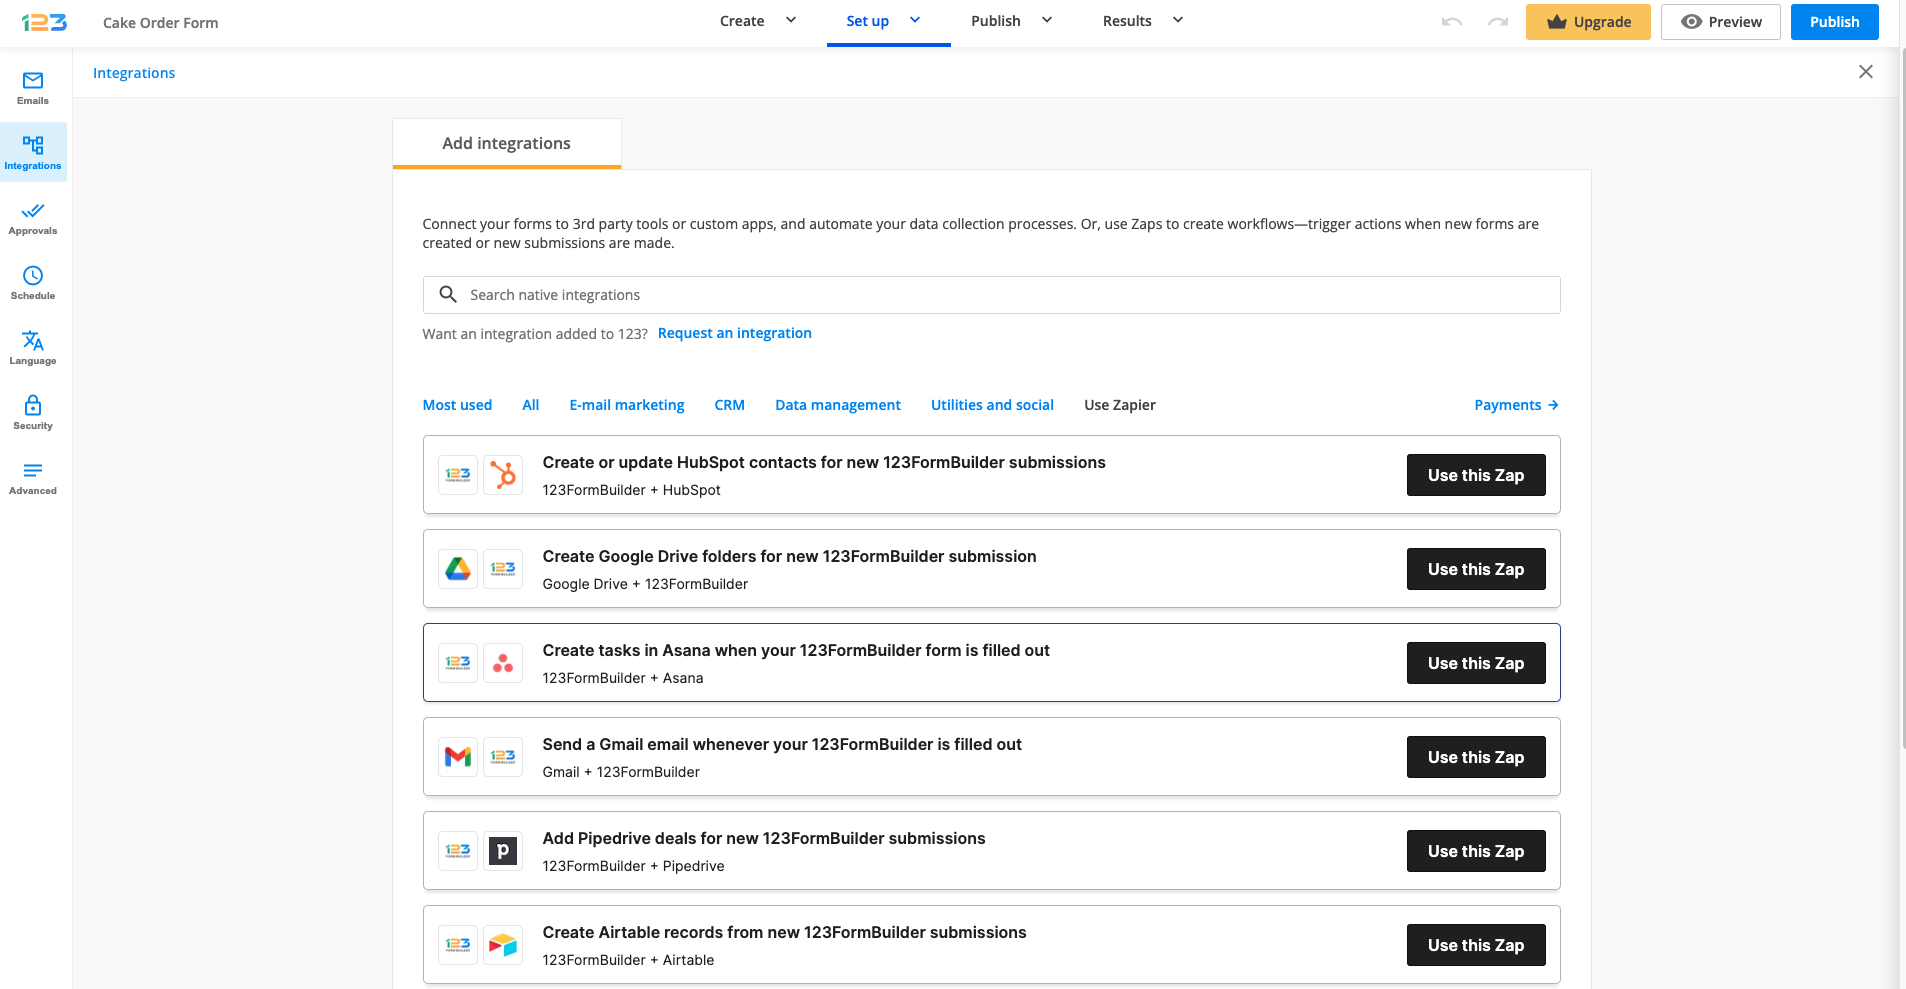
You can create a new zap between 123FormBuilder and a Third Party App of your choice.
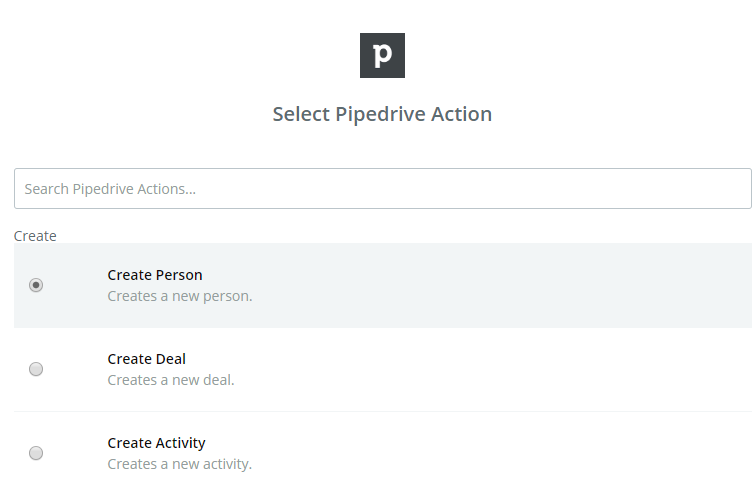
In this article, we will choose Pipedrive.
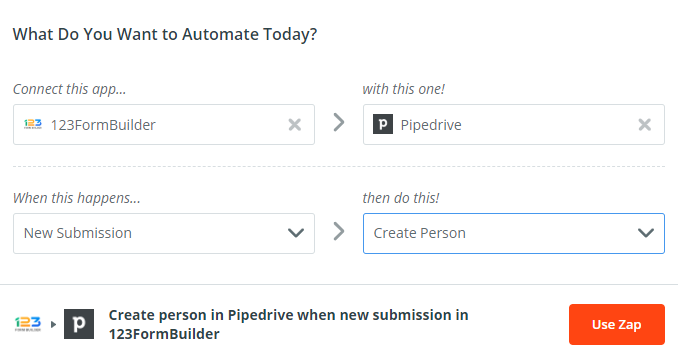
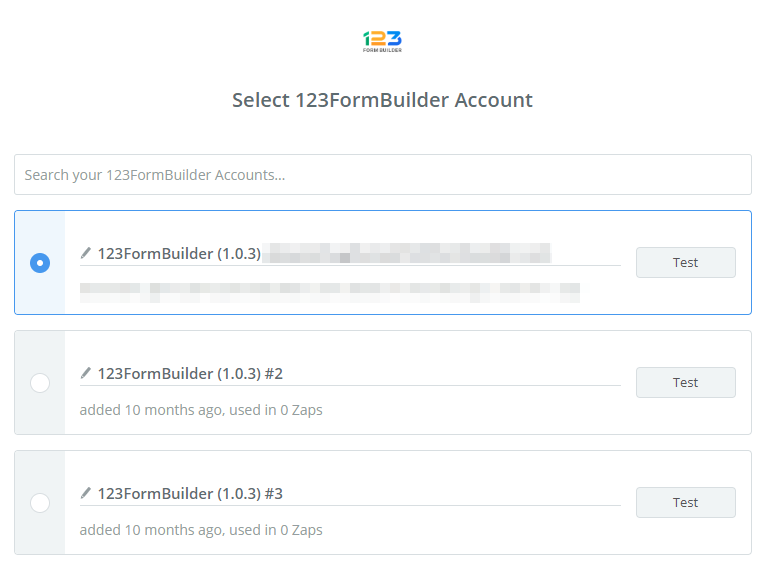
Connect your 123FormBuilder account and continue to the next step.
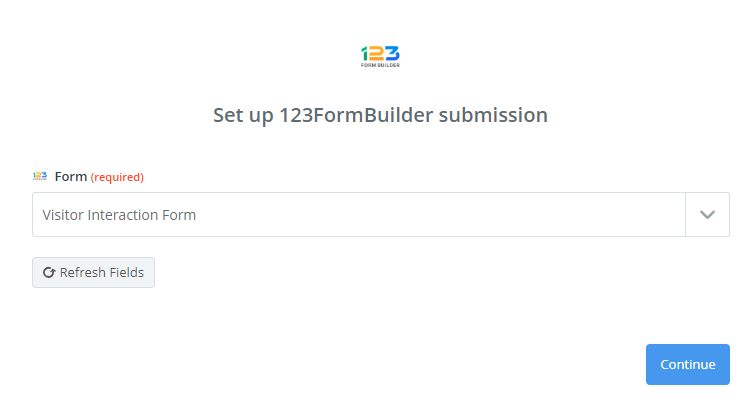
Select your form from the dropdown list.
Choose one of the listed actions.
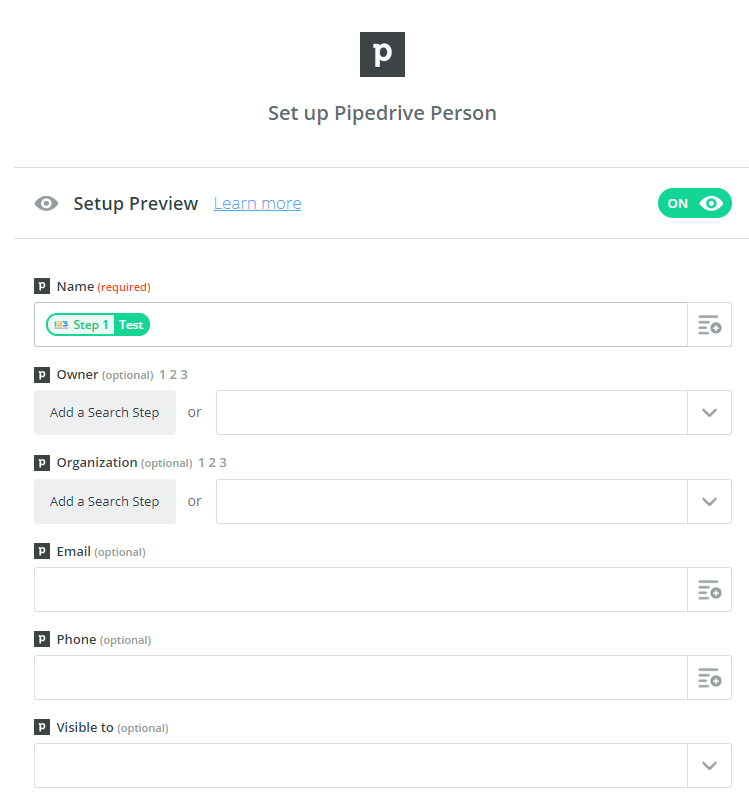
Match the form fields with the ones listed by the third-party app selected.
Keep in mind that the Basic plan allows only 100 API calls per day, and the Premium Wix plan includes 200 API calls per day. If you need to create more API calls, you’ll need to upgrade your account. Starting with the Gold plan, you can make unlimited API calls.
Important note!
The application’s settings and status can only be checked on Zapier’s side.
You can easily publish online forms on Unbounce with the help of the embed code you can find in Publish section. The same form can be published on several landing pages or you can go with different forms on different pages.
Go to Publish → Platforms → Unbounce and copy the Javascript code.
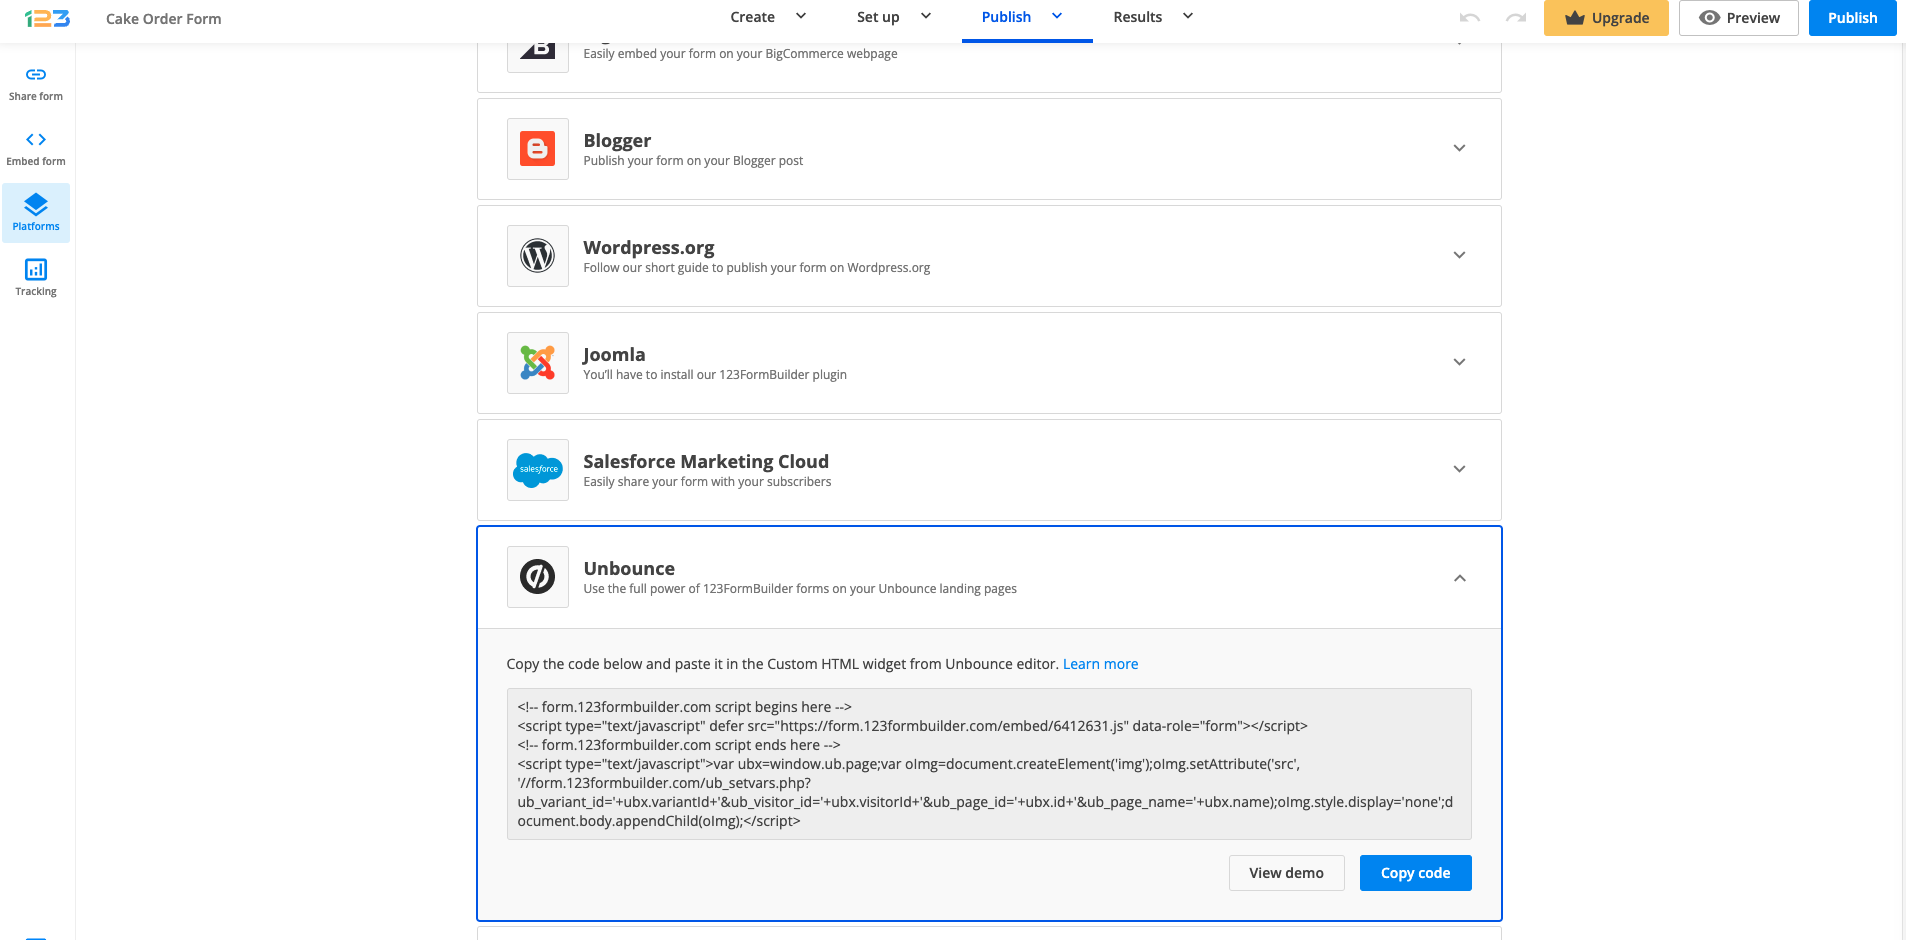
Log in to Unbounce, navigate to the Page Overview for your landing page, and click Edit to enter the Page Builder. Drag and drop the Custom HTML widget onto your landing page and paste the code.
Press Done to exit the Custom HTML editor and hit Save on the top-left corner, to save all progress. Click on Preview to view the 123FormBuilder online form published on your Unbounce landing page.
Promote your landing page and receive form submissions just like any other web page. Don’t forget to adjust the size of the widget that contains the form, otherwise, the form won’t be entirely visible on the page.
Use the 123FormBuilder – Unbounce integration to expand the horizon of your business. Unbounce is an effective landing page builder for marketing campaigns, where you can add leads, create complex landing pages with different widgets, and see which page performs best. Our integration with Unbounce allows you to track form submissions as Unbounce conversions and generate new leads in your Unbounce account. You will also need to publish your online form on one or more Unbounce landing pages but, in this entry, we focus on setting up the integration.
Follow these easy steps to enable the 123FormBuilder – Unbounce integration:
Before connecting the Unbounce app to your form, make sure you are logged in to your Unbounce account in the same browser.
How to connect to Unbounce
1. Go to Integrations and search for Unbounce using the search bar.
2. Go to the Unbounce application box and press Connect. If you are already logged in to your Unbounce account, the User Account and Token will be automatically filled in with the necessary data. If not, you will be redirected to Unbounce to provide your username and password.


*Once connected, the Customize lightbox will automatically appear on the screen.
How to customize the Unbounce application
1. In the Customize lightbox, select the User Account and Page from your Unbounce account.
2. Tick the Conversion option, if you want your form submissions to be considered Unbounce conversions.
3. In the Form Fields section, associate 123FormBuilder fields with Unbounce fields.
Fields located on the left side of the Form Fields subsection are actually the fields that currently exist in your form. Each time you add a new field to your form, you’ll also find it here.
There are three option types available in the dropdown lists on the right:
- Do not send to Unbounce – the form field’s input will not be sent to your Unbounce account.
- Send to existing Unbounce form fields – the form field’s input will be sent to the Unbounce form field you have created on your landing page.
- Send to Unbounce lead column – to create a new column in your View Leads section in Unbounce with the name of your form field.
4. Press Save and you’re done. Now, when somebody fills out the form, you’ll find a new lead in the View leads section of your Unbounce Page Overview. If you have enabled the conversion tracking option, each form submission will be considered a conversion.
It’s important to note that our scripts detect on which page the user was when filling out the form, meaning that your Unbounce statistics remain completely accurate when you’re using 123FormBuilder web forms.
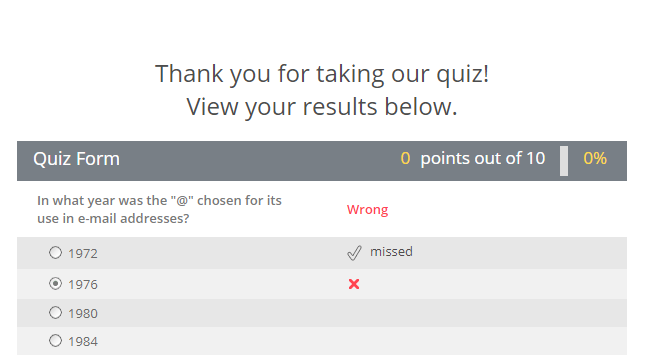
Indicating the correct missed answers after submission is a valuable asset for any online quiz. It releases the pressure of the online quiz owner to manually search the missed answers of an entry.
By default, respondents will only see if their answers are correct or wrong. To show your respondents the answers they’ve missed, go to the Advanced section of the form builder and switch to the Quiz section of your form. Tick the option Show missed answers. Save changes and you are done.
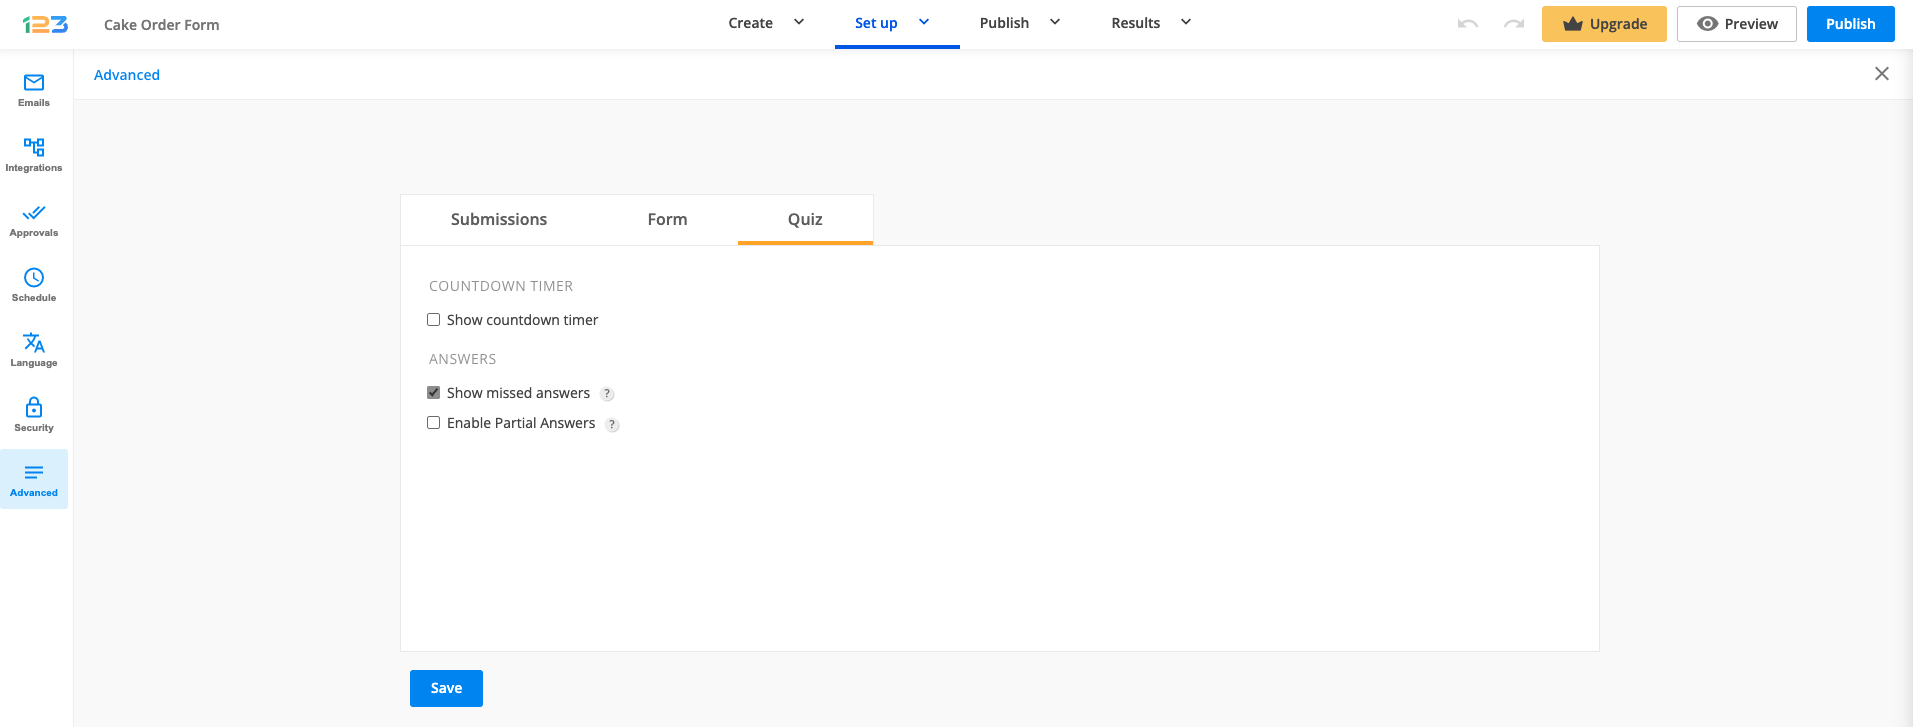
The missed answers will be displayed on the page of the quiz results.
Most Popular
Frequently Asked Questions
Here is a list of the most frequently asked questions. For more FAQs, please browse through the FAQs page.