123FormBuilder Knowledge Base
Search our documentation platform for answers, service specifications and 3rd-party integrations.
Setting Up Notifications in 123FormBuilder
Setting up notifications in our form builder is an easy process and we offer multiple customization options. We know that things have changed quite a bit, so let’s make them crystal clear.
Here is a breakdown of the Emails section.
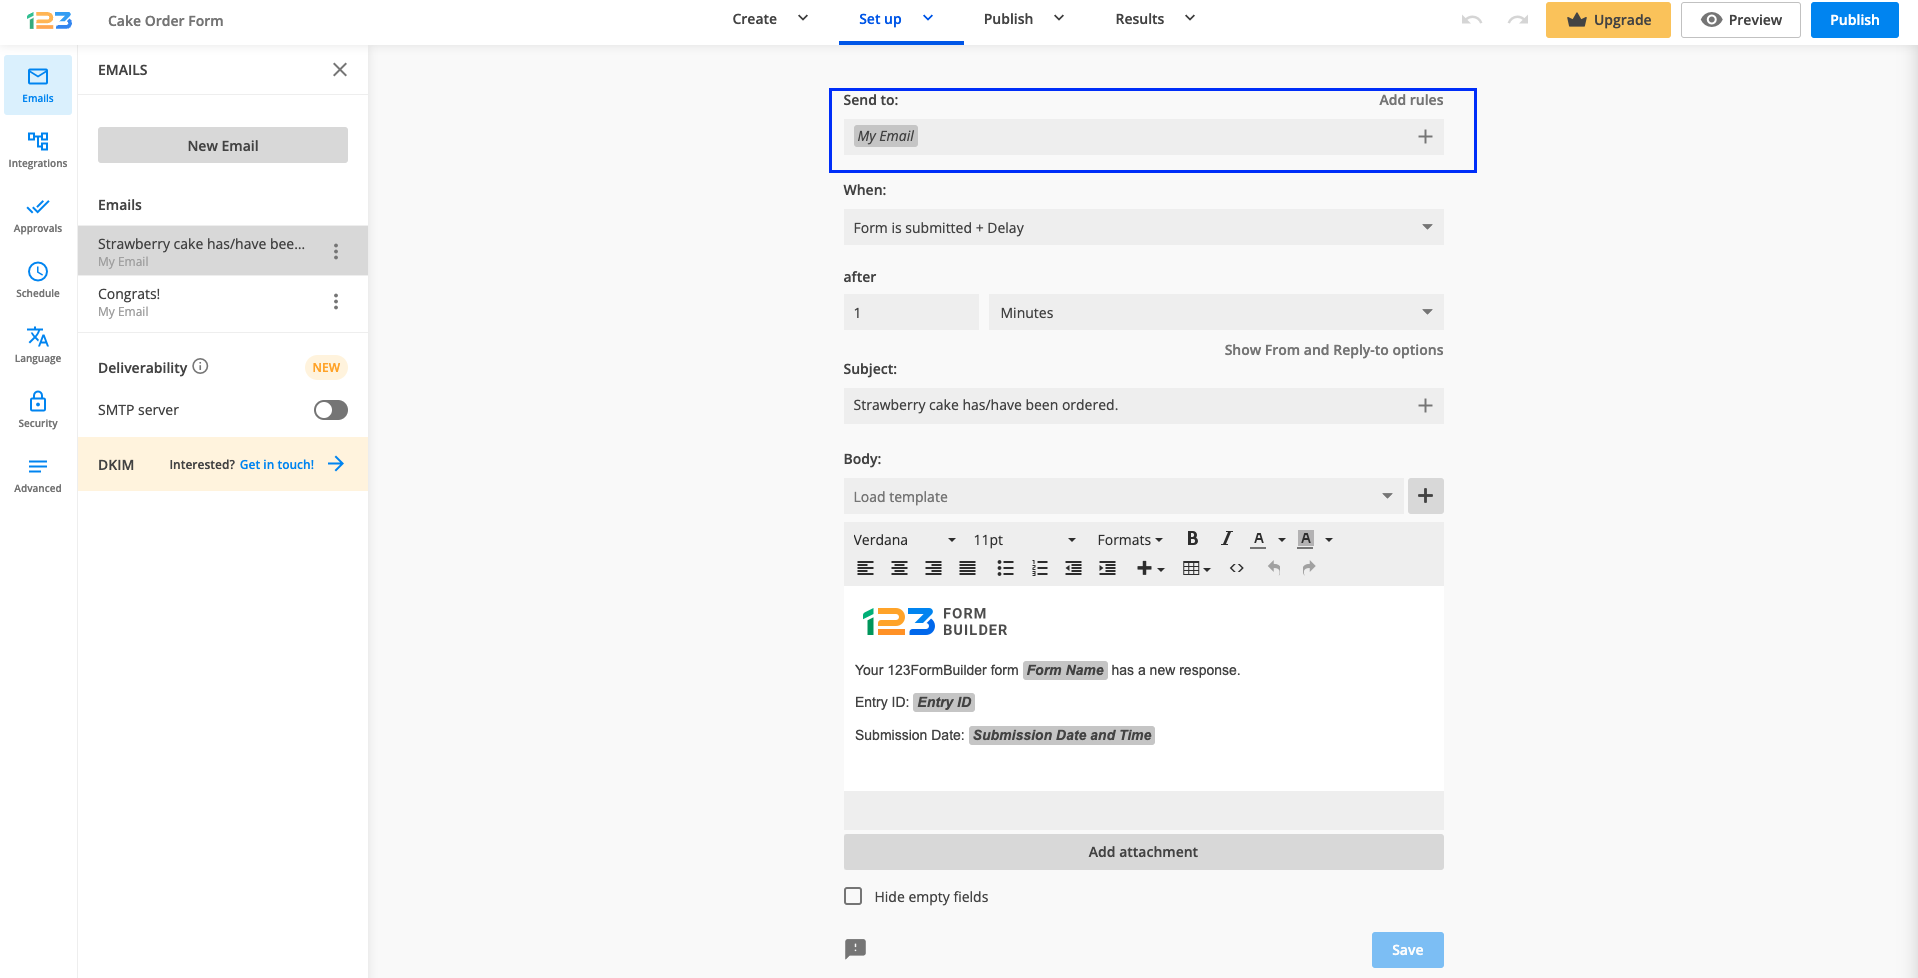
Email recipients
Who should receive the emails? At Send to select from the options listed below:
- My email (the email address associated with your 123FormBuilder account).
- The email fields listed on your web form.
- Type in each recipient’s email address.
Anyone can receive email notifications: form owner, form user, and any recipient of your choice. You also have the possibility to create multiple templates for different purposes.
Setting up the email
Every email can be sent to 1 or multiple recipients, with or without conditional logic. If you want to send your emails to different recipients based upon how a respondent completes the form, you can set up rules. To do so, simply click on Add rules.
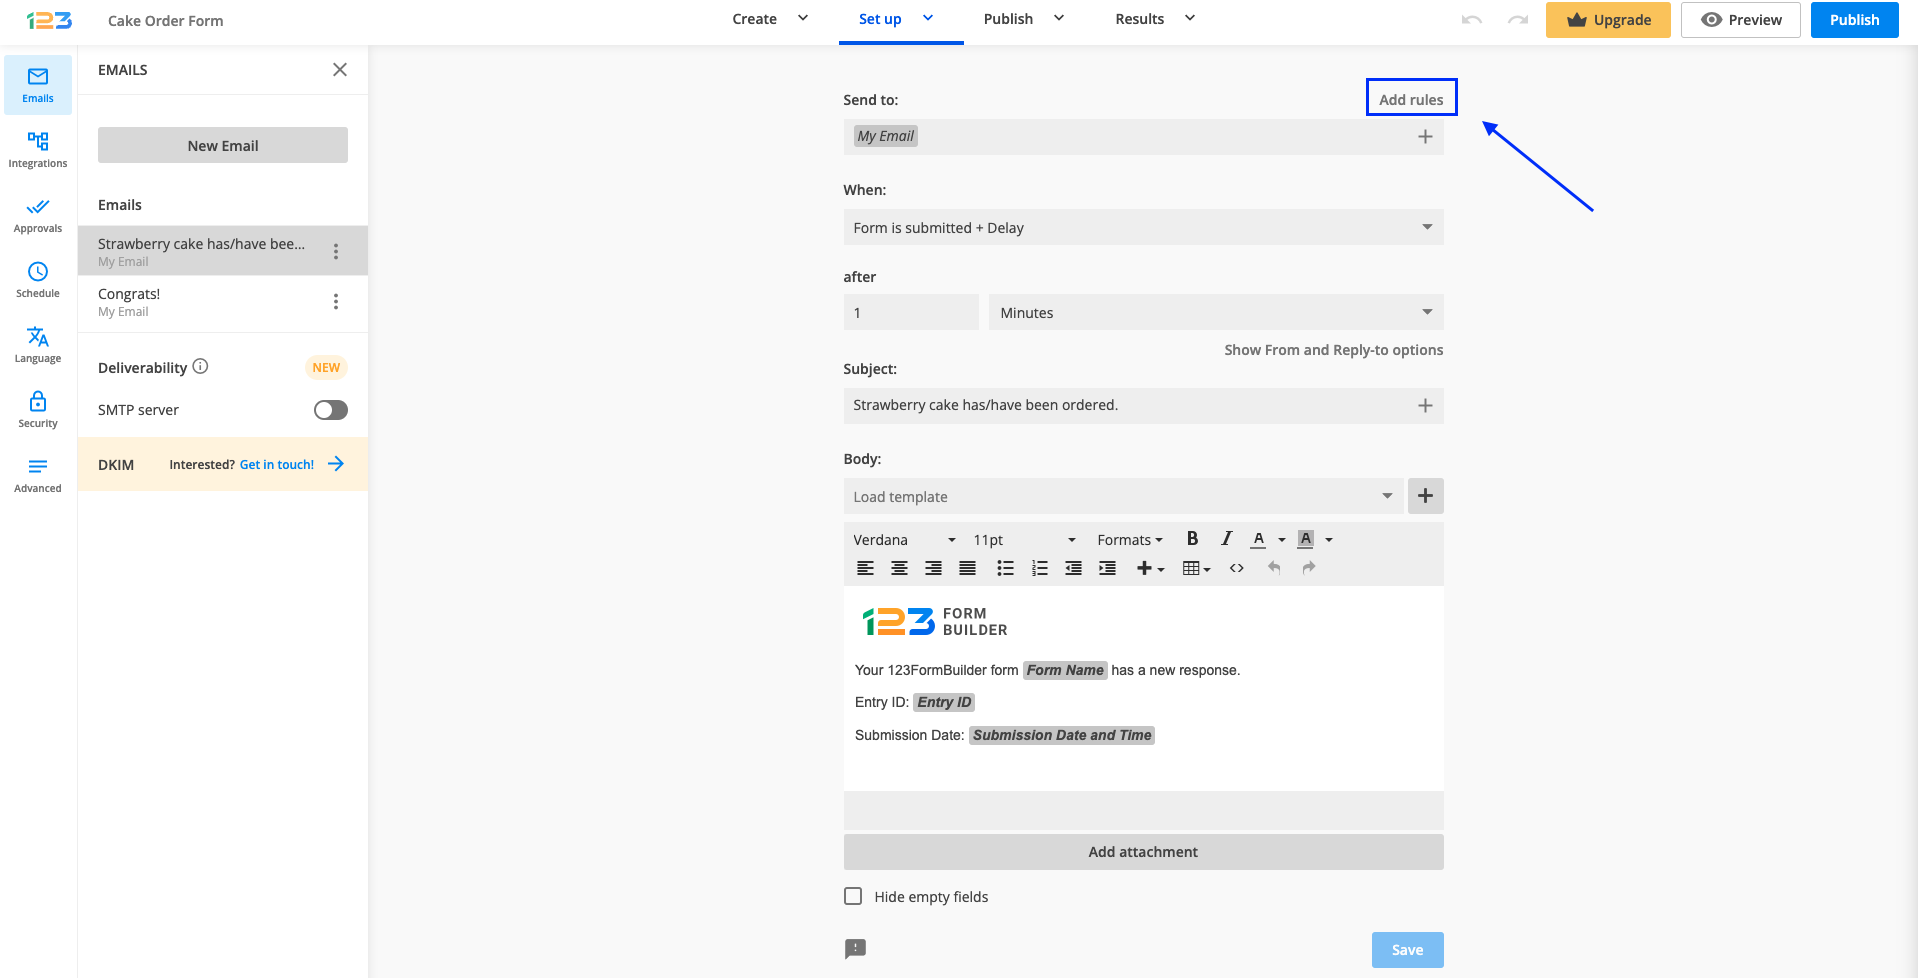
Once you have clicked on Add rules, you will be able to create conditional logic for your email template. You can choose to Send to or Only send to and input the email address you are interested in sending the email to.
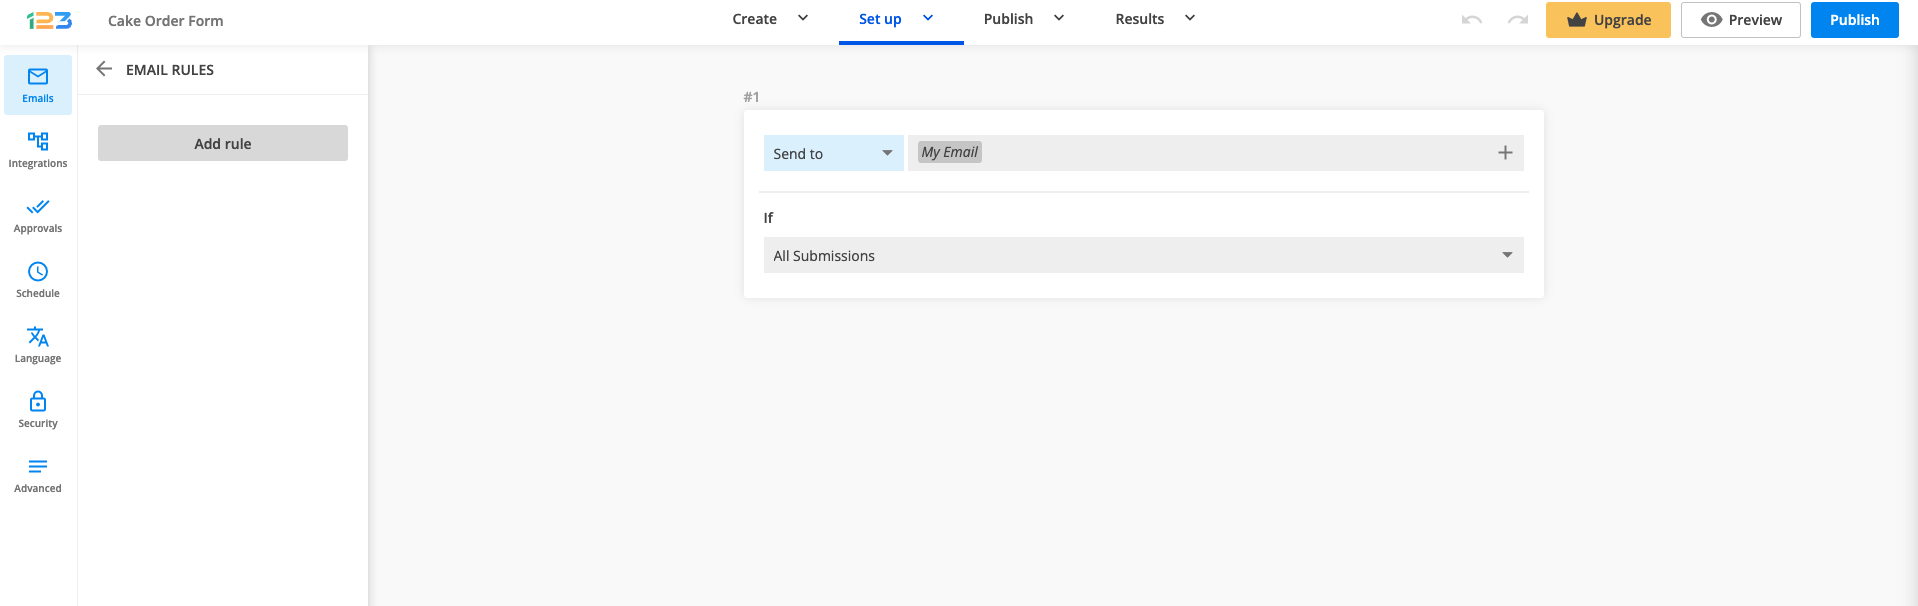
Now all you have to do is to set up the conditions. By default, it will be All Submissions – meaning the email will be sent to the email address that you have provided for all submissions. You can change that by clicking on the dropdown.
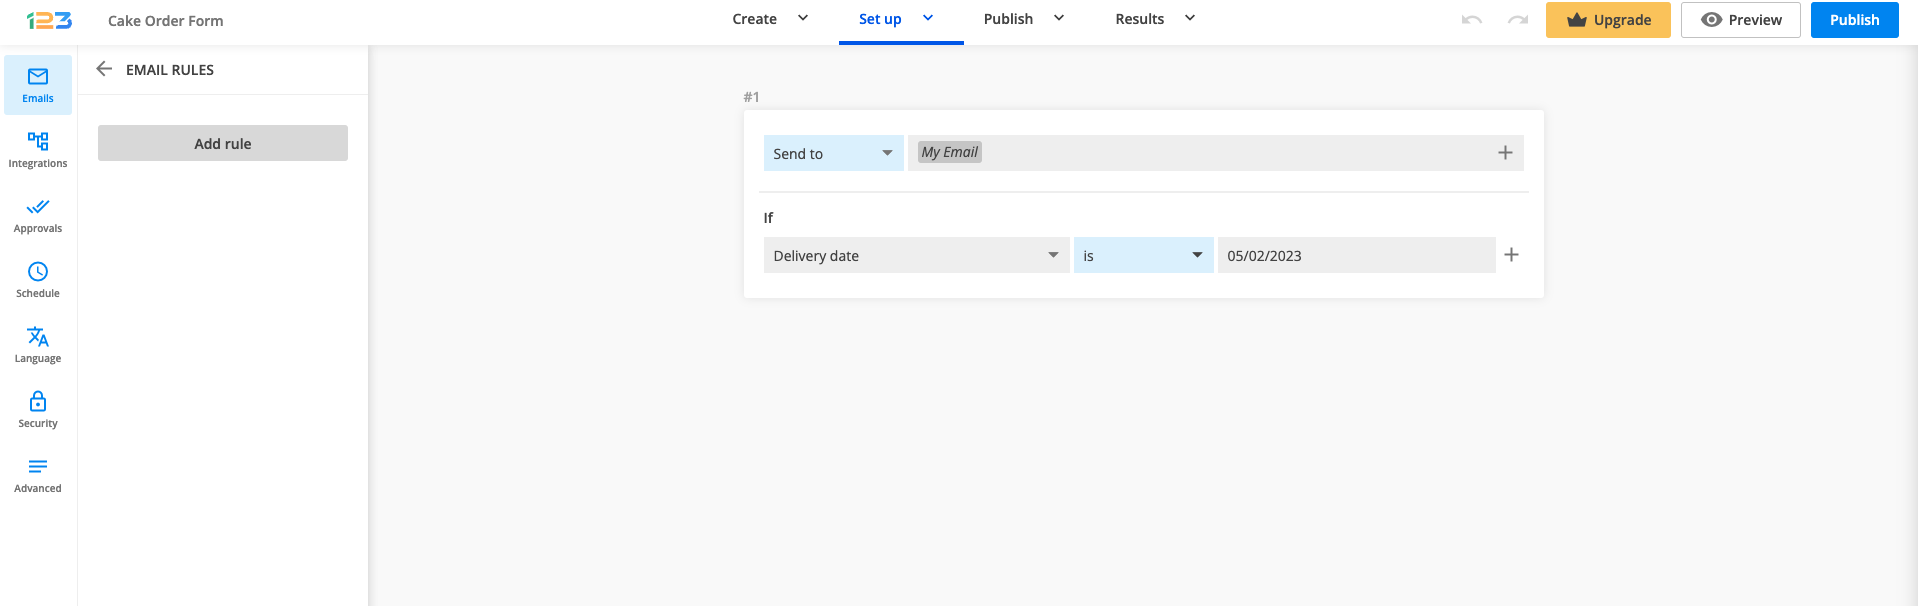
Now you have access to all fields on your form. If you select one field, an additional option is available: choosing the criteria based on which the email is sent.
You can establish when to send the email to your form recipients. Choose from the dropdown list the option that best suits your needs.
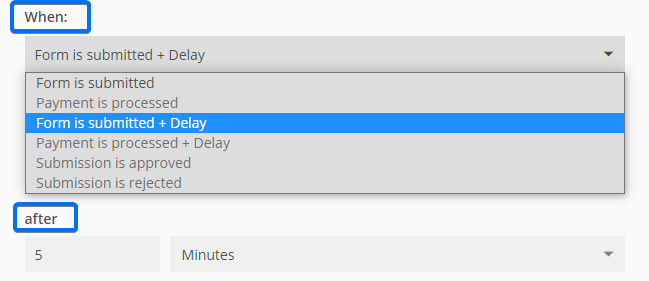
In order to use the Payment and Approval triggers make sure you first enable these features.
Change the Subject by adding a field variable. By doing so, new submissions will create new email threads.

Show From and Reply-to options
- From name. You can choose a name or title that will be recognizable to your respondents. Often that will be the company name.
- From email. Use our email server noreply@123formbuilder.com or send the emails through your own SMTP server. You can also choose noreply@myfor.ms (to simply remove any reference to our domain) or configure a custom domain to be the sender.
- Reply to email. This is the email address where you can reply to the submission email. You can select the email field to contact the form user.

Composing the email template
Click on Load Template to select which predefined template you wish to customize.
- Default notification template. The standard template commonly used by the form owner and form recipients.
- Payment template is the email sent to form users when their payment is marked as complete.
- Approval request template. Here you can change the content that the approver(s) of your form receive.
- Autoresponder. Set up personalized autoresponder messages to thank your users for their submission.
- Copy of submission template has the same structure as the default notification template but it’s addressed to form users.
- Quiz template shows the quiz results along with the Quiz Summary.
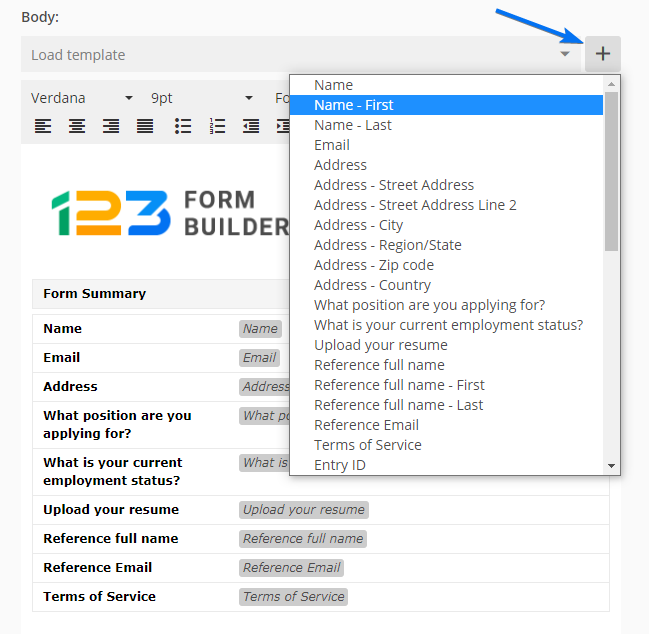
To insert submission input into the template, click on the plus sign and use the fields displayed in the dropdown list.
The content of your emails can be anything you wish. In each template, you can add your own images, links, tables, and text. Hit the Source code icon (< >) and create your own fully customizable template using HTML language.
Furthermore, you can attach a file to the email template. Attach your own file, a PDF with the layout of the form, or a custom PDF template.

If you have enabled the edit submission option, in the same Advanced → Submissions section you can choose the notifications that will be resent. The Resend functionality will trigger Email notifications. The form’s recipients will receive them each time the entry is updated.

In the Advanced → Submissions tab, you can also add a tracking code to your form submissions by enabling the Reference ID prefix.
Important Notes
- Each field has a unique ID, therefore custom templates will not work properly on different forms.
- You can set up a maximum of 15 email notifications/form.
- The Reference ID prefix can contain up to 9 characters.
6 comments
Leave a Reply
Similar Articles
Frequently Asked Questions
Here is a list of the most frequently asked questions. For more FAQs, please browse through the FAQs page.
Thank you for continuing to improve the services you provide! I am so glad that I found this program, and your team is the best! Keep up the good work!
Thank you so much for your feedback. We are so glad to hear that you are enjoying our new notifications section. Stay tuned for more updates!
Will these changes effect existing forms? Will I have to adjust?
Hi Paula, no it will not affect existing forms, they will remain with the old version. Only the new forms created will have the new notifications section.
Will someone contact me about the decal?
Hello, please contact us and share with us the form you filled out. We want to ensure that the form is not violating our terms of service. Thank you!