123FormBuilder Knowledge Base
Search our documentation platform for answers, service specifications and 3rd-party integrations.
Knowledge Base
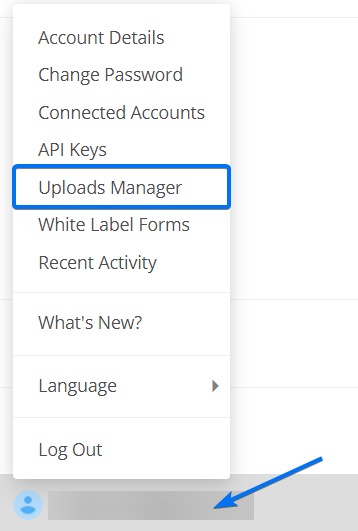
Use the File upload field on your form to receive files from your form users. Each of these files is stored in the Uploads Manager of your form builder account. To access this section, select your username and click on Uploads Manager. Here you can view all the files that have been uploaded on all your online forms.
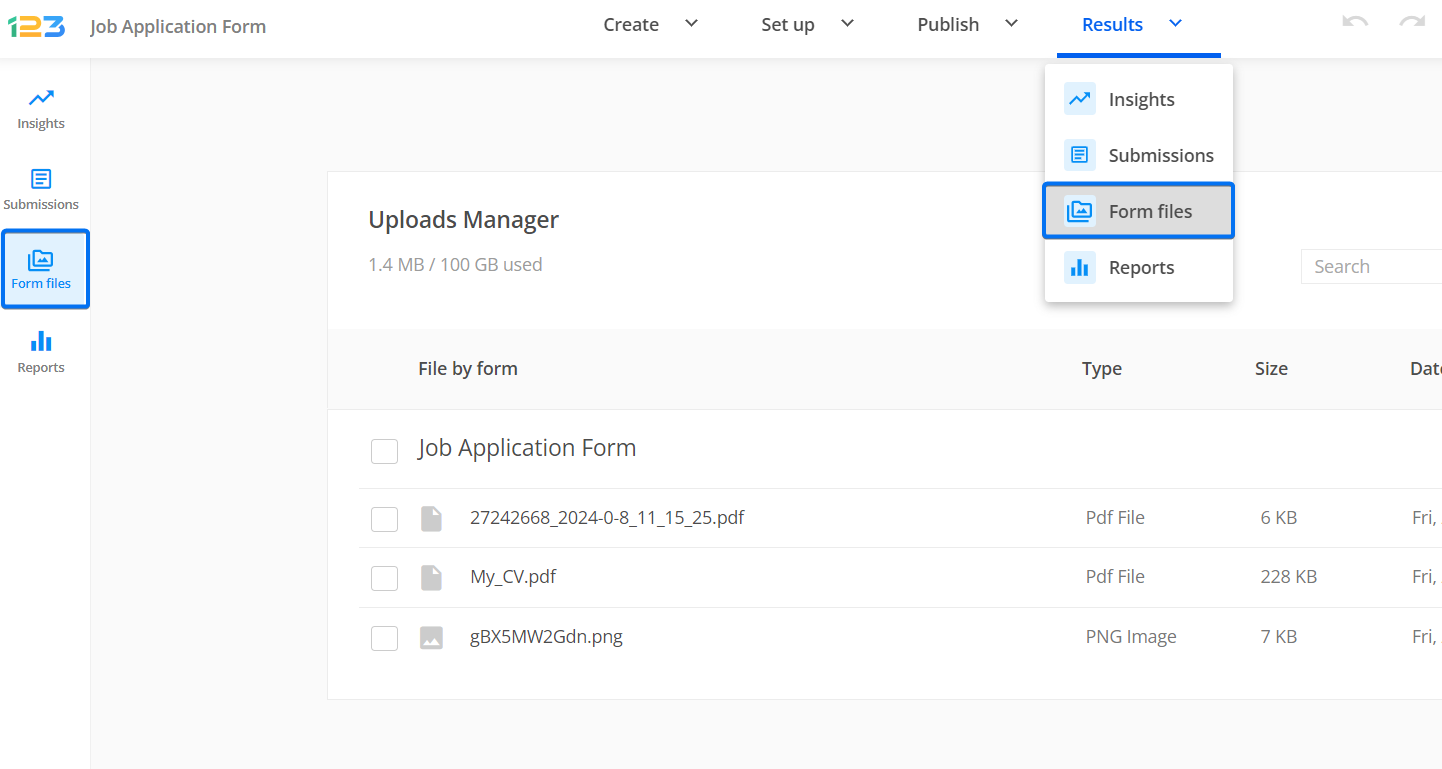
You can also see the files uploaded through each form separately by going to the forms Results → Form files section.
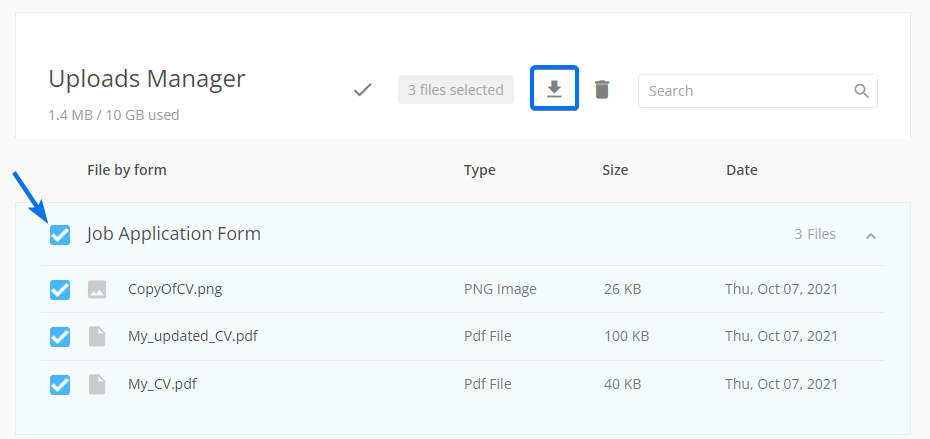
If you check one file you have the option to select all the files received through all your forms. To download only the files received from a specific form, check the box next to the form’s name. After that, the download button will display on the top right side of the page.
All files are archived in a .zip file. Therefore, you’ll need to unzip them on your device with the help of a dedicated software, such as 7-zip for example.
You’ll find the .zip file by the name archive followed by a string of numbers (e.g. archive-11962791196279).
Make sure you check the path where your browser will save the files. Some browsers will immediately ask for the path for your download (e.g. Firefox), while others will directly save the files in a predefined downloads folder (e.g. Opera).
Related articles
If you need to cancel the subscription for the Wix Starter Plan, the upgraded version of the 123FormBuilder app for Wix, follow the steps below:
1. In your Wix account, select your username from the top right corner and click on Premium Subscriptions.

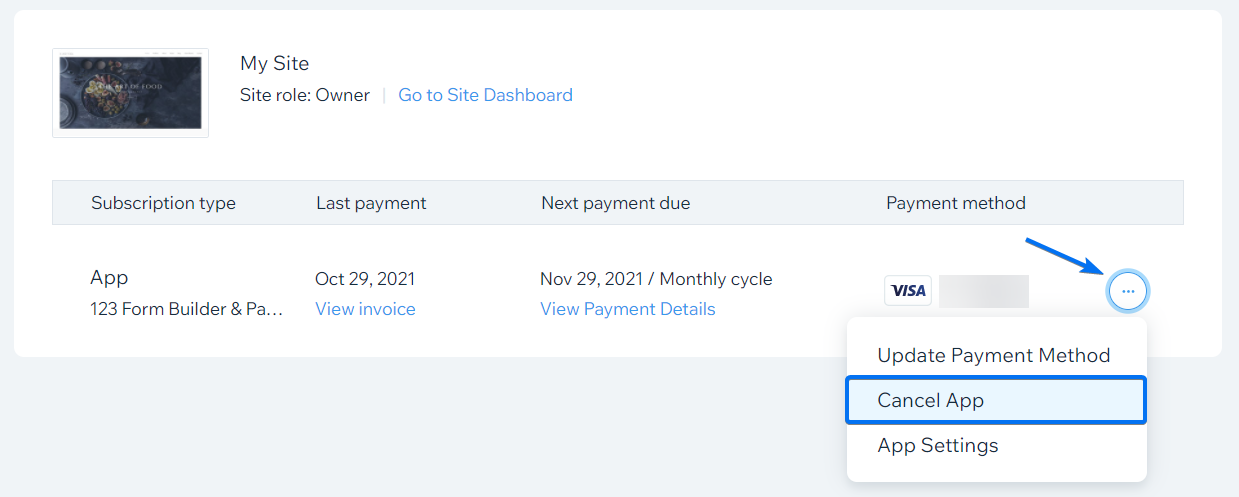
2. In the list with your upgraded apps, search for the form builder and click Cancel App.
3. In the next step, if you do not want to auto-renew your subscription, select the Cancel auto renew option. Below that, you will also be able to specify the reason why you are canceling.
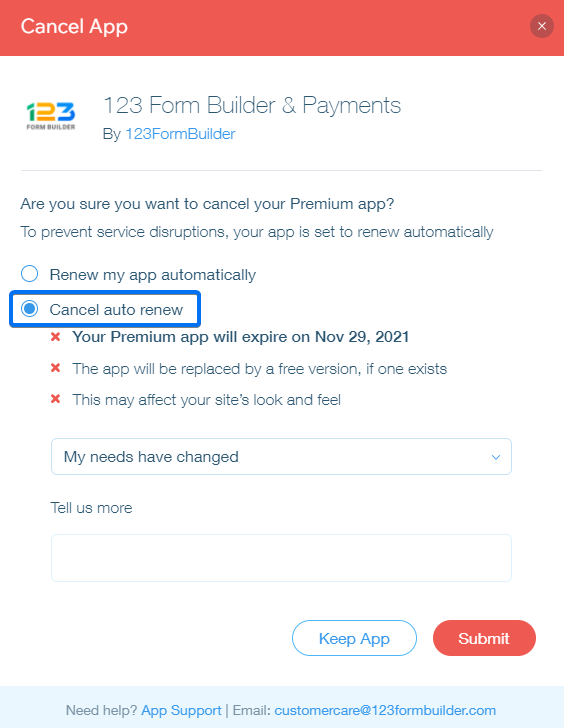
Click Submit and you are done. The subscription will end when the current billing period is over. If you change your mind and want to continue the subscription, click Turn Auto Renew On.
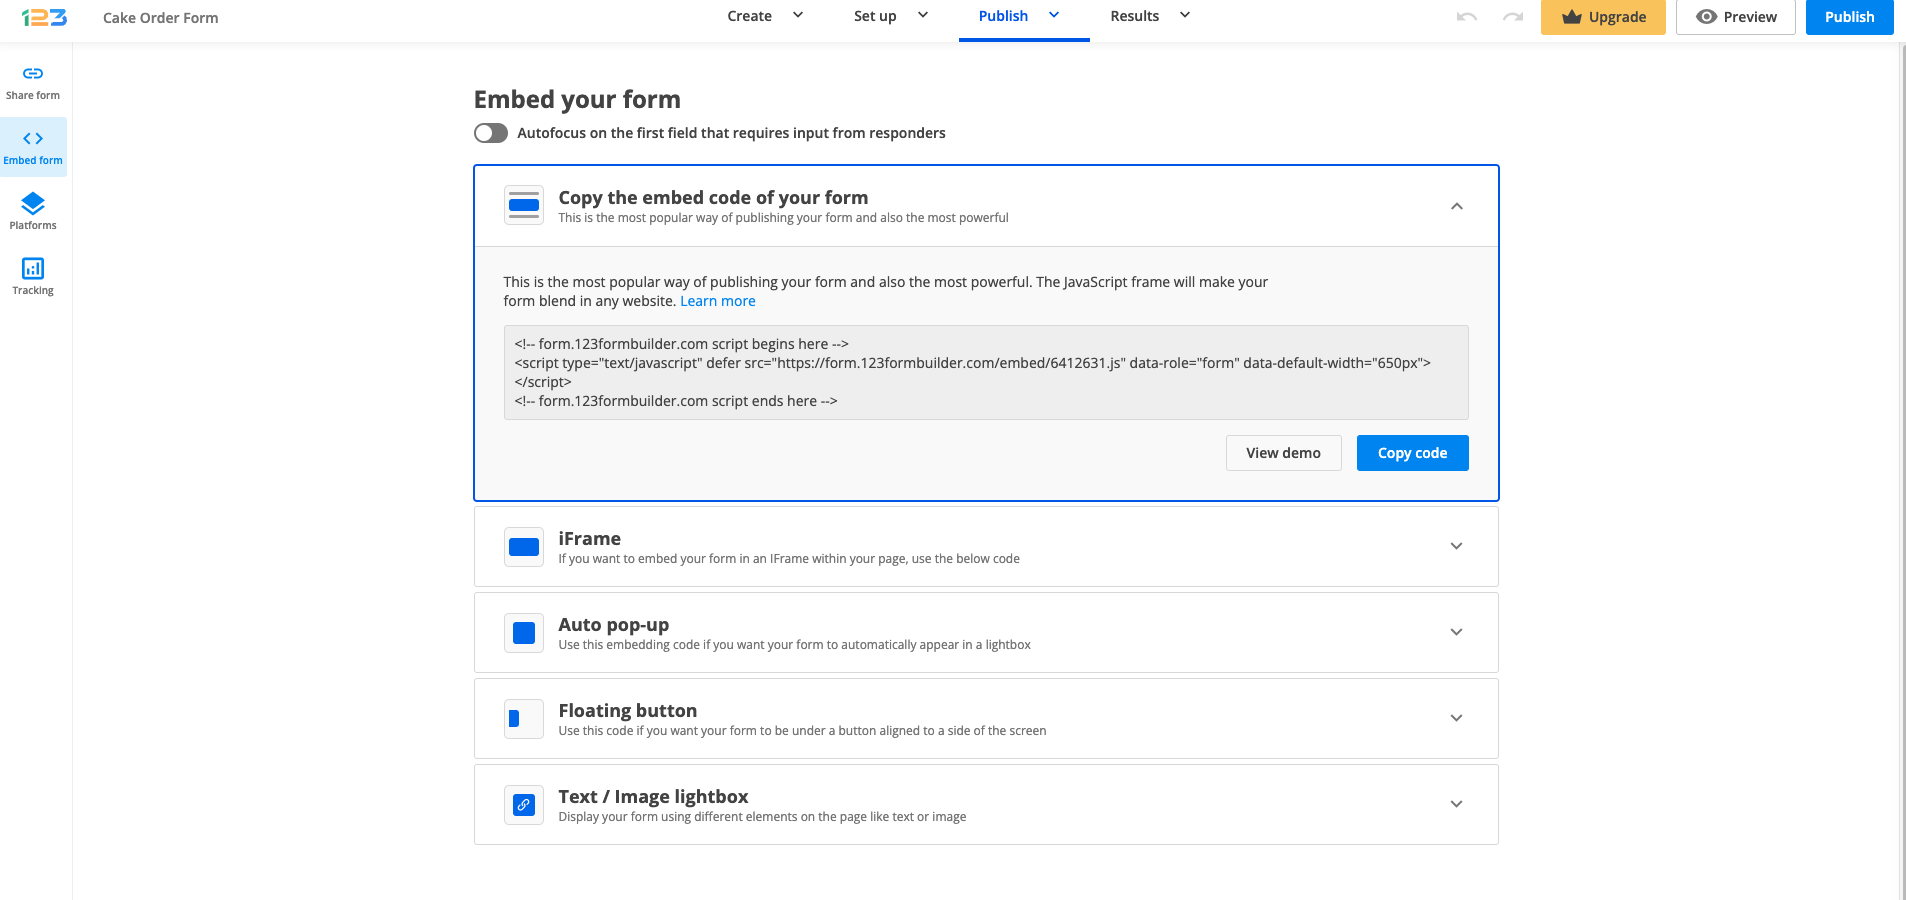
To embed online forms on hPage, you’ll need to copy the JavaScript code of each one of your forms and paste it into the editor of the webpage you own, in HTML mode. First, go to the Publish → Embed form section of your form in the form builder, copy the JavaScript that we have provided for you and log in to your hPage account.

Next, go to the Pages → Manage pages section, select the page that you want to edit, and switch to the HTML mode option.
Save changes and you are done. To view your online form in visual mode, return to the dashboard and press the Visit Website button. You’ll see your online form displayed on the webpage you have edited earlier.
To embed online forms on Webnode from 123FormBuilder, use the JavaScript code we have provided for each one of your forms in your form builder account. Go to the Publish → Embed form section of your form and copy the JavaScript code.
Next, go to Webnode, enter your credentials, and go to the editor of the webpage where you want your web form to be added. Here are the steps:
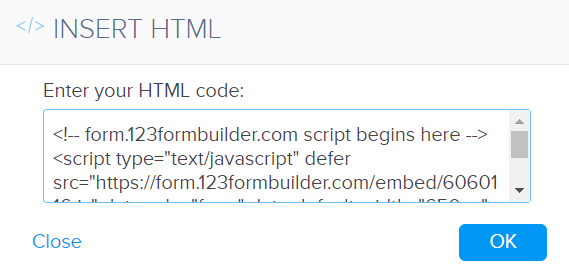
1. Select the Add content button and add the HTML widget from the list.
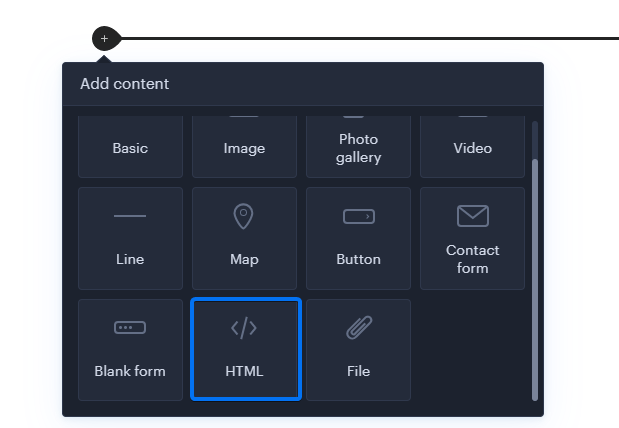
2. Paste the code in the widget and press OK.
3. Publish your website to see how the page looks like and start collecting submissions easy as 1-2-3!
You can easily embed online forms on Ionos by 1&1 website fast and easily. To do so, access the form you are interested in embedding and go to Publish section. Copy the JavaScript code from here and log in your Ionos account.

Access the editor of your website and click on the Insert elements button from the collapsed menu, on the right. Click on Web Services and drag and drop the Widget/HTML element to the desired position in the content area.
Paste the JavaScript code from 123FormBuilder and hit Save. The form will not be displayed in the editor, but you can see it in the preview mode of your page.
Click on the Page view icon to view your online form embedded on your webpage. Save your changes, publish your website, and enjoy!
To edit the Submit button, go to the Editor of your form within the form builder and click on the Submit button area. In the right-side panel of the page, you will find two sections by default.
Options: from here you can change the Alignment of the button (Full width, Left, Center, Right) and add Additional buttons (Clear all answers, Print, Save for later).

Submit button: from here, you can change the text that appears on the Submit button and add an icon. You can also add a disclaimer if it suits your use case.

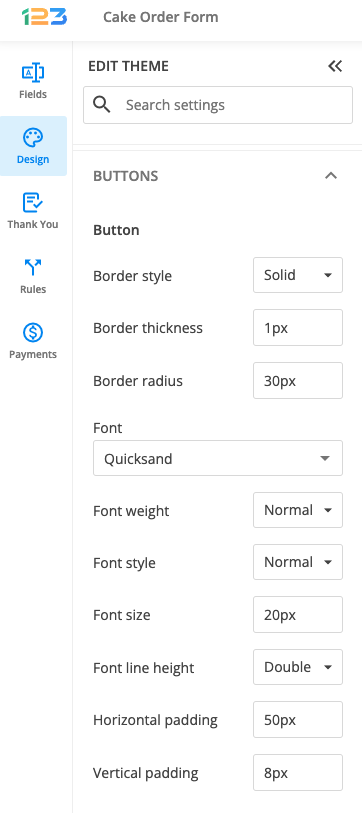
If you want to edit the Submit button in terms of design, you can do this by accessing the Design section. Under Buttons, you will find various customization options, such as changing the border, font, and color, just to name a few.
Related articles
You can filter your submissions to display form entries that meet specific criteria. Advanced filters allow you to view only the information that is of interest to you.
We offer many filters, and you can add detailed filter criteria to narrow the entries. There is no need to manually check entries one by one.
In this article, you will learn how to find out how many completed transactions you have received with your order form.
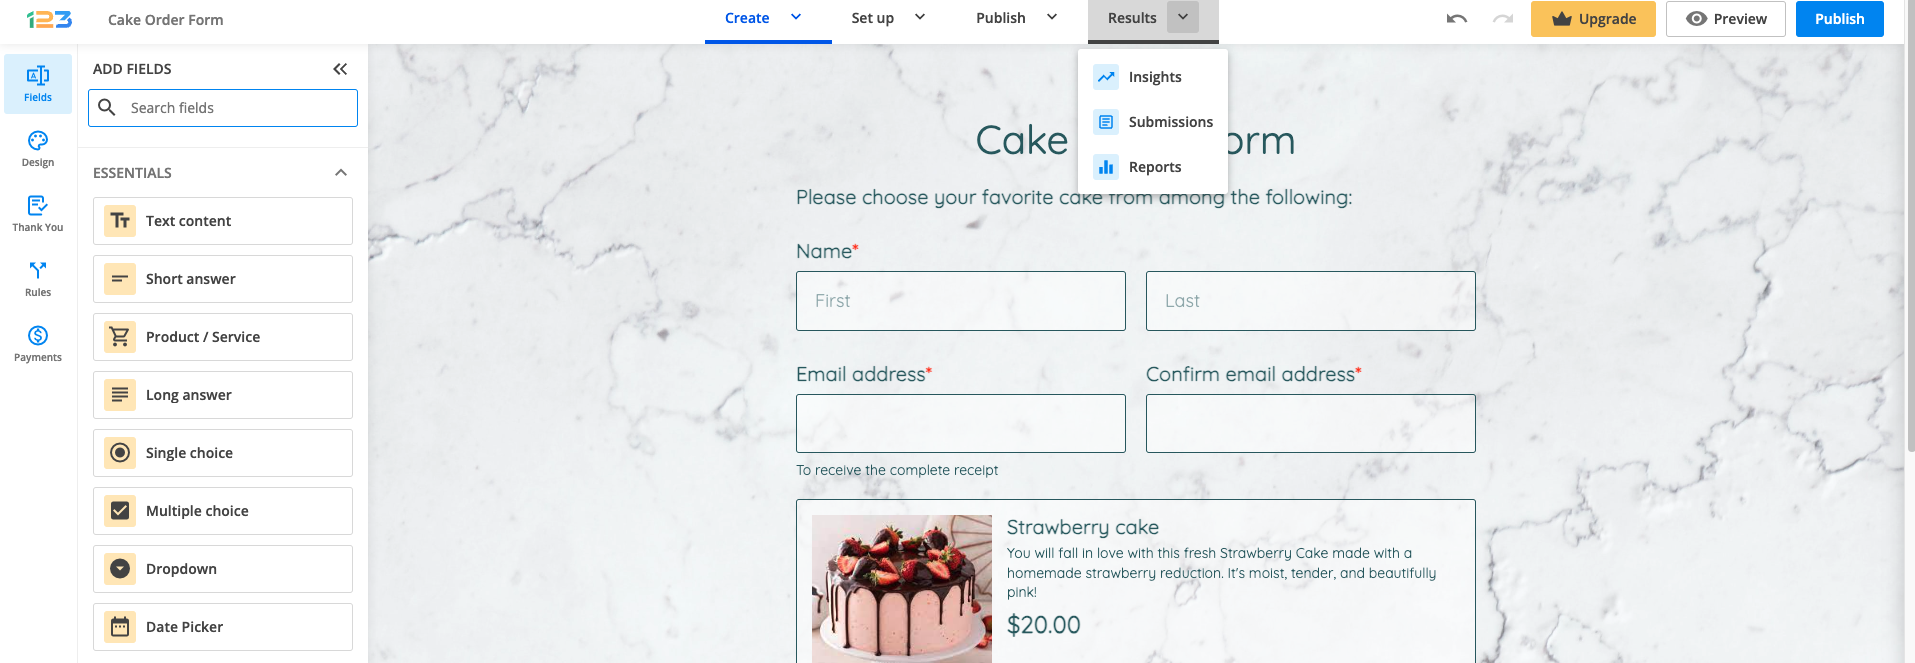
Start by clicking the Results button in the Form Editor of your form builder account.
Navigate to Submissions tab and click on Advanced Search to open the filter options.

Type YES or NO as the word you’re looking for, and choose Payment Completed as the submissions table’s column where the search should be made.
Important Note
Make sure that the Payment integration is enabled.That’s it. Now, only the payment transactions that meet your criteria are displayed in the table!
What is great with this feature is that you can also export the filtered entries to Excel or to a CSV file.
Related articles
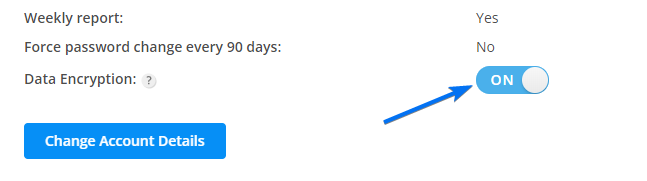
Data encryption is an easy way to secure your form data within your 123FormBuilder account against attackers. You’ll also need this feature if you intend to collect Personally Identifiable Information (PII) from your users, such as IDs, Social Security Numbers, and Passports, just to name a few.
To encrypt form data, follow the instructions below:
1. Log in to your form builder account.
2. Select your username and click on Account Details.
3. Scroll to the bottom of the page and click on the toggle for Data Encryption to turn it on.
The data encryption request will be pending until changes take effect between 24-48 hours.
To benefit from this feature, you will need our Professional plan. Check out our Features Matrix for more details.
Litmos is a dedicated online learning management system for creating online courses. With the help of 123FormBuilder, you can create contact forms, event registration forms, online quizzes, or any other web forms which you can publish in your Litmos account for your course attendees. All you need to do is grab the embed code of the web form/quiz (JavaScript is recommended) and paste it in the module’s editor.
To embed web forms on Litmos, follow the steps below:
1. In the form builder, go to Publish → Embed form and copy the JavaScript code, located on top.

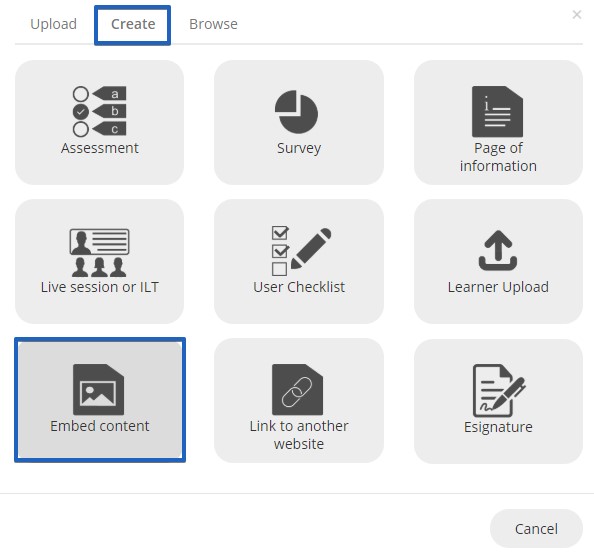
2. In your Limos account, add the module and click on Add content.

3. Switch to the Create tab and choose Embed content.
3. Type in a module title, a description and paste the JavaScript code in the Embed text box.
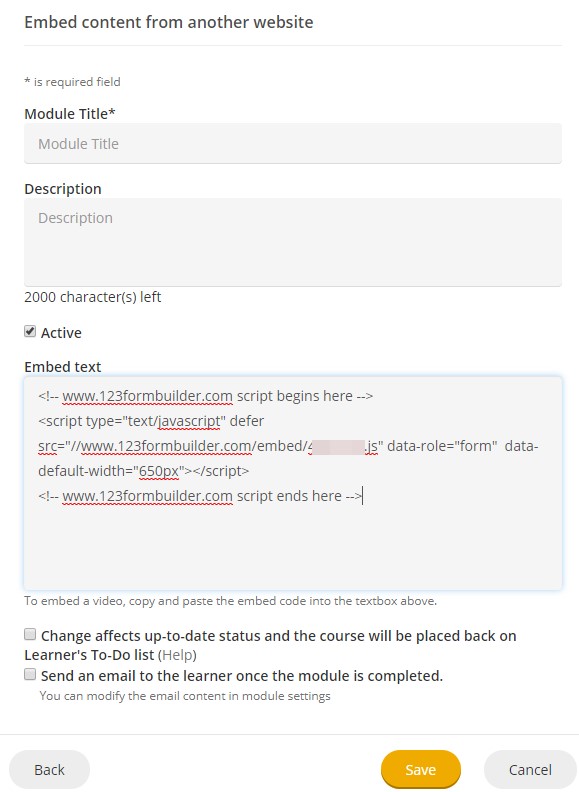
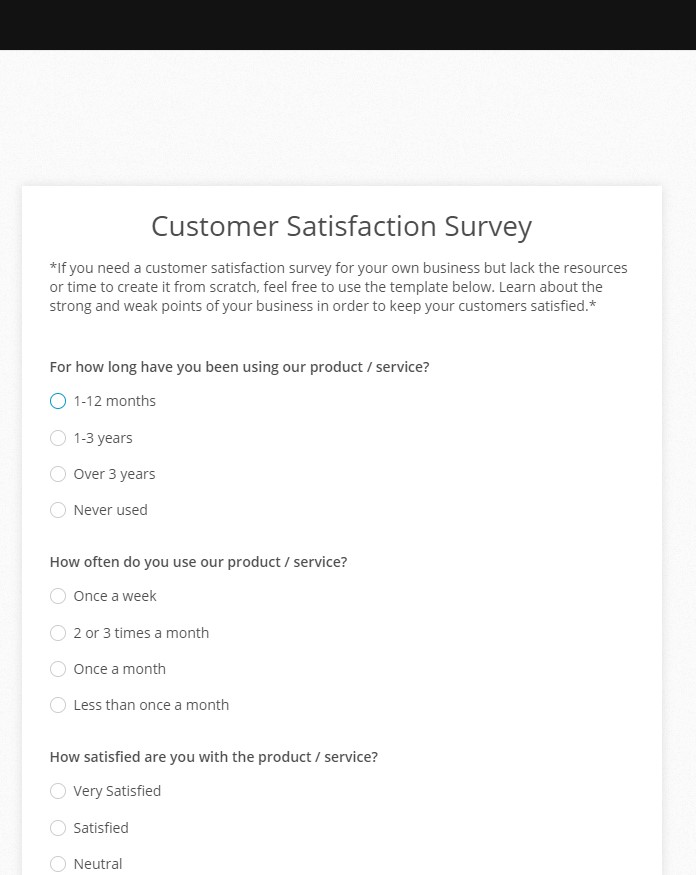
4. Save the module and switch to learner view to see how the web form is displayed on the page. And there you have it: people can submit your form directly from your course’s module.
To add a web form to your GoDaddy webpage, simply access your form builder account, copy the JavaScript code provided in the Publish → Embed form section of your form and paste it into an HTML widget from your webpage editor.

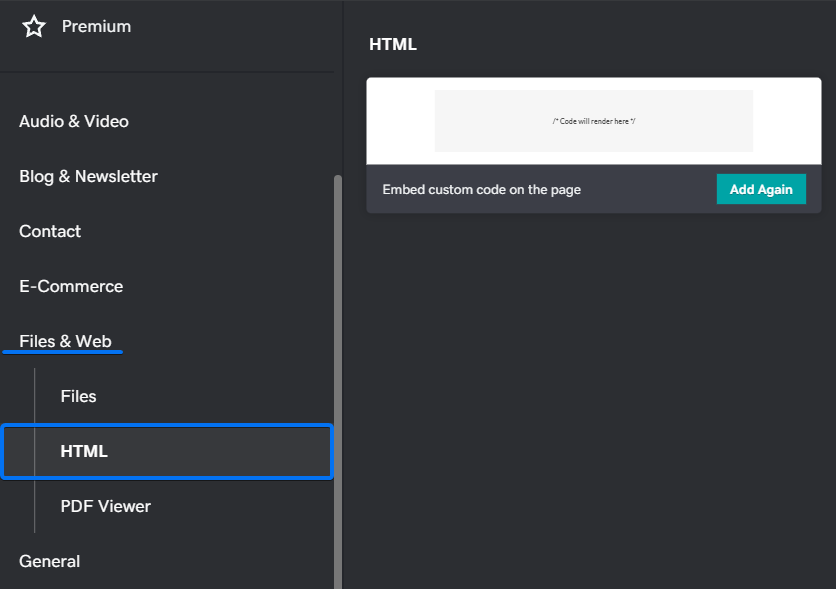
In GoDaddy, select the webpage you want to edit and add a new section. From the Files & Web section, select the HTML widget.
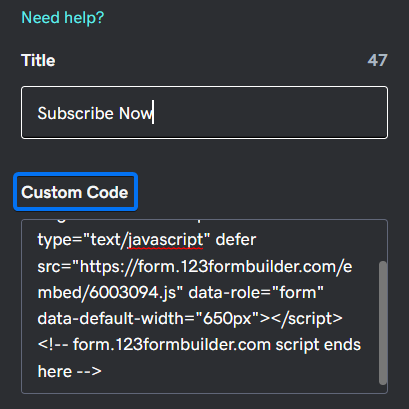
Afterward, in the Custom Code box, paste the JavaScript code of the form built in your 123FormBuilder account.
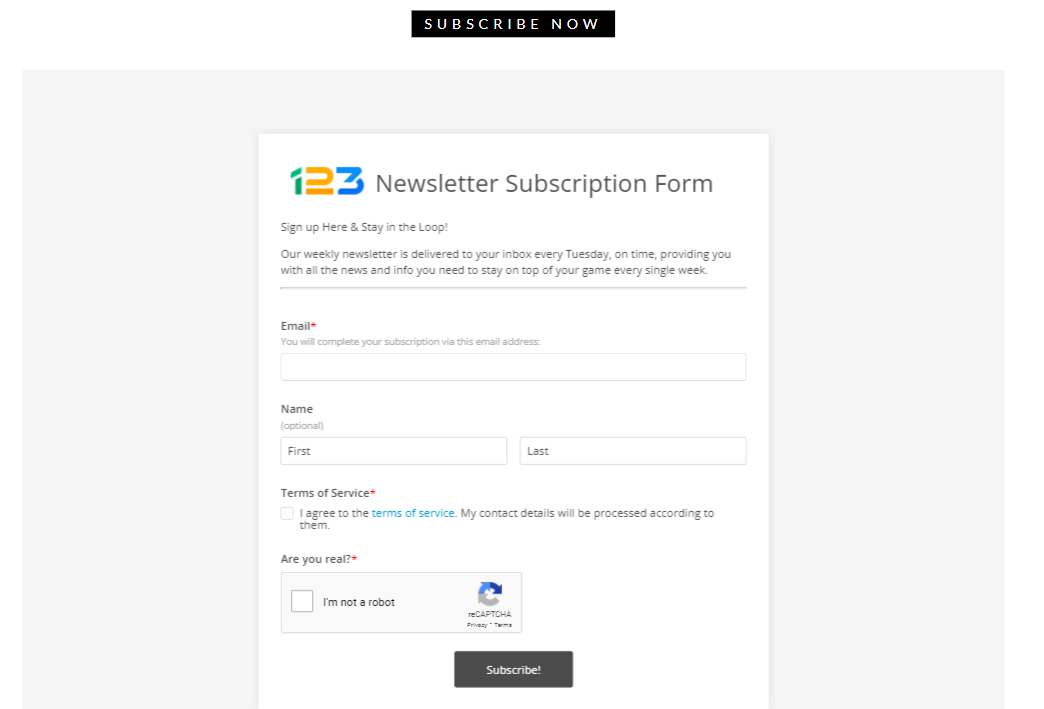
Lastly, preview the webpage to see how your form is displayed. Once you have saved all changes, visitors will be able to submit the web form directly on your webpage.
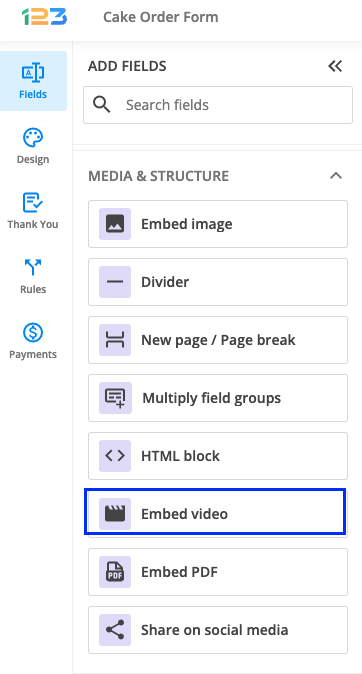
You can embed videos from various websites on your form. All you need to do is add the Embed video field to your form. You can find this field under the Media & Structure section, in the left side panel.
Once the field has been added to the form, you will have to provide the Video link in the URL section and the video will automatically be retrieved on your form.

Important Note
At the moment you can only embed content from the following streaming services on your forms: Youtube (videos & playlists, but not shorts), Vimeo, or Ted Talk.A timestamp is a sequence of characters or encoding information that details the date and time an operation was made. You can include timestamps in your email notifications to determine when they were created. This will create a sequence of characters next to the letters you have defined in the Advanced section within the form builder.

You can use this code in return to convert it with a timestamp converter, such as Timestamp.Online, to get the date and time when the respective submission was made.
In the Submissions table, you can notice that there is a separate column that indicates the reference ID for each entry.
To include the ID into an email template simply click the plus sign and search for the Reference ID variable.
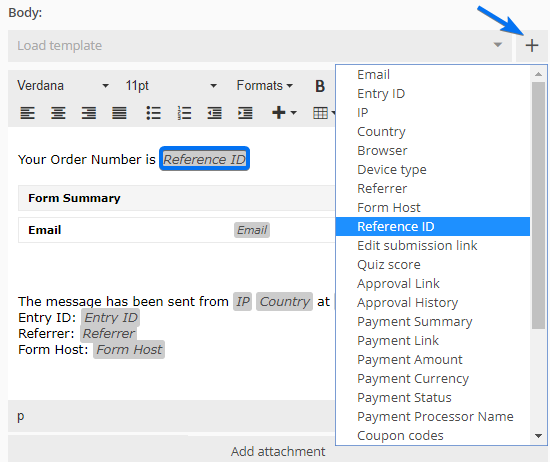
Example: We have assigned the letters ABC in the Reference ID box to enable the feature.
After submission, we have received an email notification with the reference ID ABC-1569232186. With the help of a timestamp converter, we have converted the code and received this result: 09/23/2019 12:49:46.
Important note: The Reference ID prefix can contain up to 9 characters.
Most Popular
Frequently Asked Questions
Here is a list of the most frequently asked questions. For more FAQs, please browse through the FAQs page.