123FormBuilder Knowledge Base
Search our documentation platform for answers, service specifications and 3rd-party integrations.
Knowledge Base
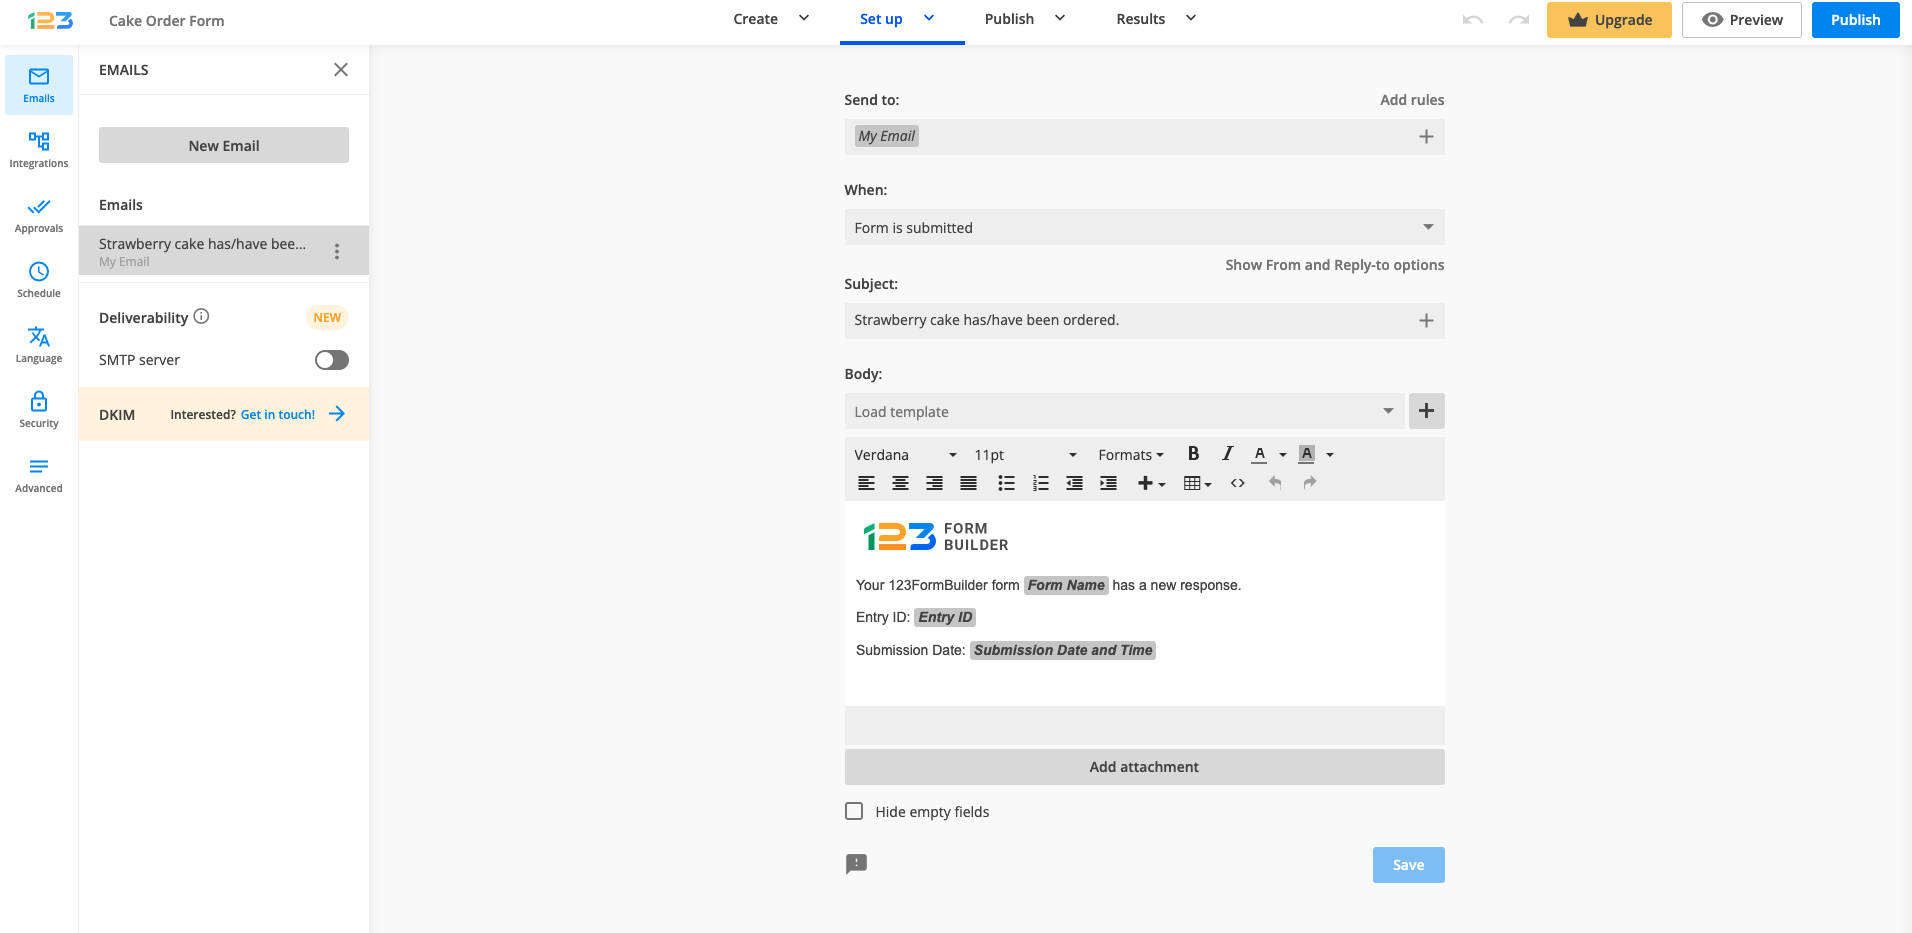
You can add more than one autoresponder to your 123FormBuilder form. Once you have accessed the Editor for your form, click on Emails. By default, you will have one email created, but you can set up as many emails as your subscription allows:
Basic – 3 email templates
Gold – 6 email templates
Platinum – 10 email templates
Diamond – 15 email templates

You can also trigger different autoresponders/emails each time a certain condition is met on the form with the help of notification rules. For example, if Field A contains a value Y, then the respondent will receive a particular email.
To add online forms to PrestaShop, go to your 123FormBuilder account, copy the JavaScript code of your form and paste it inside a JavaScript module from your PrestaShop webpage. If you don’t have the JavaScript module for PrestaShop, you can either buy it from PrestaShop’s marketplace or follow the steps below:
1. Open the source control software from your server where all your PrestaShop files and folders are located. Go to Themes → Your Theme and select the page where you want to add the online form. In this tutorial, we will change the contact form located on the Contact Us page. Open the file contact-form.tpl and delete all content within the file. If you cannot open it with Notepad, try Notepad++.
2. Log in to your 123FormBuilder account, select the form you want to publish in My Forms, and go to the Publish → Embed form section. Copy the JavaScript code of your form and return to your .tpl file to paste it there. Next, save your changes and overwrite the old contact-form.tpl file with the new one (if changes haven’t been applied directly on the server).
Return to your PrestaShop website (visual mode) and you’ll find the new contact form on the Contact Us webpage. All form submissions received through your PrestaShop webpage will be saved in the Submissions section on 123FormBuilder. Whenever you edit the online form in your 123FormBuilder account, all changes will be automatically applied on your PrestaShop website, but only if you use the JavaScript code.
Note: This documentation is made with the use of PrestaShop 1.6 without any customized modifications.
Yes, you can allow users to search through the options of your online form. In your 123FormBuilder account, go to the Form Editor, select the Dropdown field, and tick Searchable on the right side menu, under Options.

Once your respondents click on the dropdown field, a search bar will appear on the first line.

A searchable dropdown list is helpful in a variety of situations. Let’s say you’re creating an appointment form for scheduling medical consultations with doctors or other healthcare specialists. You might include several names, specialties, and medical offices. Patients may want to find a specific doctor by name, specialty, or location, without scrolling through a long list of options.
By enabling a searchable dropdown list to your form, patients can easily search for their desired doctor as they type. The system will filter the options to display the relevant doctors in real time.
In conclusion, adding a searchable dropdown list to your 123FormBuilder form is a simple yet powerful way to enhance user experience and streamline the form-filling process.
Important Note
The searchable dropdown list is not compatible on mobile. If enabled, the search bar will not appear in the dropdown on mobile devices.Yes, you can add multiple 123FormBuilder forms to the exact same Wix site.
If this is your first time publishing a 123FormBuilder form on Wix, go to your Wix website editor. Then open the Add Apps section of your site and add the 123FormBuilder app.
If you need to publish a second form, all you need to do is search again for our form builder app in the Wix App Market. Afterward, click on Add Again. The publish method is the same.
Yes, you can add a Print button to your web form. The Print button will show up at the bottom of your form. When clicked by respondents, the form will be printed with the input they’ve just provided. If your form has multiple pages, the Print button will be included on each page.
To add the Print button, go to the Create tab within the form builder and click on the Submit button. A panel will open on the right side of the page. Enable the Additional buttons toggle and click the Print option, thus adding the button to your form.

To learn how to add a Print button to your form you can also check out our step-by-step tutorial:
Related articles
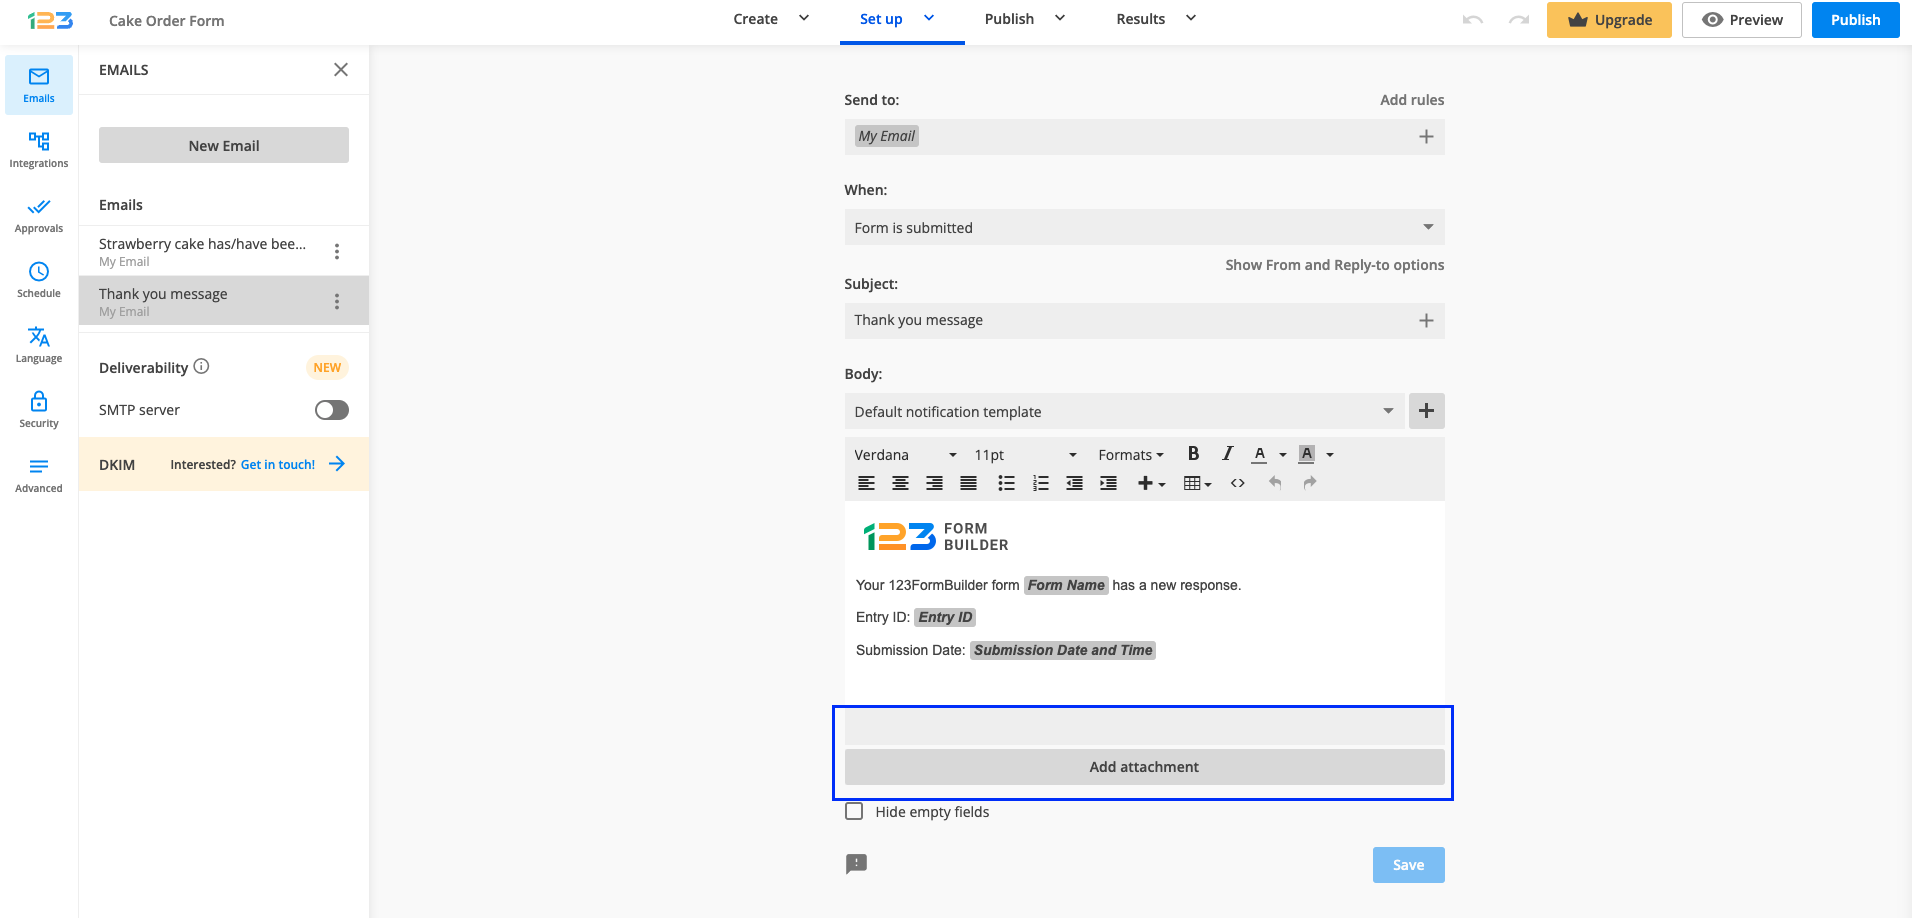
You can attach files to your email templates. In the Emails section of your form, select the email template you are interested in.

At the end of the template’s Body, you will see the option called Add attachment. Click on it and from the dropdown list select File.
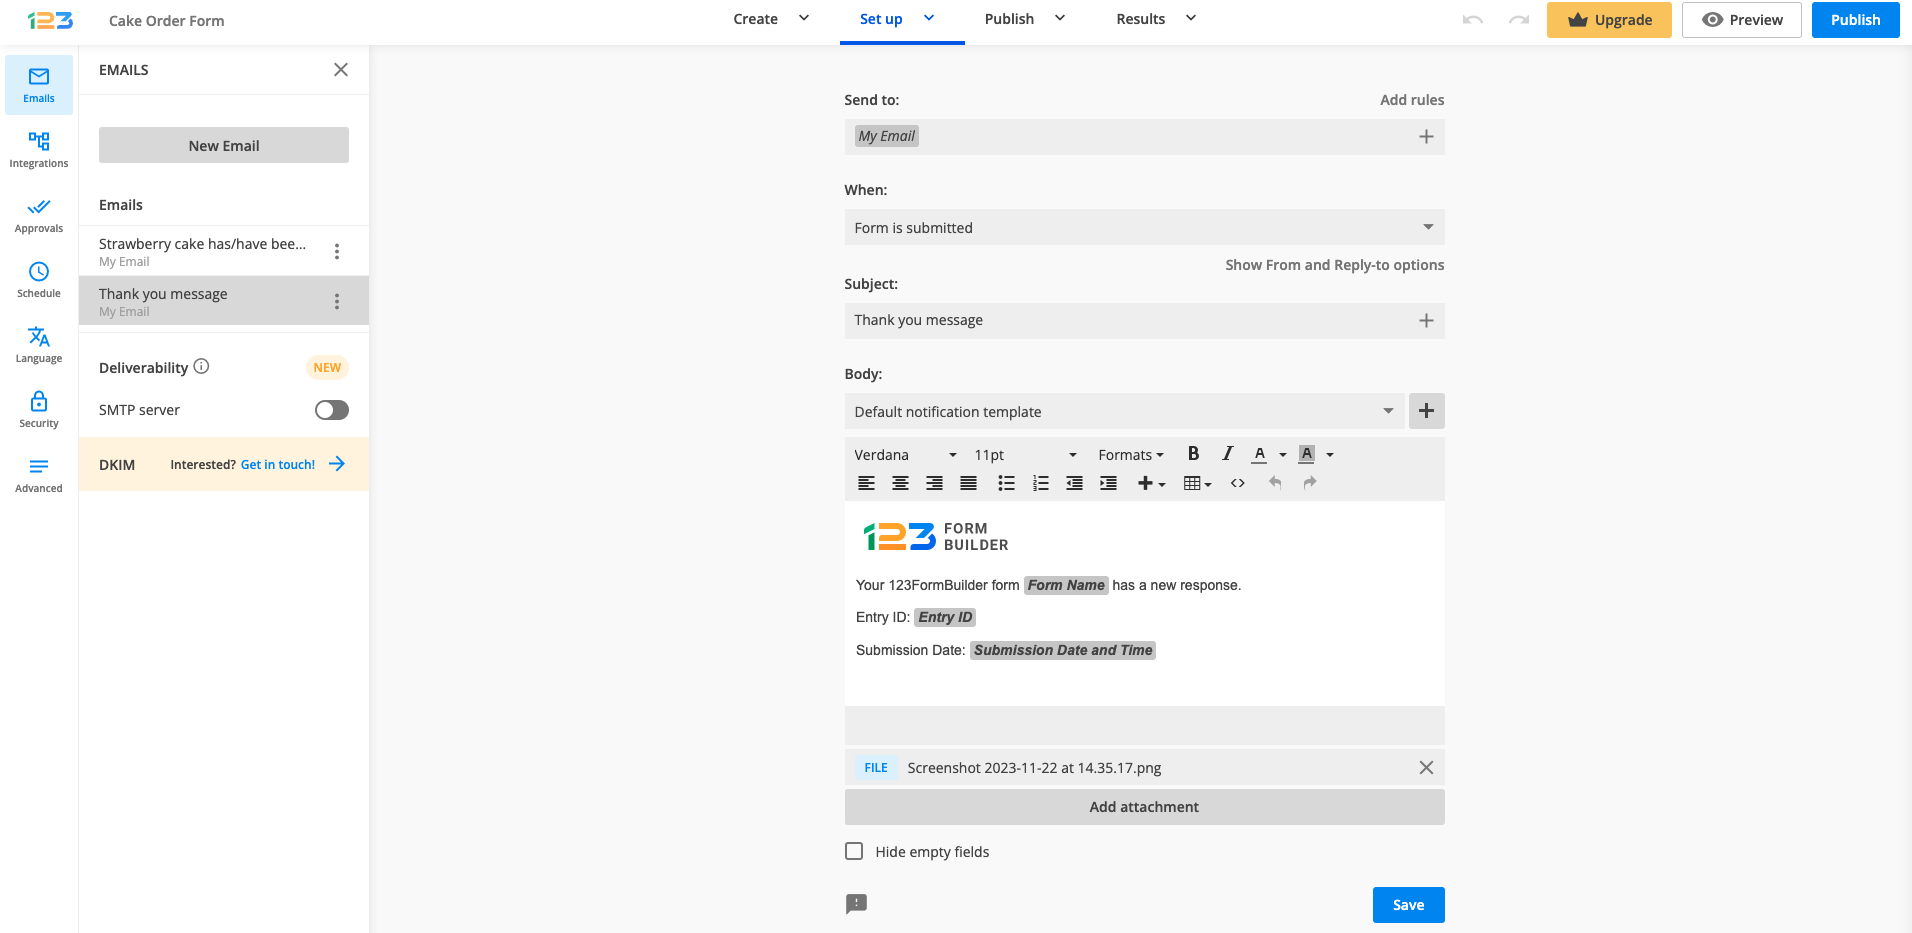
This will open a pop-up window where you can select the file from your local device.
The file will be uploaded on our servers and can be removed by clicking the X sign next to it. Keep in mind that only one file can be attached to the template selected. Finally, the email will be sent with the file attached.
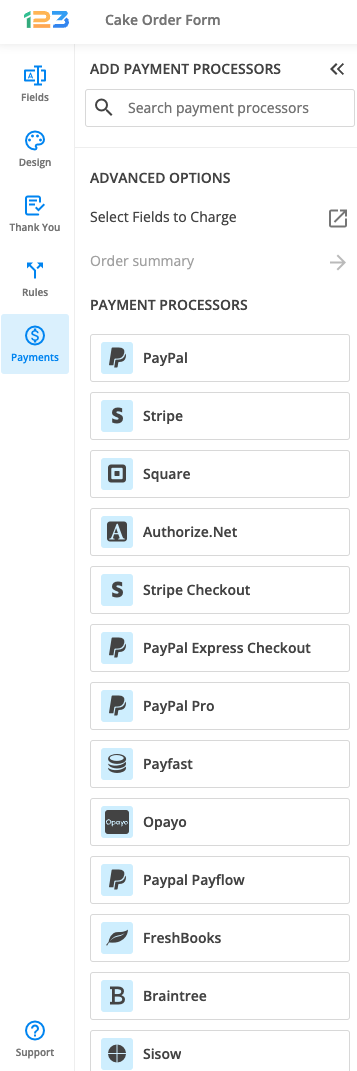
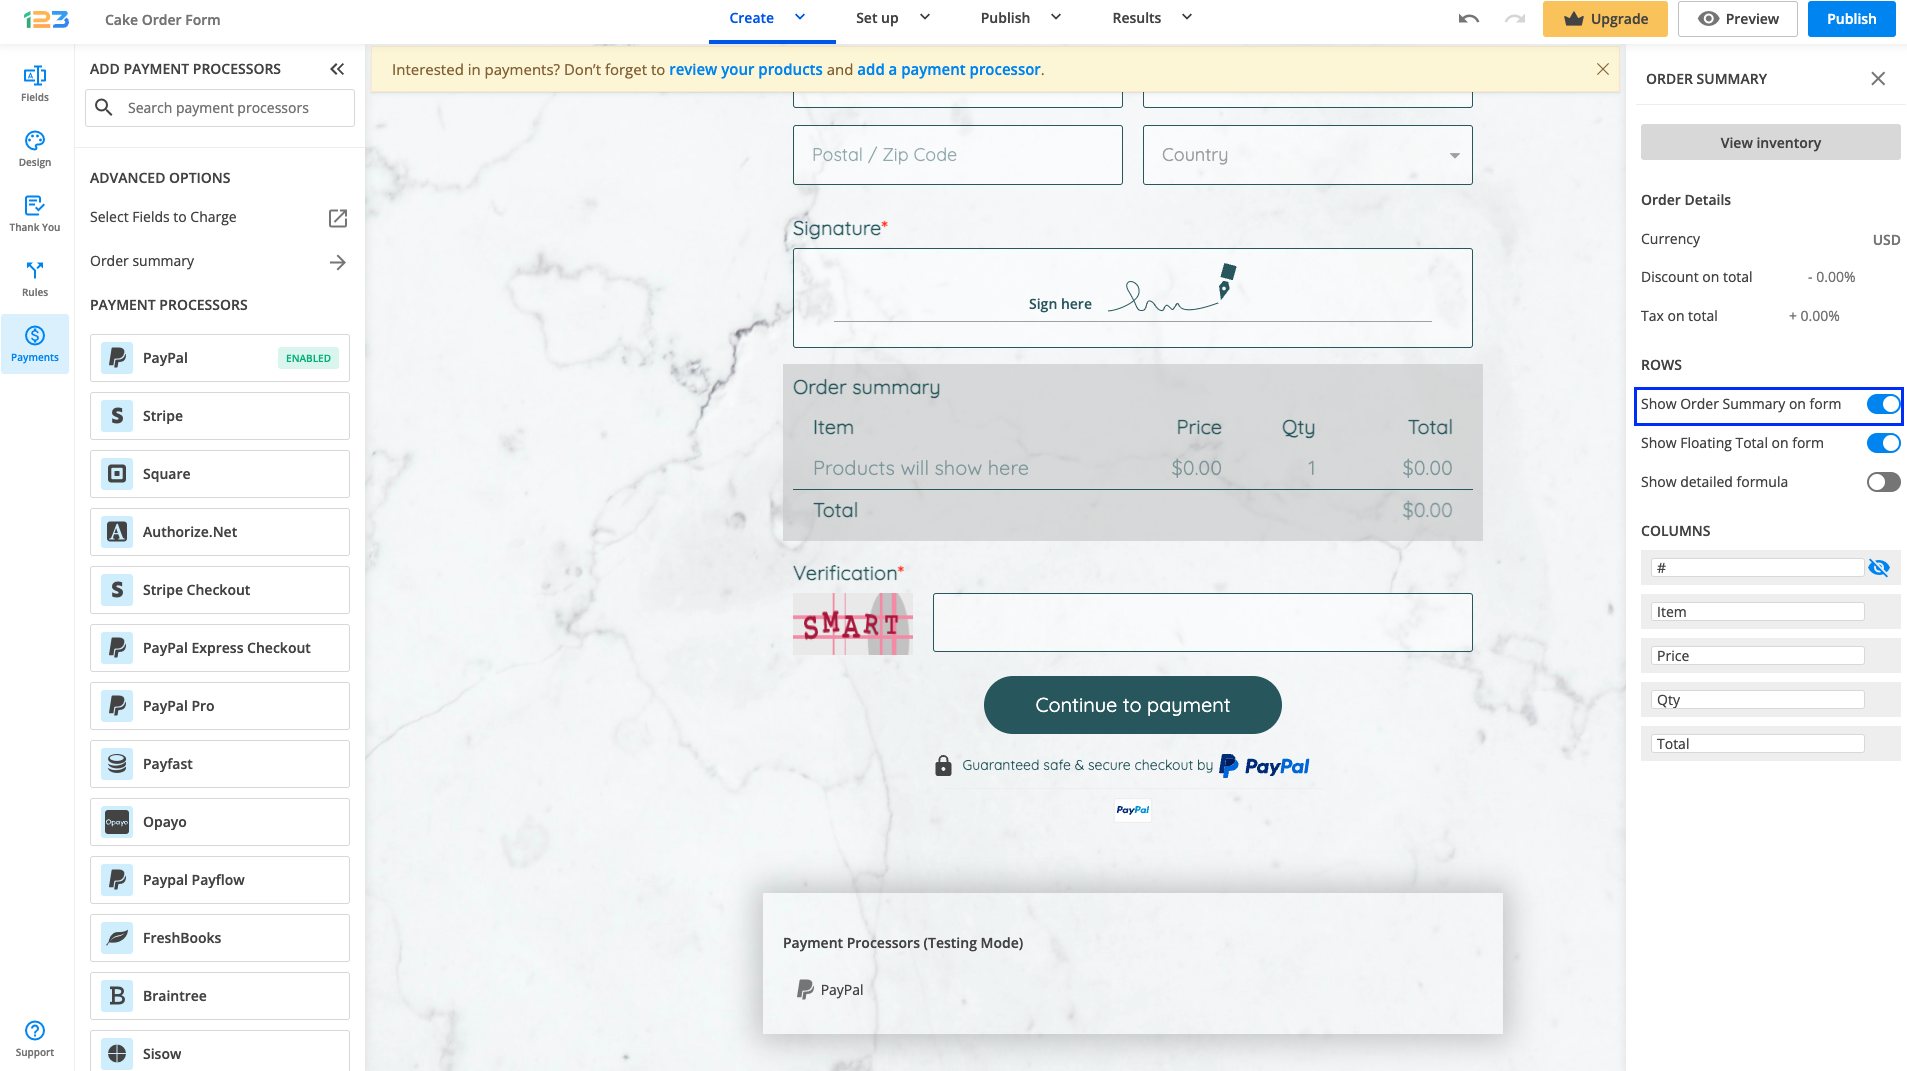
You can easily display the payment summary of your online order form in real-time. Open the Form Editor and scroll down to the Payments section. Choose your payment gateway and enable it.
Once the payment processor is enabled, the order summary will be displayed at the bottom of the main view.
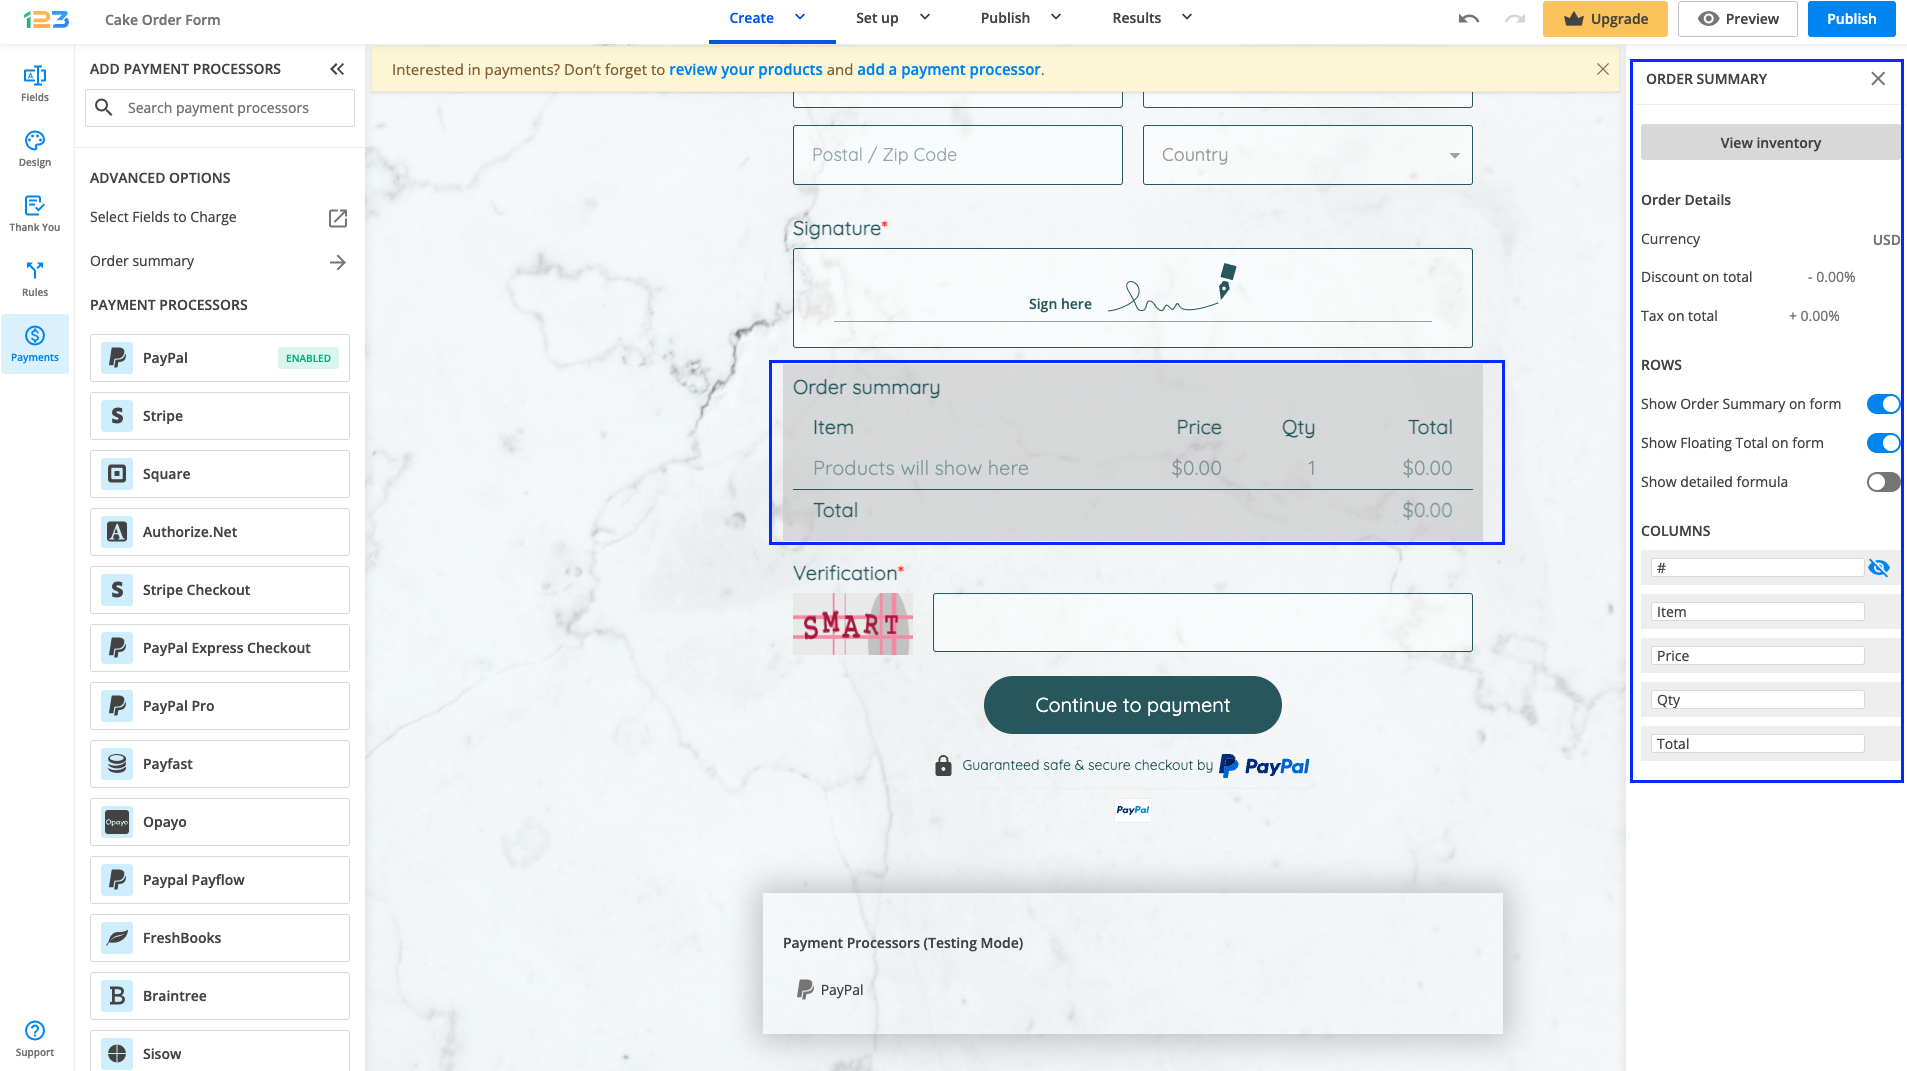
Click on Order summary and navigate to the left-side panel. Enable Show order summary on form.
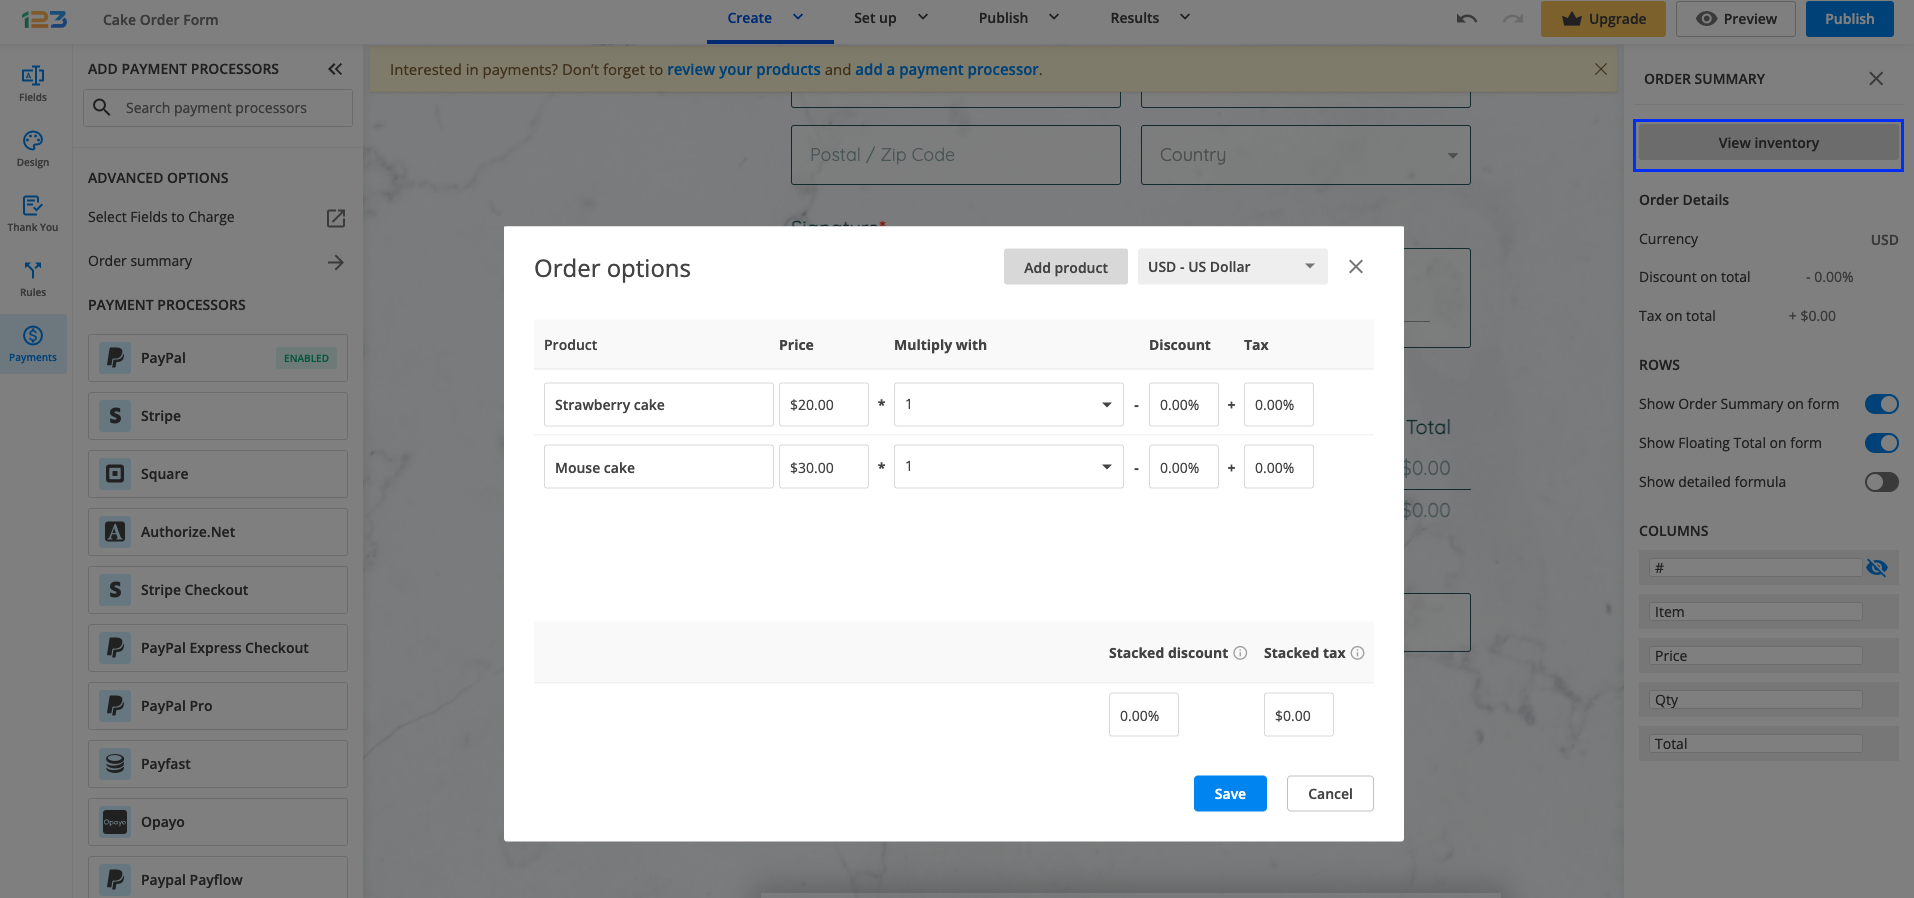
If you click on View inventory button, you can also change the currency and add discounts/taxes to the total.
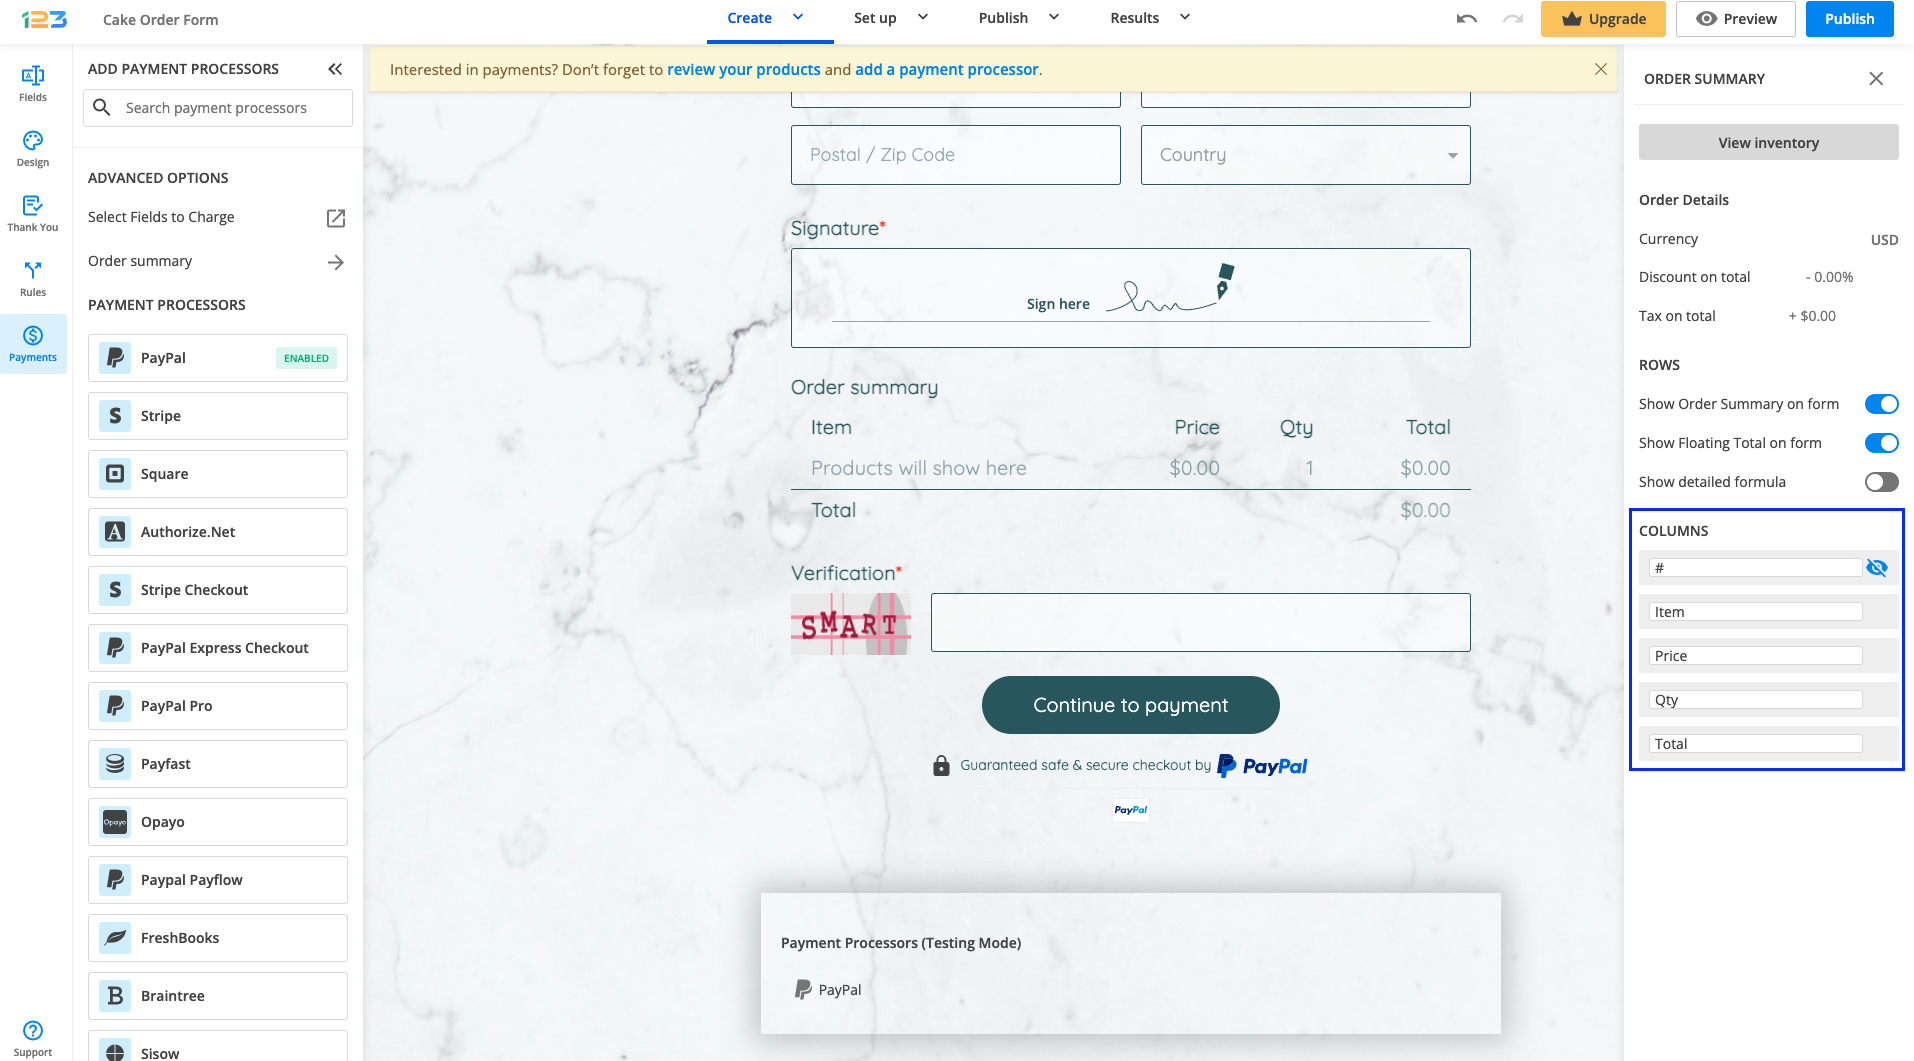
The Columns section allows you to rename your summary table columns.
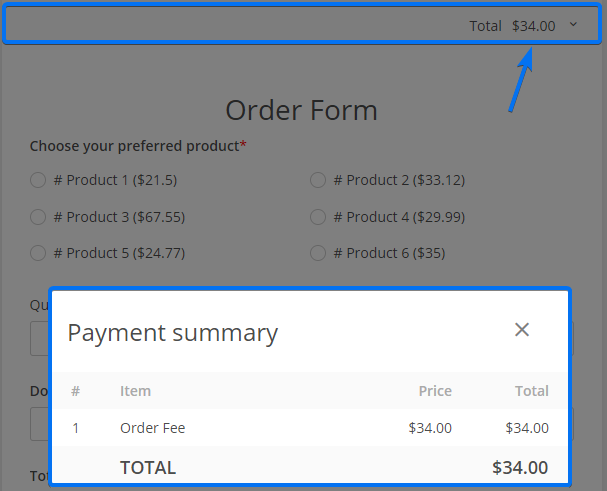
Preview your form. The payment summary will be automatically displayed on top of the form. By default, it will be folded and can be expanded on click.
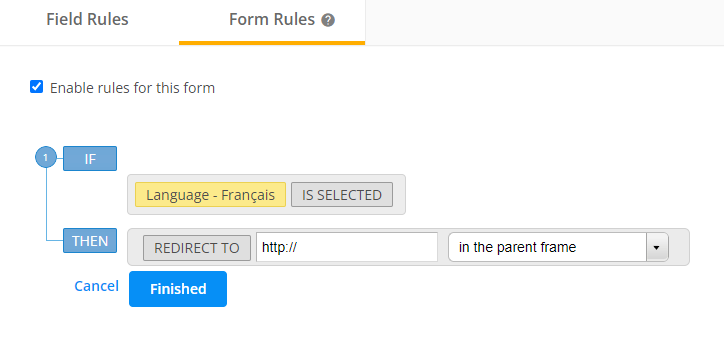
If you use multiple language forms in the form builder, you can add rules that affect the form depending on the language your submitters have selected. For example, you can show or hide specific fields if the submitter has selected a certain language from the form’s language dropdown.
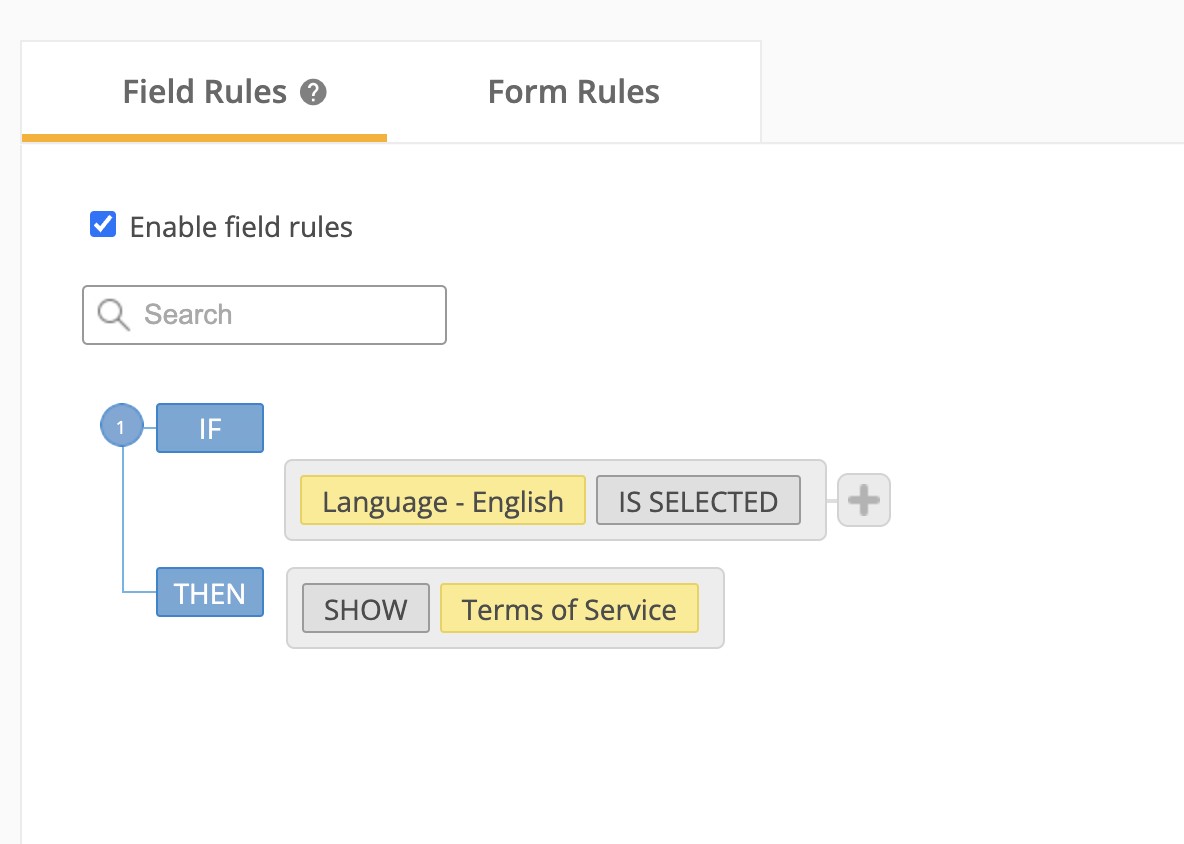
You can also redirect submitters to different web pages based on what language they have selected or trigger different autoresponders. Check Field Rules, Notification Rules, and Form Rules to find your form languages included in the Add Rule lightbox, within the condition dropdown.
You can easily change the color of the asterisk marking required fields.
Go to Design and expand the Fields section. Under Label subsection, you will find the option called Required star color. Using the color picker, select the color that you know it fits best for your form.
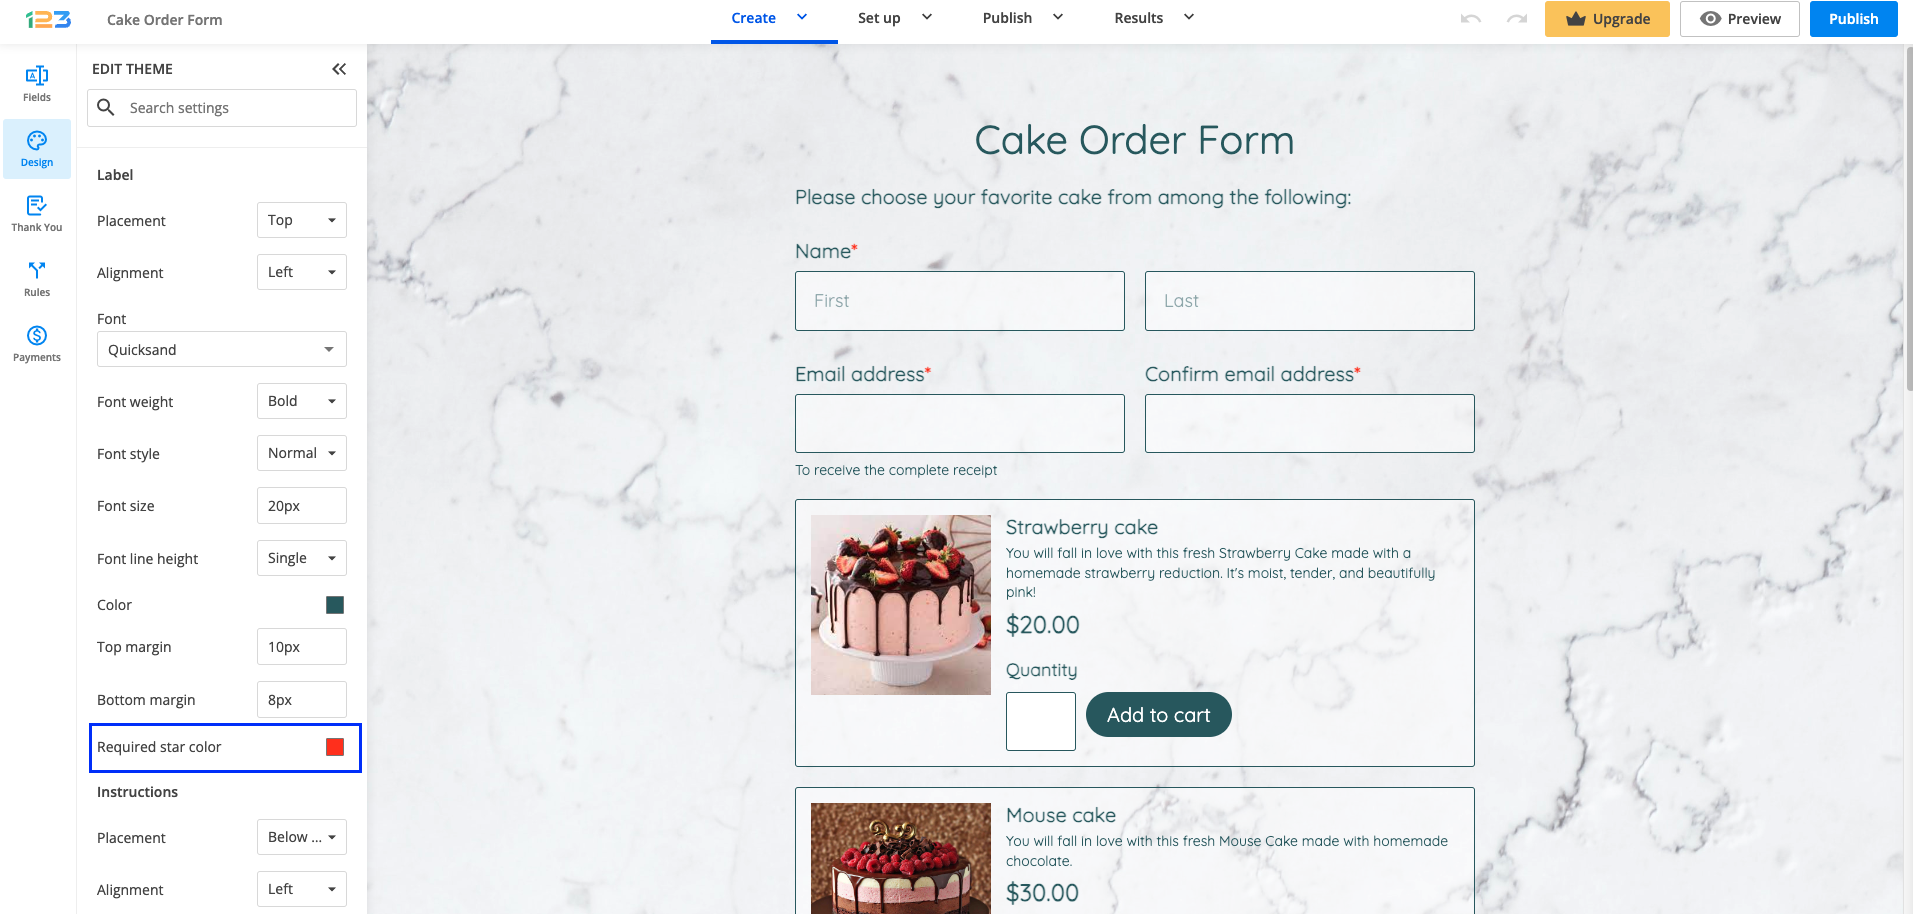
If you want to style more aspects of your web form, don’t hesitate to explore our online form designer for hidden gems.
Related articles
Yes. By default, the number of web forms displayed in the My Forms section of the form builder is 10. You can change this number to 20, 50, or 100 by clicking on Items per page.

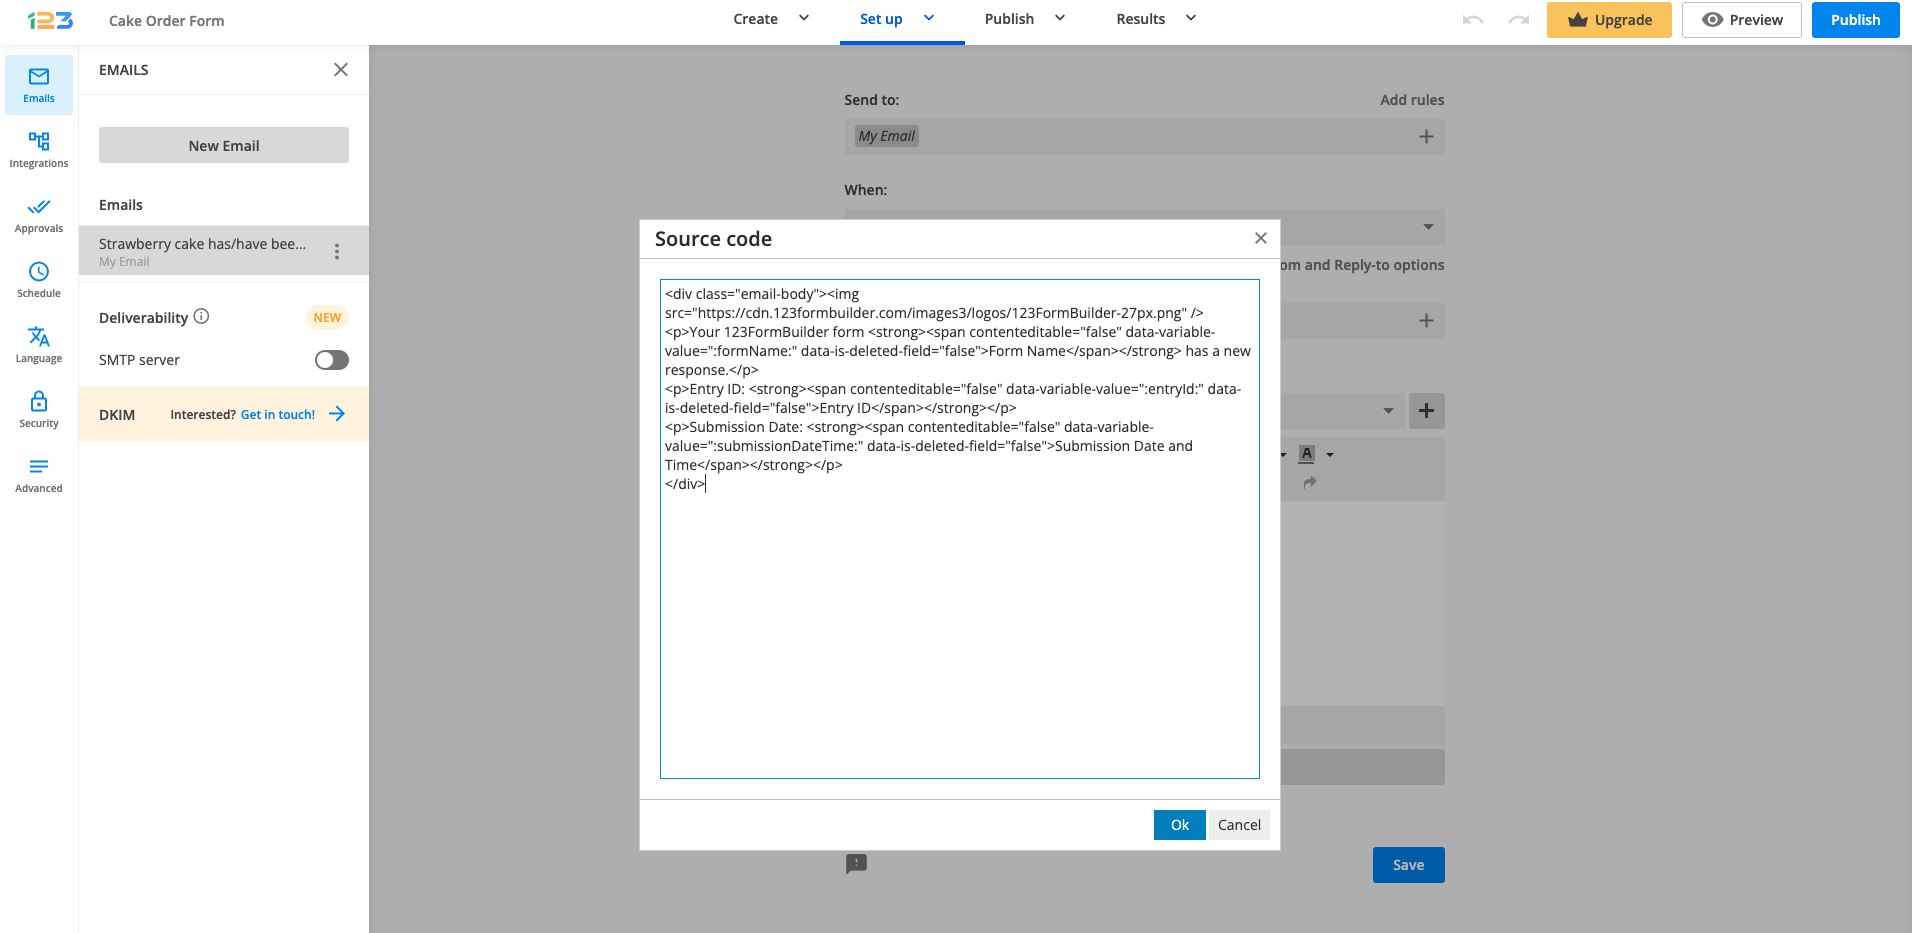
You can integrate HTML into your template. Select the form you are interested in and go to Email section.
Select your email template and click the source code icon (< >) to open the HTML editing window.
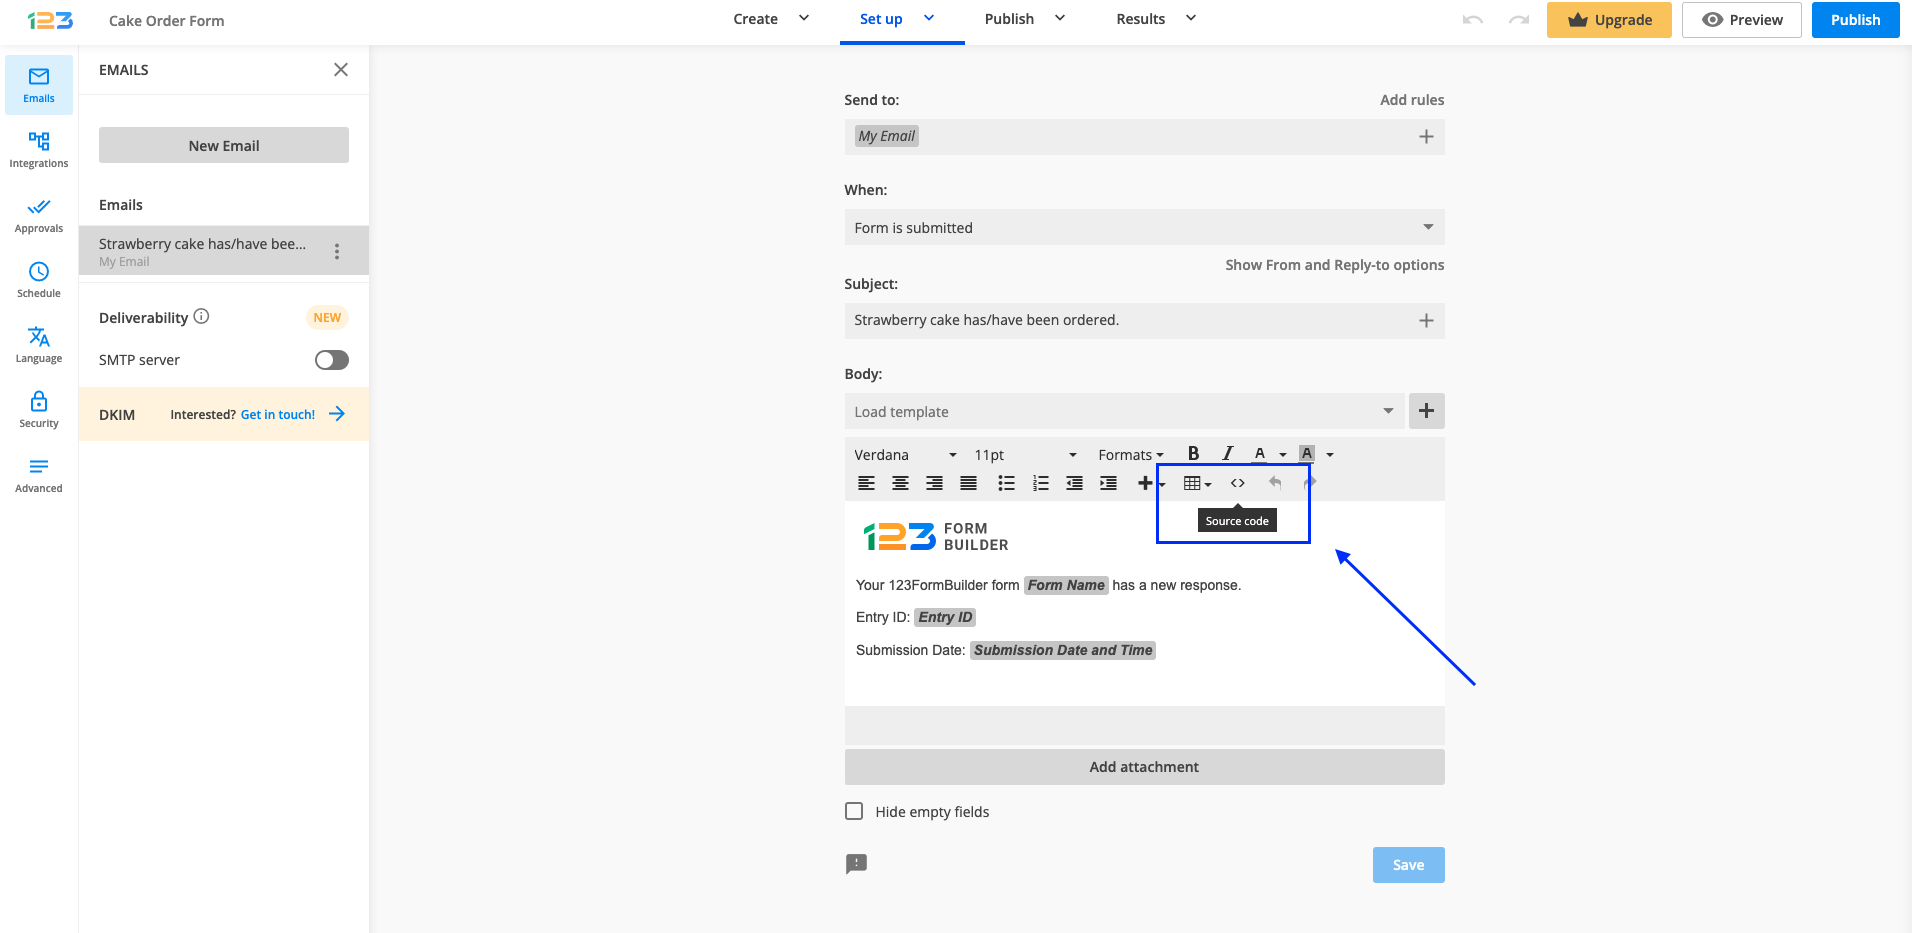
Here you will be able to insert your own HTML tags to change the design of the template.
IP limitation helps prevent spam users and restricts the number of submissions made from the same IP. By default, users can submit your form an unlimited amount of times from the same IP address.
To avoid this, access your form builder account, go to Security → Submission Limit and check to Limit the number of submissions from the same IP. Next, add the number of times the form can be submitted from the same IP per hour, day, week, month, year, or eternity.
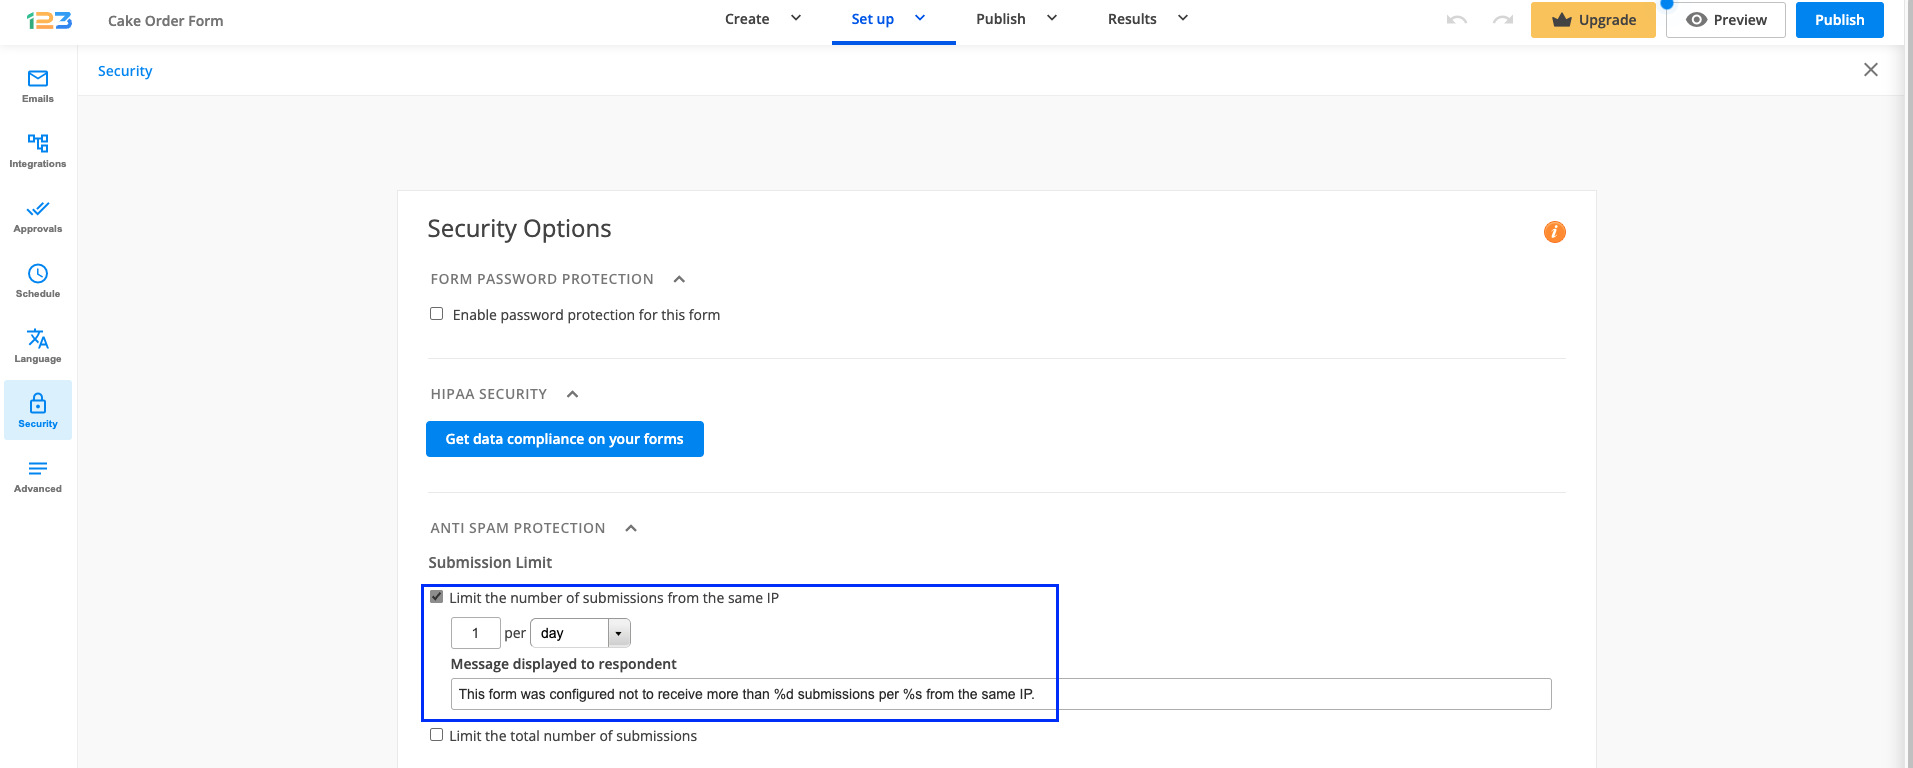
If you choose to limit form submissions from the same IP per day it means that after 24 hours the limitation is reset. The user will be able to send new submissions, but only the amount you have set in the Security settings.
If you choose to limit form submissions from the same IP per eternity, each user will be blocked from sending new submissions, when the limit has been reached.
Case scenario: You’re an Internet provider and you want to acquire some information from your clients through an online form, during a six-month period. Your database is built upon gathering IP addresses, therefore you require each submission to be unique by its IP address. In this case, you will limit the number of submissions from the same IP to 1 per eternity. This way you will receive at the end the correct number of clients your company is serving.
Related articles
Most Popular
Frequently Asked Questions
Here is a list of the most frequently asked questions. For more FAQs, please browse through the FAQs page.