123FormBuilder Knowledge Base
Search our documentation platform for answers, service specifications and 3rd-party integrations.
Knowledge Base
Then, go to Integrations, search for VerticalResponse using the search bar and press Connect. Type your VerticalResponse login data in the provided fields and press Save to enable the application. In the Use list dropdown, select the VR list to which you want to send leads. Press Customize to establish field associations.


You can add a mailing list opt-in checkbox to your form. Before having their contact data sent to your VerticalResponse account, form users will be asked for confirmation.
WebHook will send all submitted form data from your form builder account to a custom script located on your server. Paste the URL where your script is located and manage user input in any way you wish.
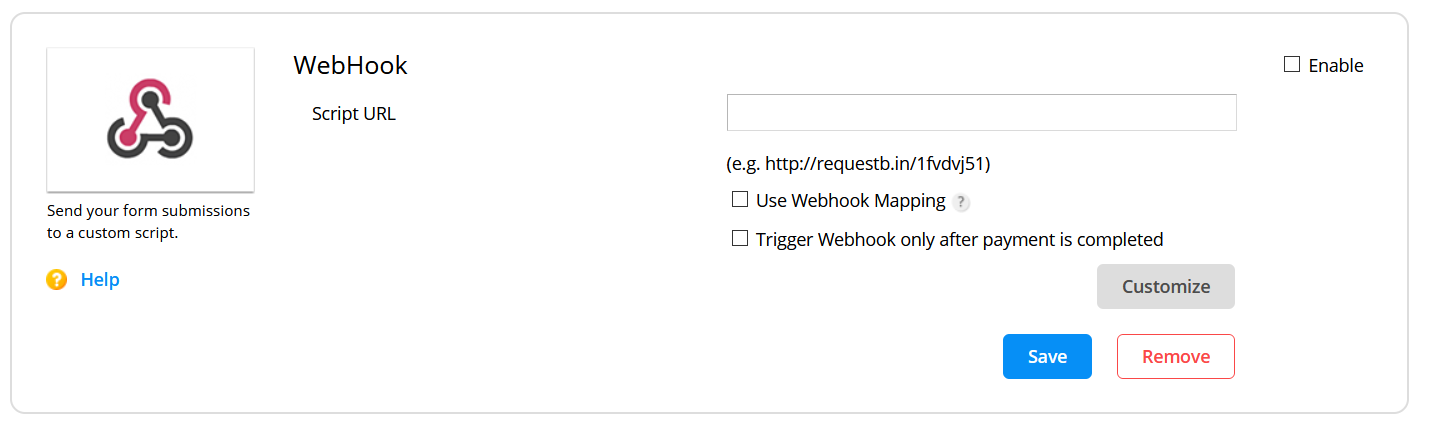
With the Customize option, you can associate your form fields with the variables from your script.

With this integration, mapping variables from your script with form fields becomes easier and more accessible for any user.
Notes:
- Whenever you add the URL of your script in the WebHook application box, our system creates an HTTP HEAD request to validate it. Make sure that you support these types of requests before integrating your form with a webhook.
- Add the URL where your script is located on your server in the Script URL box of the application box.
You can use your own CSS for styling forms. To start, go to the Design section of your web form and scroll to the bottom, where Add custom CSS button is available.
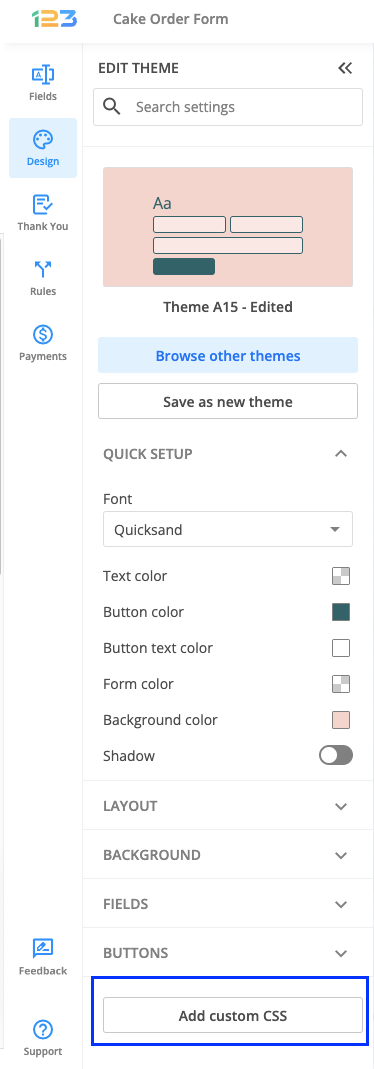
Click on Add custom CSS and use the Code tab to type the CSS code or the URL tab to provide the URL to the CSS file located on your server.
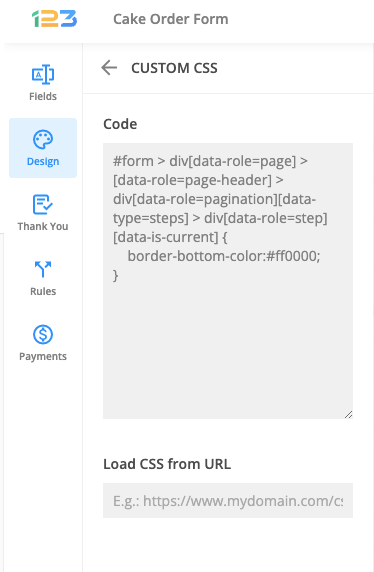
If you choose to Load CSS from URL, make sure that the URL leads to the content of your stylesheets. Here’s an example: https://www.mydomain.com/styles/stylesheets.css. If the URL does not contain the .css extension at the end, your CSS styles will not apply to the form.
For even more examples, visit the CSS Tricks section of our Knowledge Base.
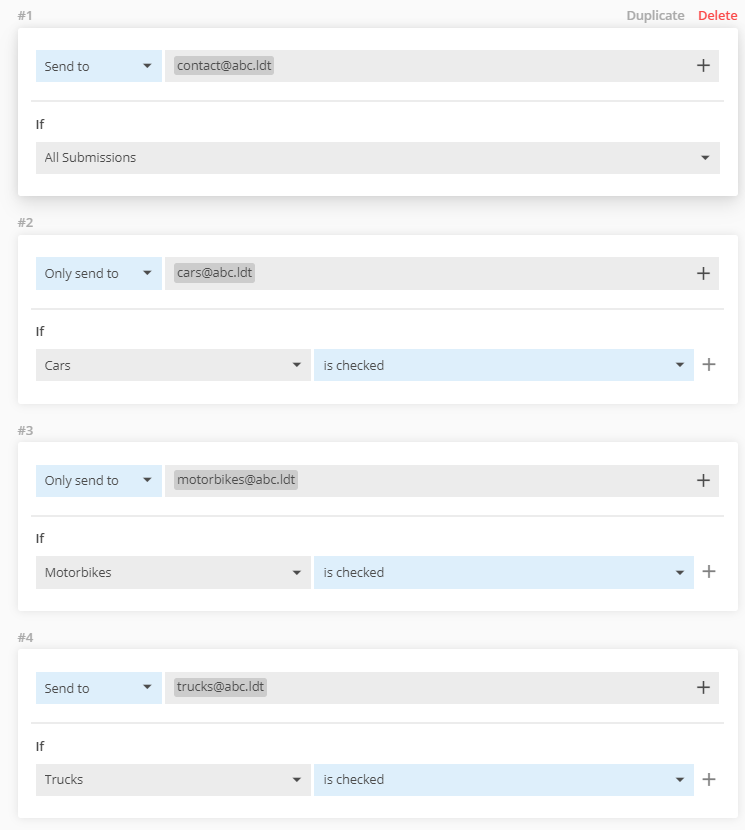
With custom recipients, you can send email notifications to different addresses by using conditional logic. This feature is especially useful for users/companies that receive many emails. Sending emails directly to the department that should handle the issue helps fasten your business processes.
For example, company ABC has 3 departments: cars, motorbikes, and trucks. The company receives all form submissions to the same email address: contact@abc.tld. The ABC employee that handles the submissions sorts the emails and forwards car-related emails to cars@abc.tld, motorbike-related emails to motorbikes@abc.tld, and truck-related emails to trucks@abc.tld.
This is time-consuming and adds some delay to the reply action. By using custom recipients, company ABC will have the form submissions sent directly to the right addresses.
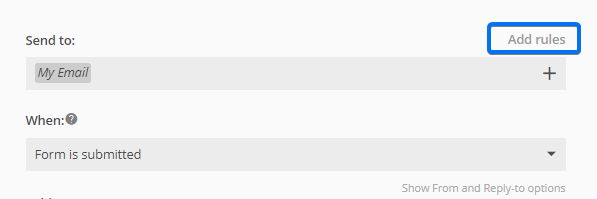
To start adding custom recipients in the form buider, go to Emails and click on Add rules where you list your form’s recipients.
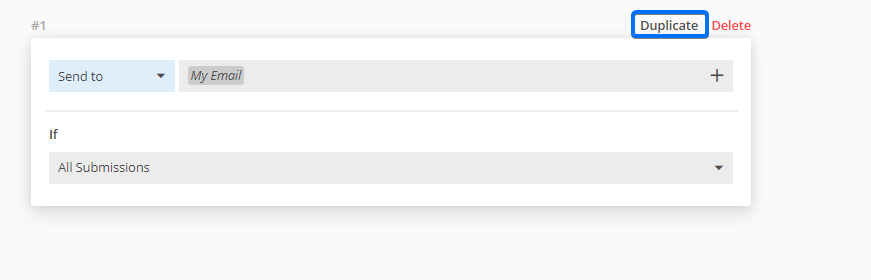
You’ll see that the email address used to create your account is, by default, set to receive all submissions. Press Duplicate to create a new rule.
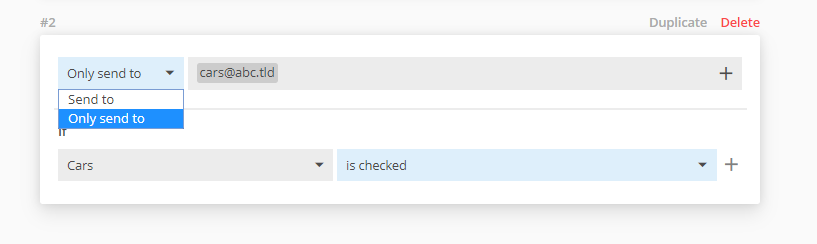
In the first dropdown list, you can select Send to or Only send to. If you select Send to, then the submissions that meet the conditions will be sent to both the primary email address and the one added afterward. If you select Only send to, then submissions will only be sent to the newly added address.
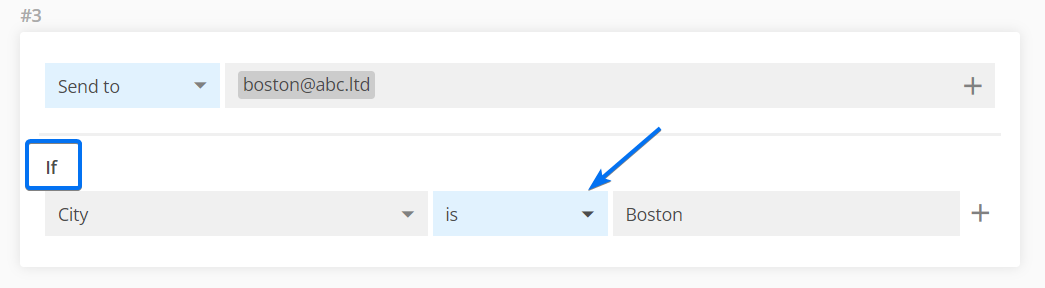
Type a new address in the text box and choose from the second dropdown list the field that will affect the behavior of the email notification. Then specify the conditions that it needs to meet.
E.g.: City – is – Boston. This means that the specified address will receive all submissions with Boston included in the City field.
Don’t forget to Save your changes from the Notifications page.
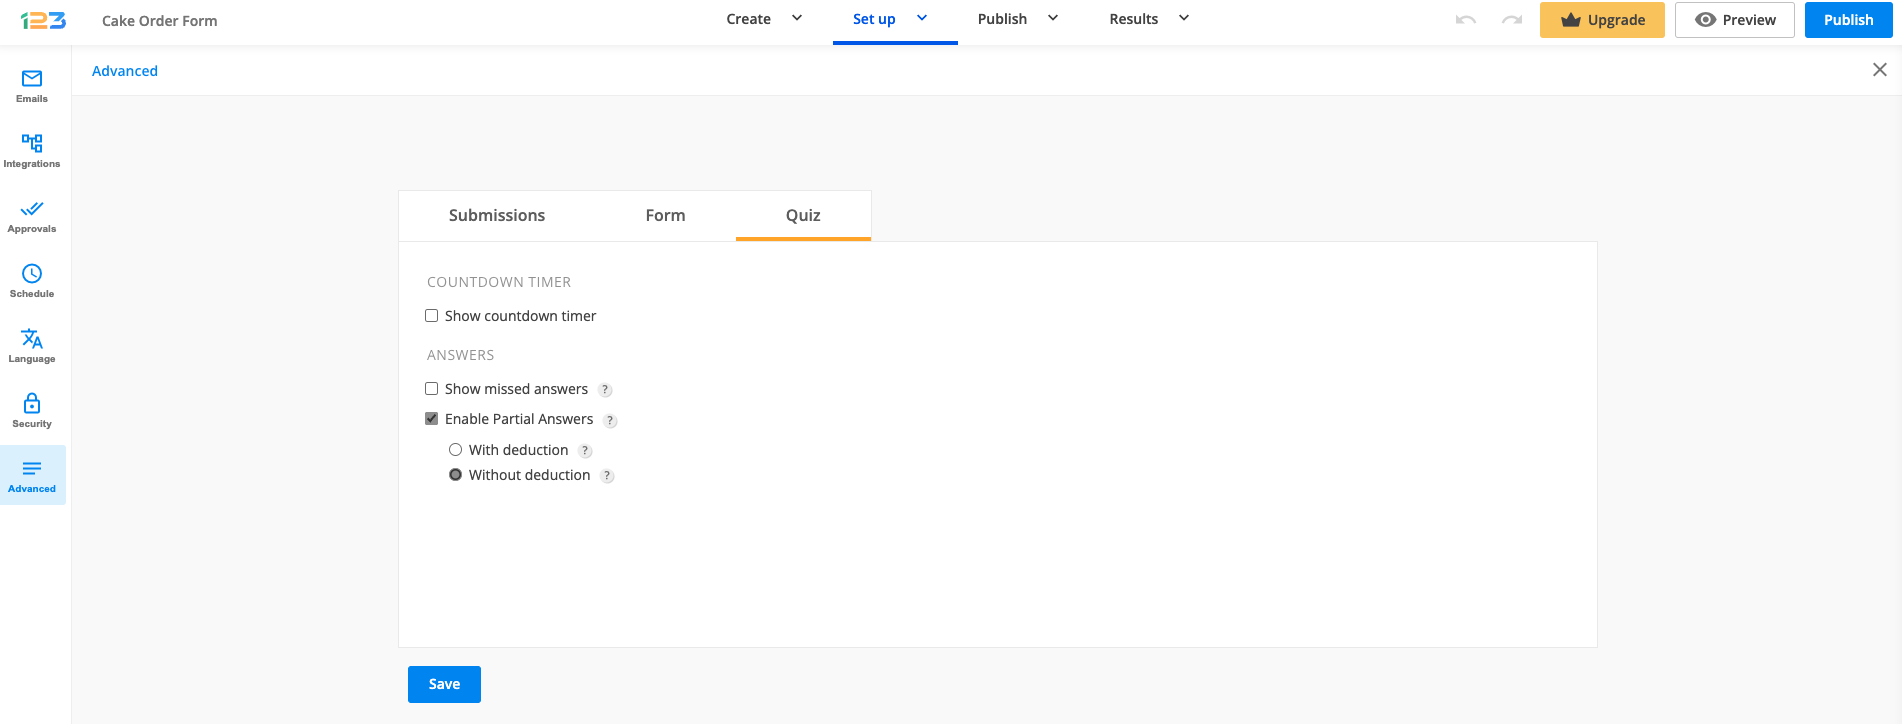
In order to use this option, you firstly have to create a quiz form. If you want to enable partial answers with deduction, head over to Advanced section and switch to Quiz tab. After ticking Enable partial answers, two options are available: With deduction/ Without deduction.
Unlike partial answers with deduction, partial answers without deduction do not cancel out correct answers when incorrect answers have been selected on the same question. If an incorrect answer is not selected, it’s considered a correct choice, therefore receives the same percentage rate as a correct answer. If an incorrect answer is selected, its percentage rate will be equal to zero.
To better understand how this works, divide 100 by the number of choices (answers) you have for a question. The result (as in X) represents the percentage rate of each choice. If an incorrect answer is selected, the percentage rate is zero, but when not selected, it’s X. For correct answers it’s the other way around: selected is X, but when not selected, it’s zero. Upon submission, the quiz will sum up the percentage rate of each choice of a question, giving a total that shows how well the recipient did on the respective question.
Related articles
In order to use this option, you firstly have to create a quiz form. If you want to enable partial answers with deduction, head over to Advanced section and switch to Quiz tab. After ticking Enable partial answers, two options are available: With deduction/ Without deduction.
In a quiz with partial answers with deduction, each selected incorrect answer cancels a correct answer in the same question. Points are harder earned this way.
Let’s say we have a question with four available choices. Only two of them are correct. If a correct answer is selected followed by an incorrect answer, the correct answer will not be taken into account. This means the respondent will score only 25% on the respective question. If the respondent chose the two correct choices and left out the two incorrect choices, he/she would have accomplished 100%.

Related articles
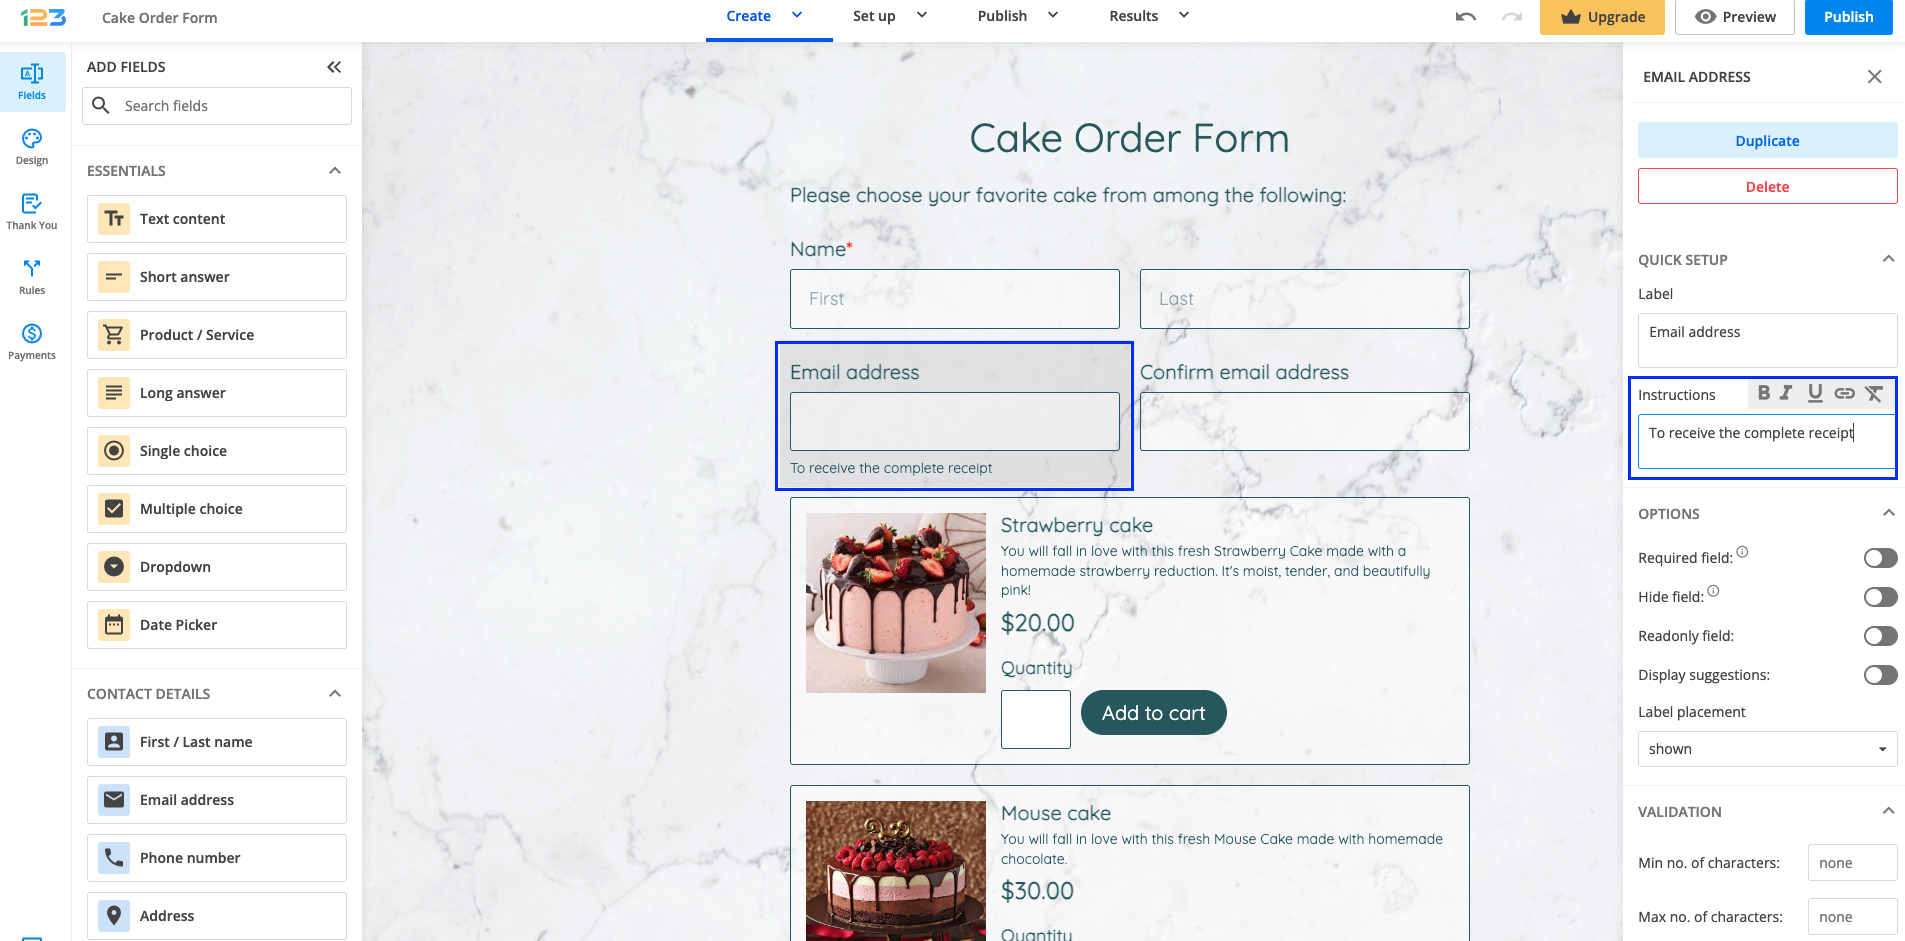
Form field instructions are the extra information you can add to a form field. This way, you can provide more context for your respondents.
You can also use this option to specify the exact input you require from them. All form fields that require user input have an instruction box where you can add some additional information.
In our form builder, all you have to do is to add the field you are interested in and in the right side panel, under Quick setup, you will find the Instructions box. Simply write your instructions there and they will appear under the label/field name.
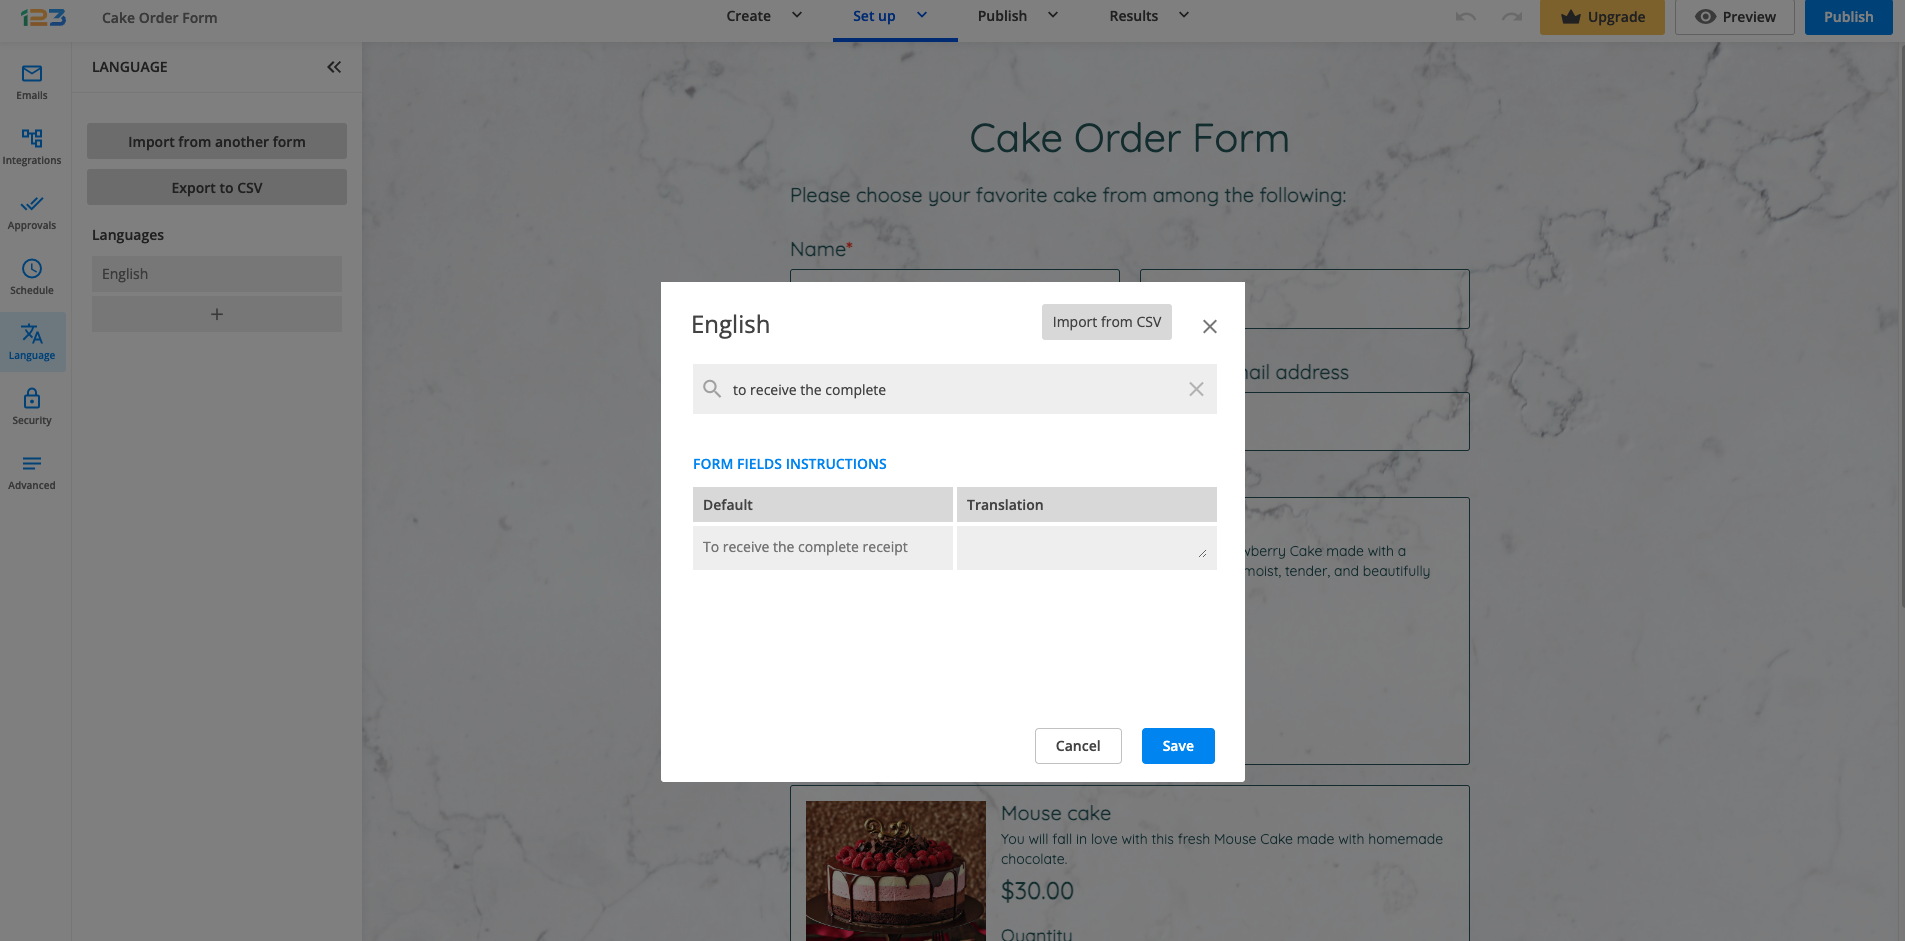
If you want to translate the instructions, you can go to Translations from the left side panel, edit the language you are interested in, and search for your instruction in the pop-up. All you have to do is to provide the translation for each instruction.
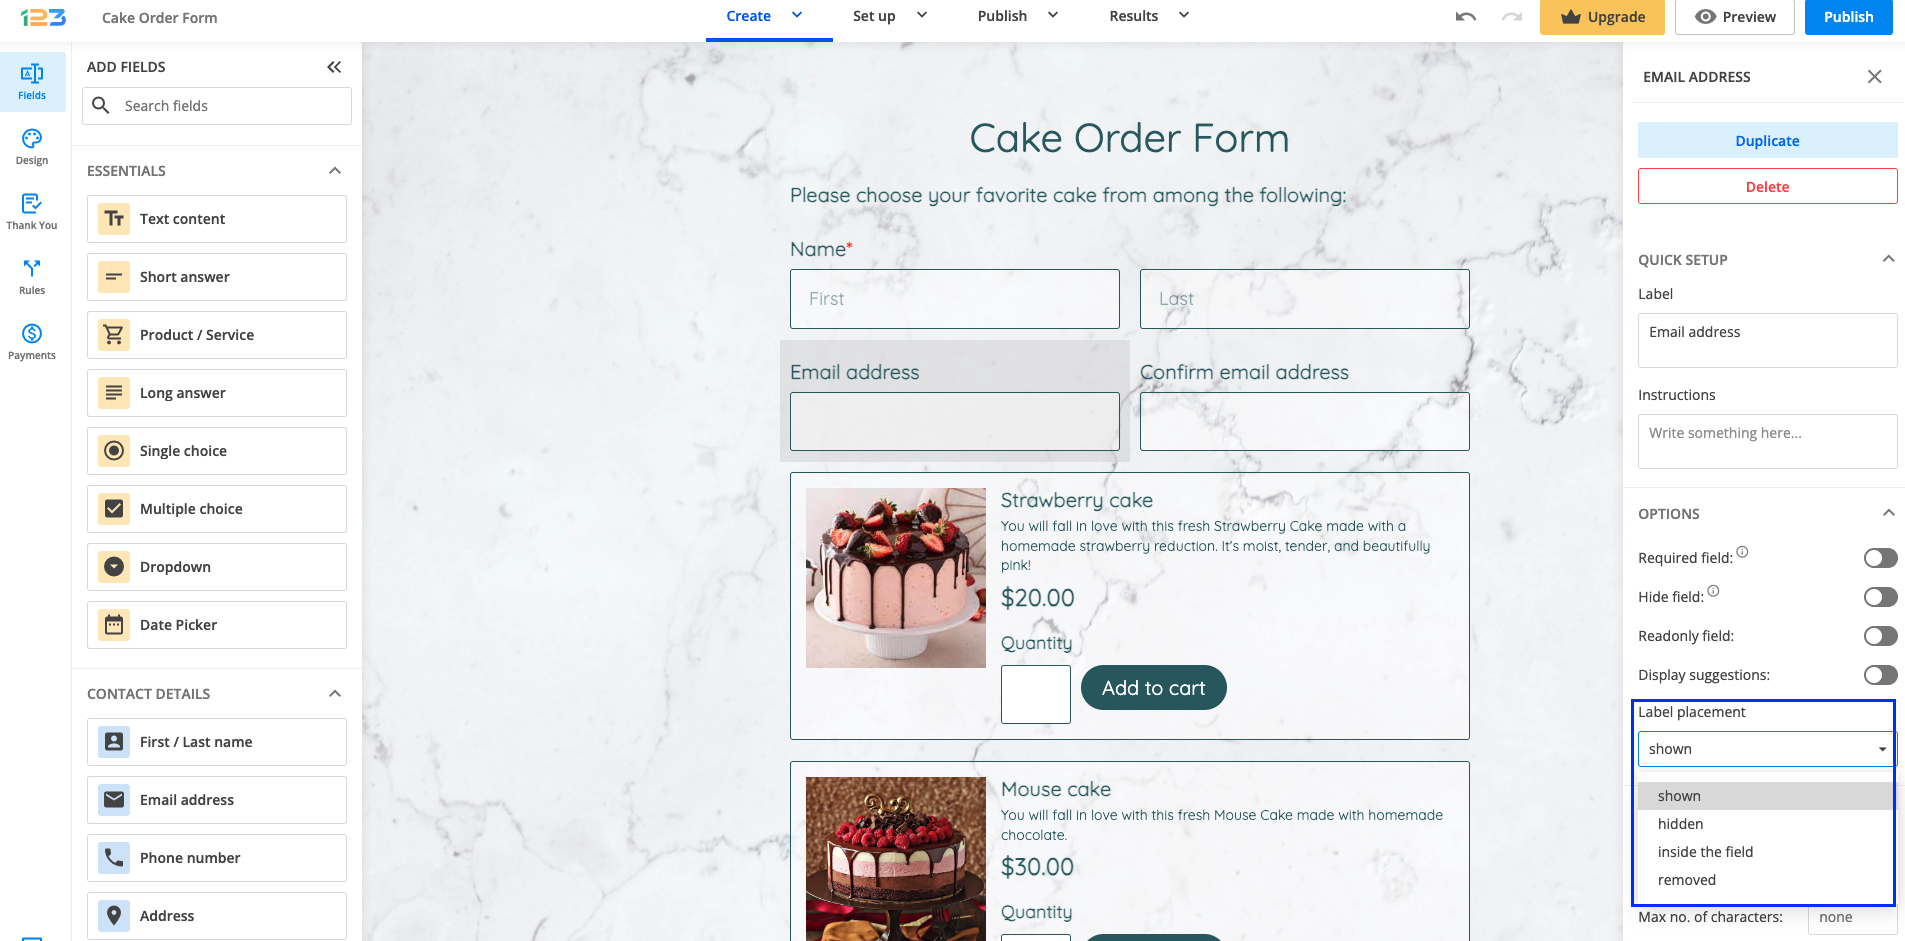
The label of a field can have different placement – you can place the label/field name inside the field, this making the form compact. The text will disappear as soon as your respondents will start to type their answer. This feature can be used for the following fields:
- Short answer
- Long answer
- Number
- Formula
- Email address
- Link
- Coupon
After adding the field to the form, you can find in the left side panel, under Options section, the Label placement. If you want to make the form compact, you can select the label placement to be inside the field.
Related articles:
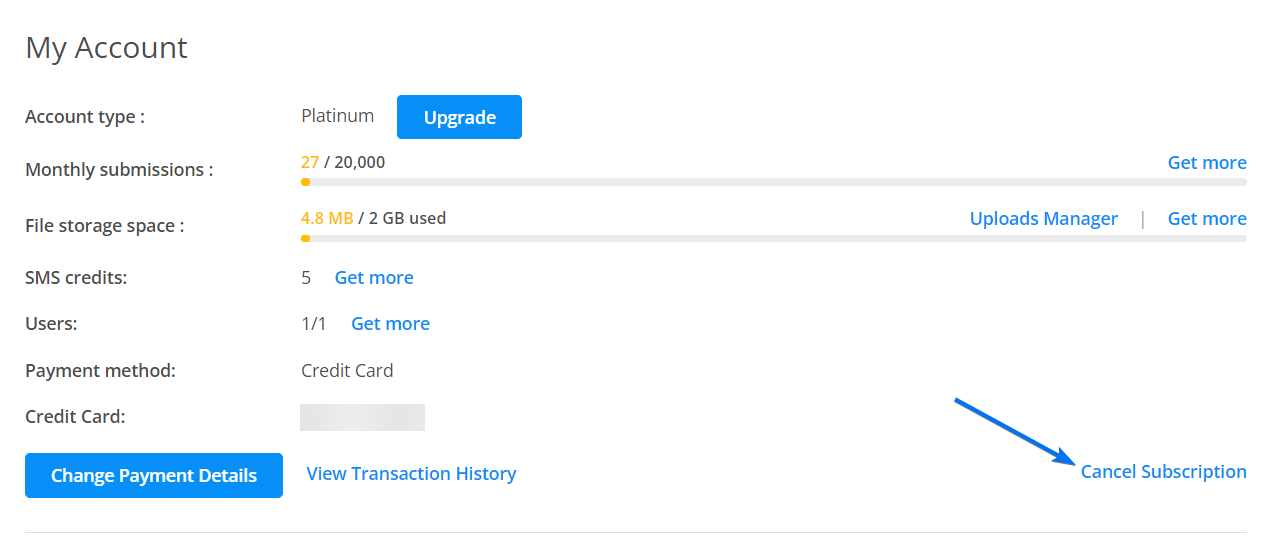
To cancel your subscription, you must follow our Terms of Service cancellation policy. Then, log into your form builder account, click on your username, and select Account Details. Afterward, in the My Account section, click on the Cancel Subscription link.
To complete the cancelation request, you’ll need to answer a 2-minute survey.
Since you paid for your subscription, you can still use the subscription’s features until the end of the current billing period, even if you have canceled.
The cancellation request will take effect immediately. However, the account will be downgraded at the end of the current billing cycle (next renewal date).
Important Note
If you intend to use our services again, you don’t have to delete the advanced features from your forms. Your account will be restricted, but the system will remove the limitation when you upgrade again to the corresponding paid plan.Related articles
123FormBuilder is an online form builder with file upload functionality. Users can collect files from their respondents through form submissions by adding File upload fields to the form.
All supported file extensions of the File upload field are located in the Validation section, within the field’s options. To allow only certain file extensions to be uploaded, at File types accepted use the dropdown list to check the extensions you want to use.
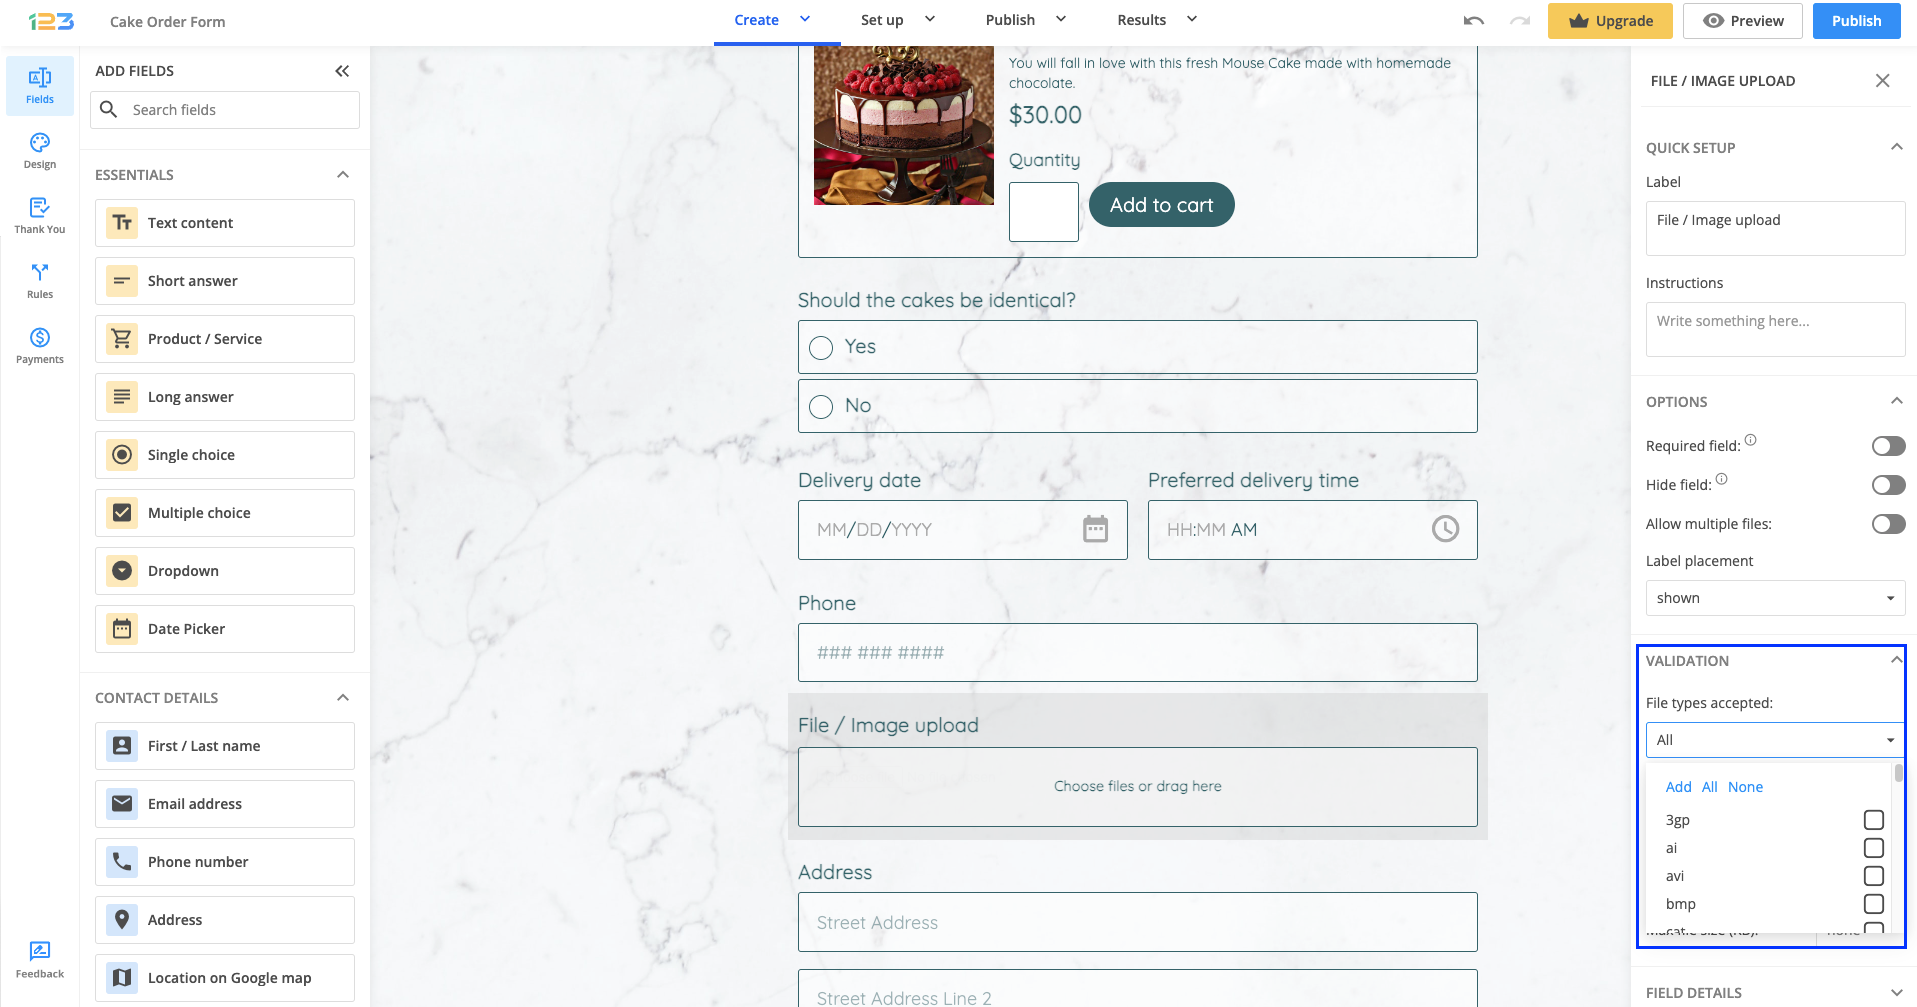
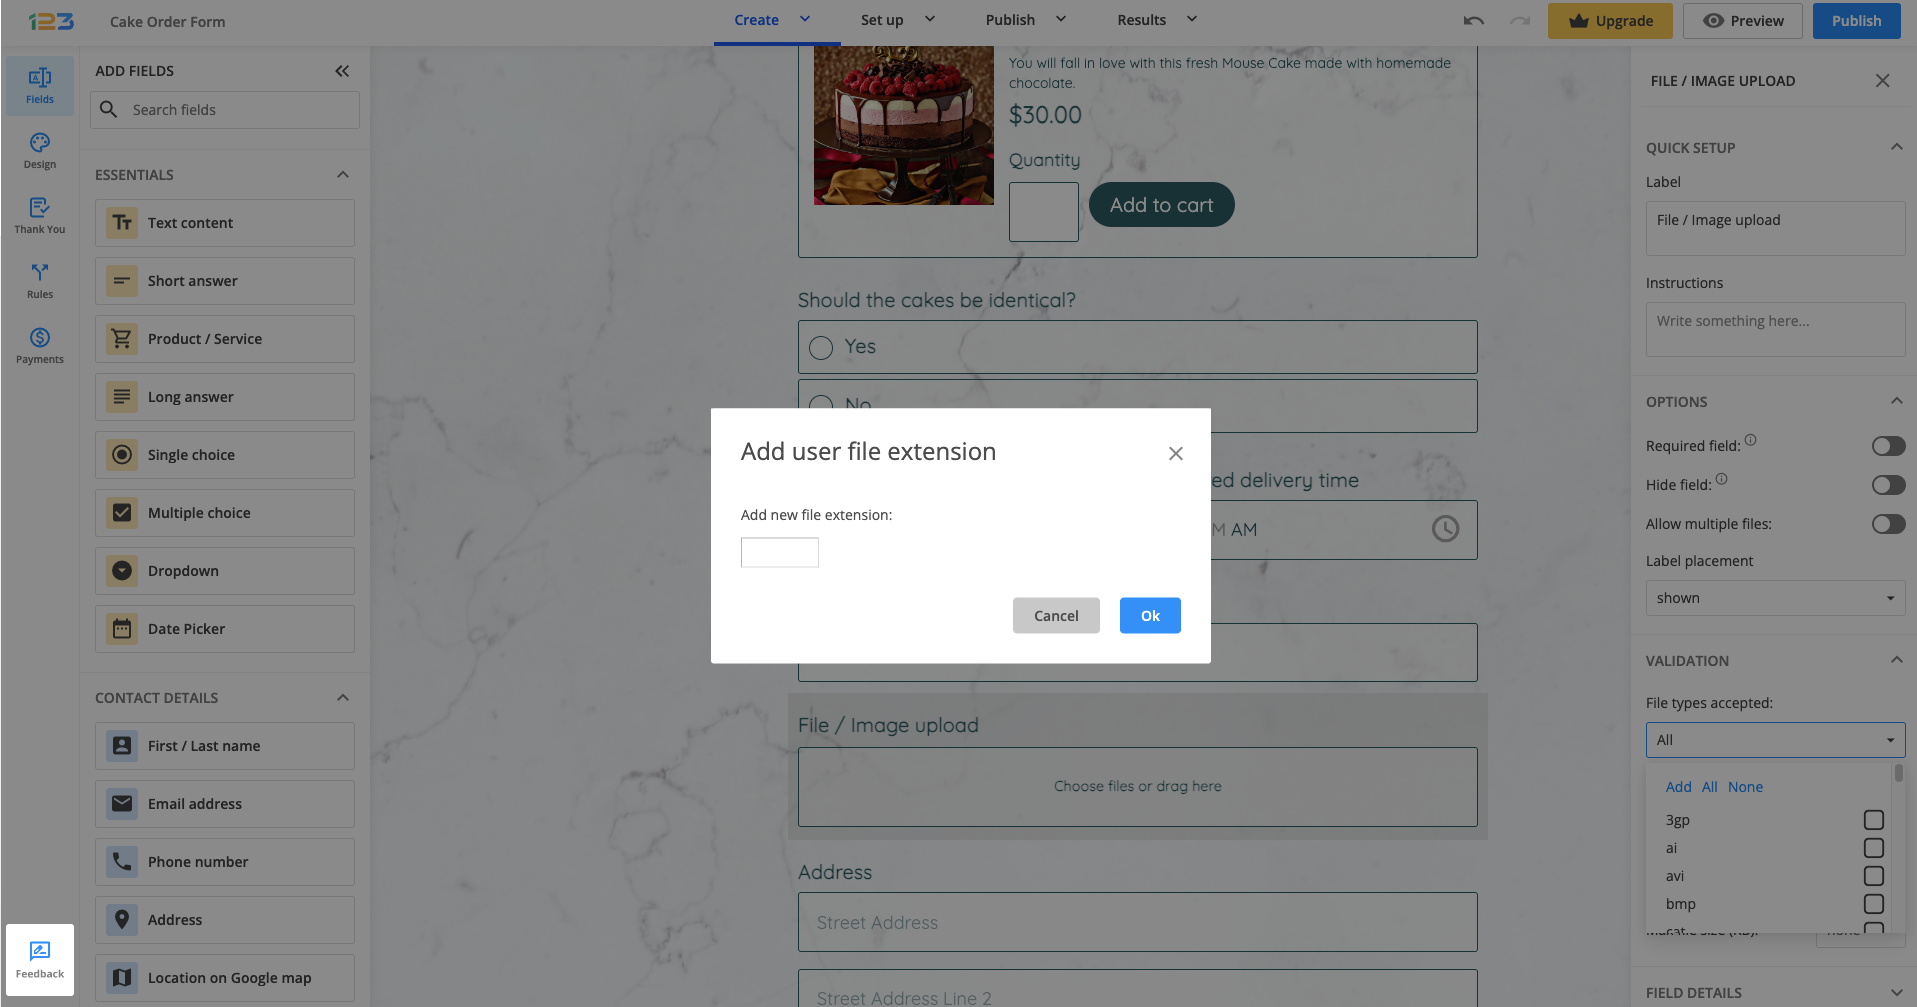
Moreover, if you need a new file extension, simply click on Add.
Here is a list of the file extensions that the File upload field supports:
- .3gp
- .ai
- .avi
- .bmp
- .cat
- .cdr
- .cod
- .cpt
- .csv
- .dcm
- .doc
- .docx
- .dpt
- .dwg
- .dxf
- .eps
- .exp
- .flv
- .gif
- .hpl30
- .hwp
- .ico
- .iges
- .igs
- .ipt
- .jpeg
- .jpg
- .kit
- .kmz
- .m4a
- .mdl
- .mobi
- .mod
- .mov
- .mp3
- .mp4
- .mpeg4
- .msg
- .oad
- .oadx
- .odt
- .ogg
- .org
- .ott
- .png
- .pps
- .ppsx
- .ppt
- .pptx
- .prt
- .psd
- .pub
- .rar
- .rtf
- .rvt
- .slddrw
- .sldprt
- .step
- .stf
- .stl
- .stp
- .tif
- .tiff
- .txt
- .wav
- .wmv
- .wpd
- .wps
- .x_t
- .xls
- .xlsx
- .zip
Additionally, you also have the option to reject certain files from being uploaded on your forms. Just check the File types forbidden dropdown list and tick the files that won’t be accepted on the form.
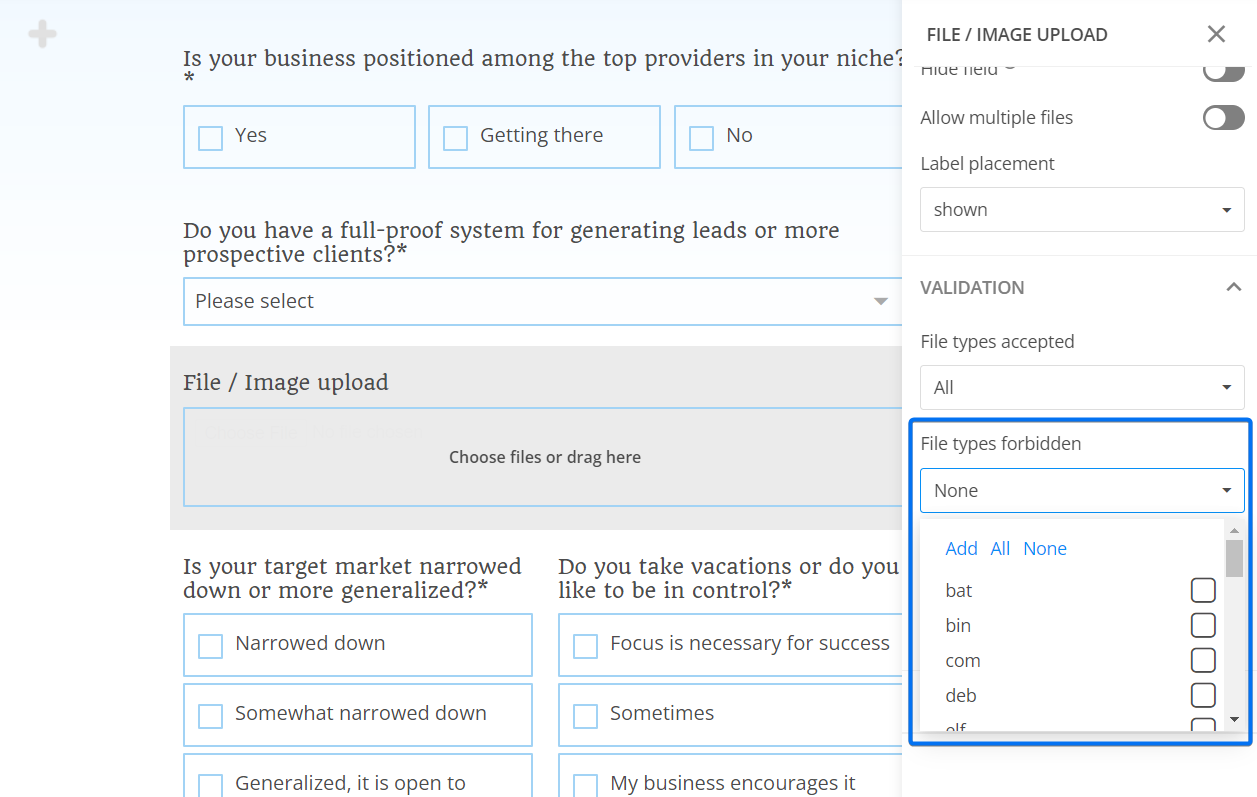
Similar to the File types accepted list, here you can also Add new extensions that your form shouldn’t accept.
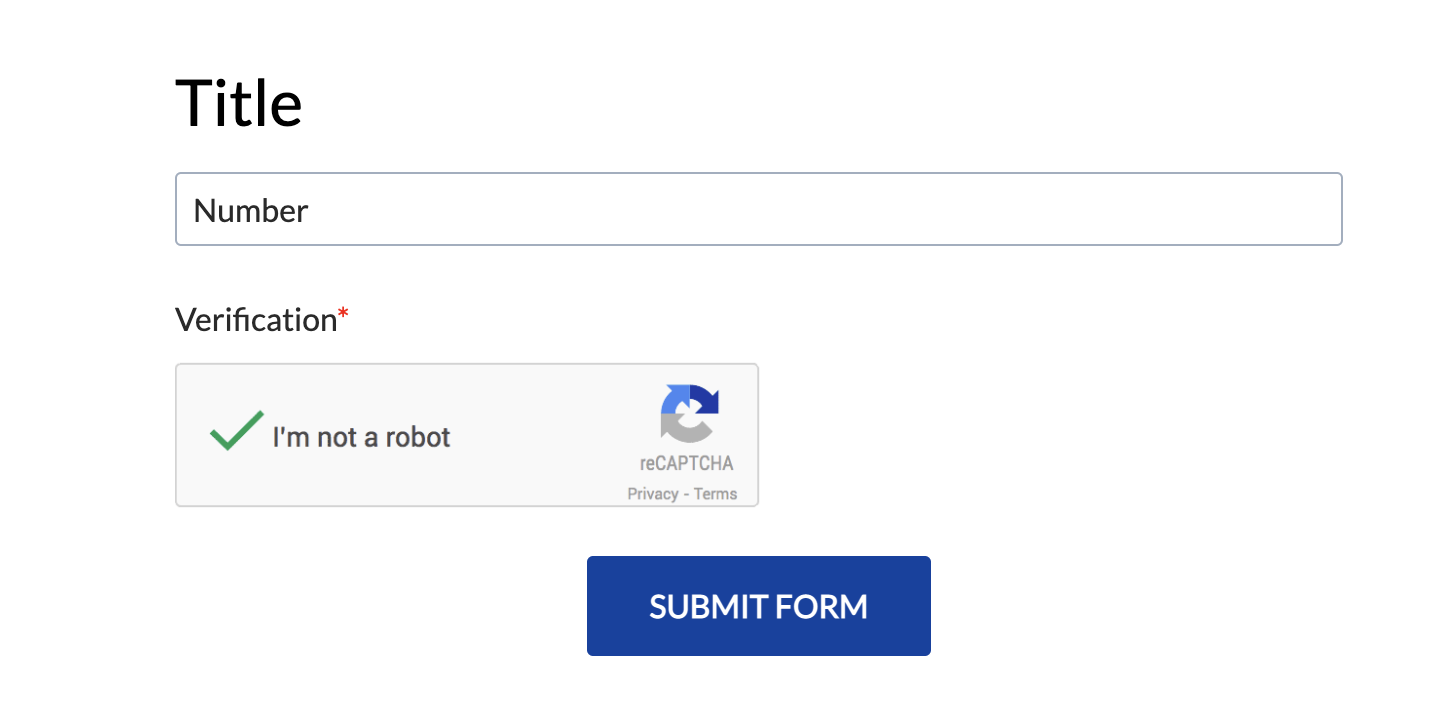
When your form respondents upload a file extension that hasn’t been accepted, they will encounter the following error message:
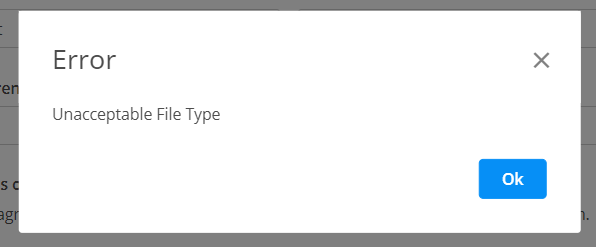
To prevent them from receiving this error popup message, we recommend mentioning the accepted file types in the File upload fields Instructions box.
Related articles
Important Note
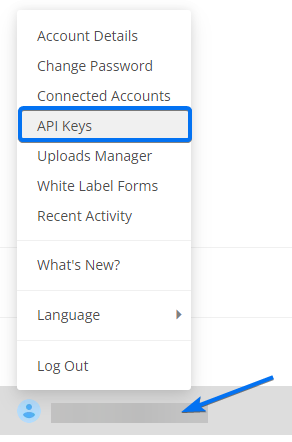
This version of the API was deprecated. If you still need to automate your data collection processes, and retrieve collected data or make various operations related to your 123FormBuilder account through API calls, you can use our new and improved API v2. Please visit our developer documentation for more details.The API key is a secret token that is used to identify the origin of a request. Each 123FormBuilder account has an API key. You can find it by selecting your username and then clicking on API Keys.
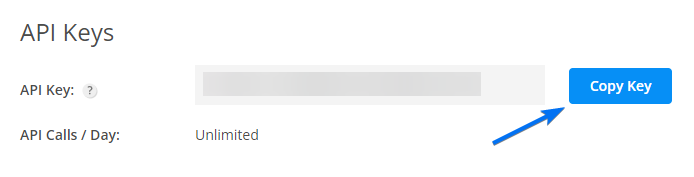
In case it’s not already displayed, you’ll need to generate it by pressing the Create now button. After you create it, you can copy it and also see how many API calls per day you can make.
You need this API Key in three main situations:
1. When you want to publish your forms on certain platforms, such as Joomla, or Sitefinity.
2. When you want to integrate your forms with certain 3rd party apps (e.g. Zapier).
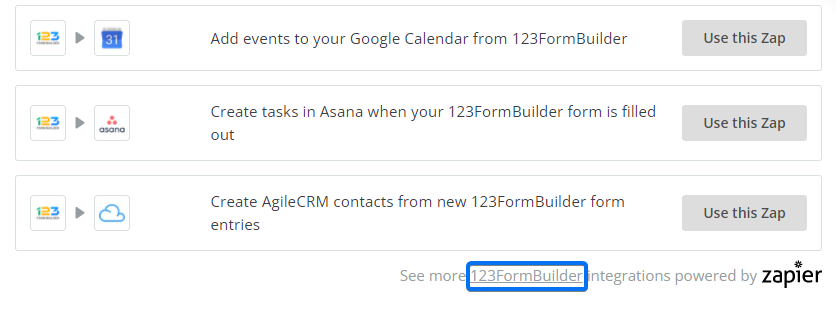
In your form’s Applications section, you can find the most used zaps between us and other applications.
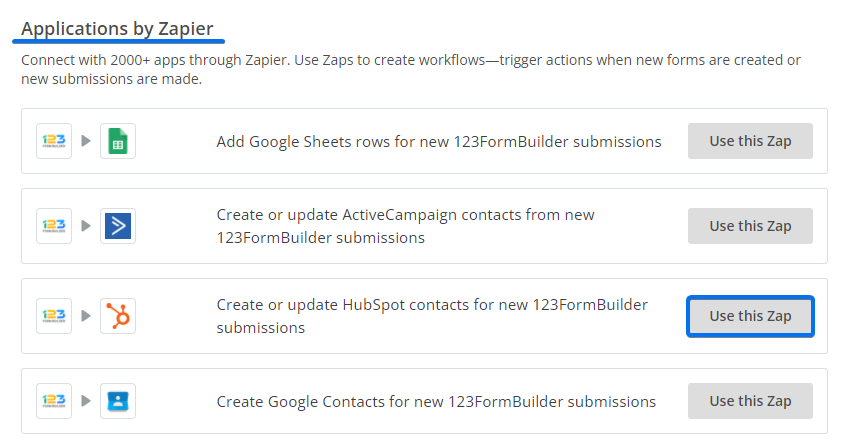
Click on 123FormBuilder to open all the available zaps that you can create with us.
3. When you want to use our API in your own development endeavors. We invite you to browse our knowledge base for developers for more information.
For points 2 and 3, the number of API calls that you can use in a day is very important.
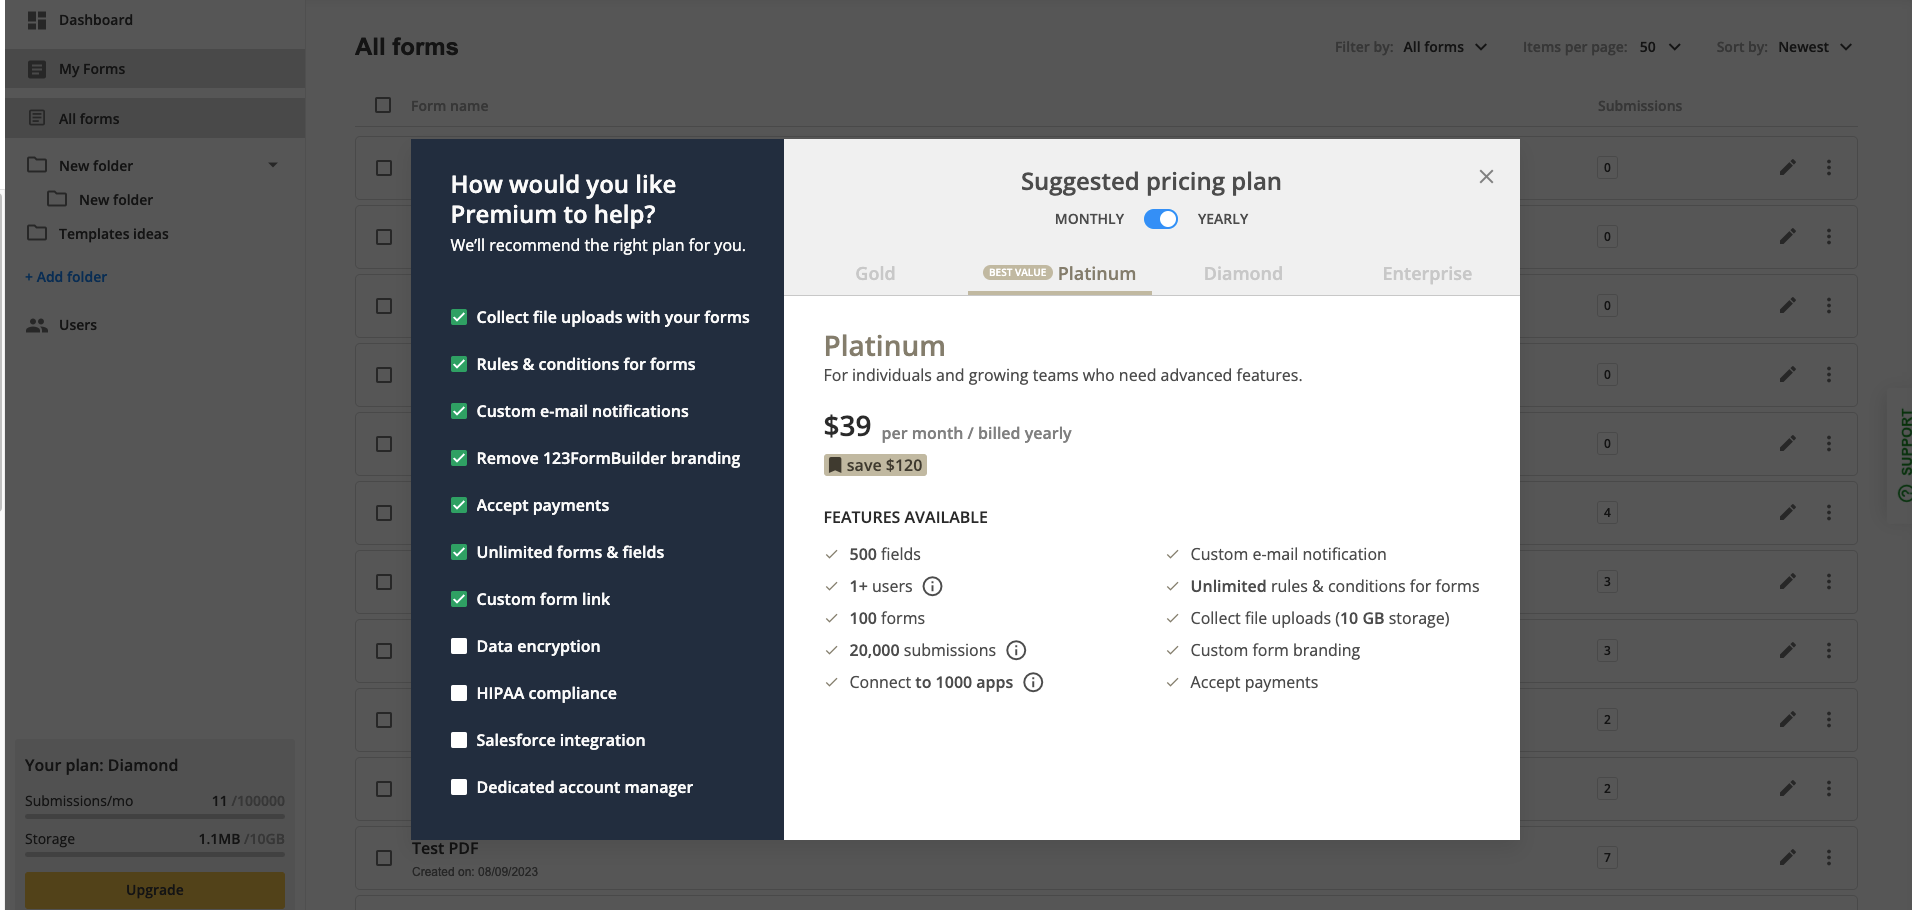
123FormBuilder is a user-friendly web form & survey builder for any type of business. There are four native service plans and custom corporate plans (Basic, Gold, Platinum, Diamond, and Enterprise).
The first plan is forever free, followed by the paid plans Gold, Platinum, Diamond, and Enterprise. The higher the plan, the higher the benefits. It all depends on what you are looking for.
We can help you find the best plan that suits your needs with an interactive pop-up where you can select the features you are interested in. Based on your selection in the left side panel, you will be prompted with the appropriate plan for you.
Now you are ready to create the form you have been looking for!
Related articles
Most Popular
Frequently Asked Questions
Here is a list of the most frequently asked questions. For more FAQs, please browse through the FAQs page.