123FormBuilder Knowledge Base
Search our documentation platform for answers, service specifications and 3rd-party integrations.
Approval feature on your forms
With the approval feature, you can specify the sequence of steps required to mark a submission as accepted or rejected and from whom to request the approval of your form submissions. You can request approval from a single person, or create a chain approval workflow.
It will transform your daily tasks into an automatic process. Build an approval workflow on your form, add the recipients and we will email them automatically.
Configuration
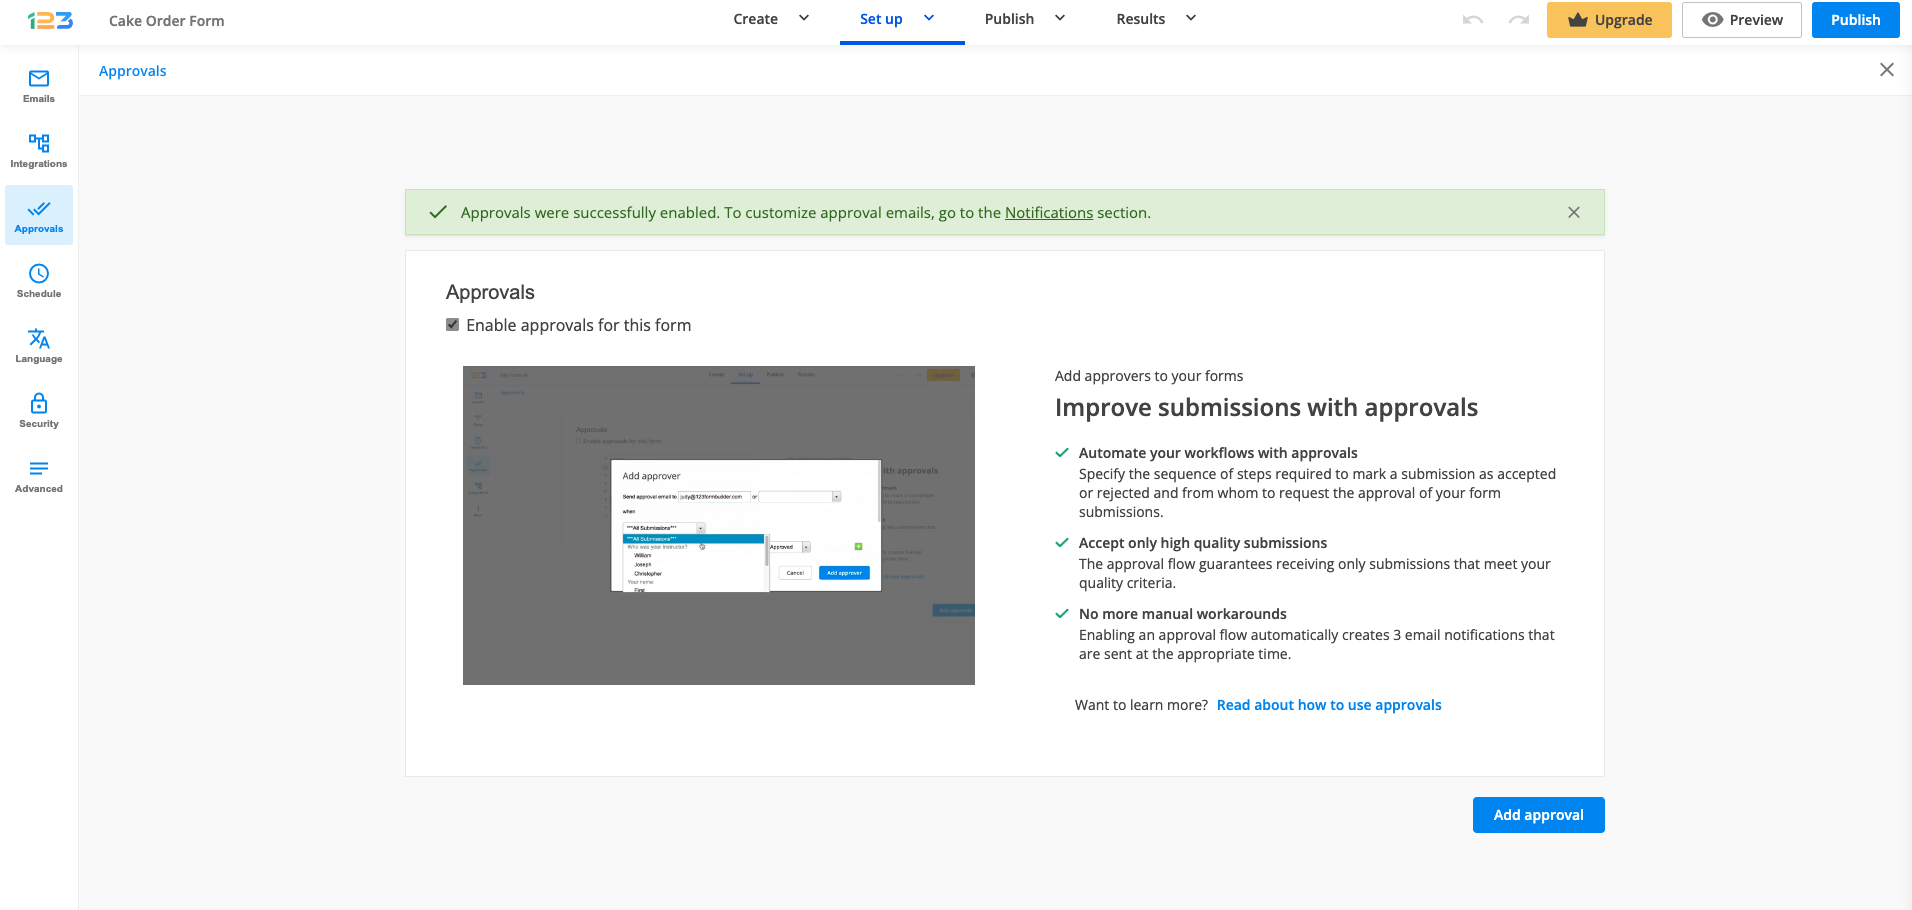
Start by going to your form’s Approvals section.

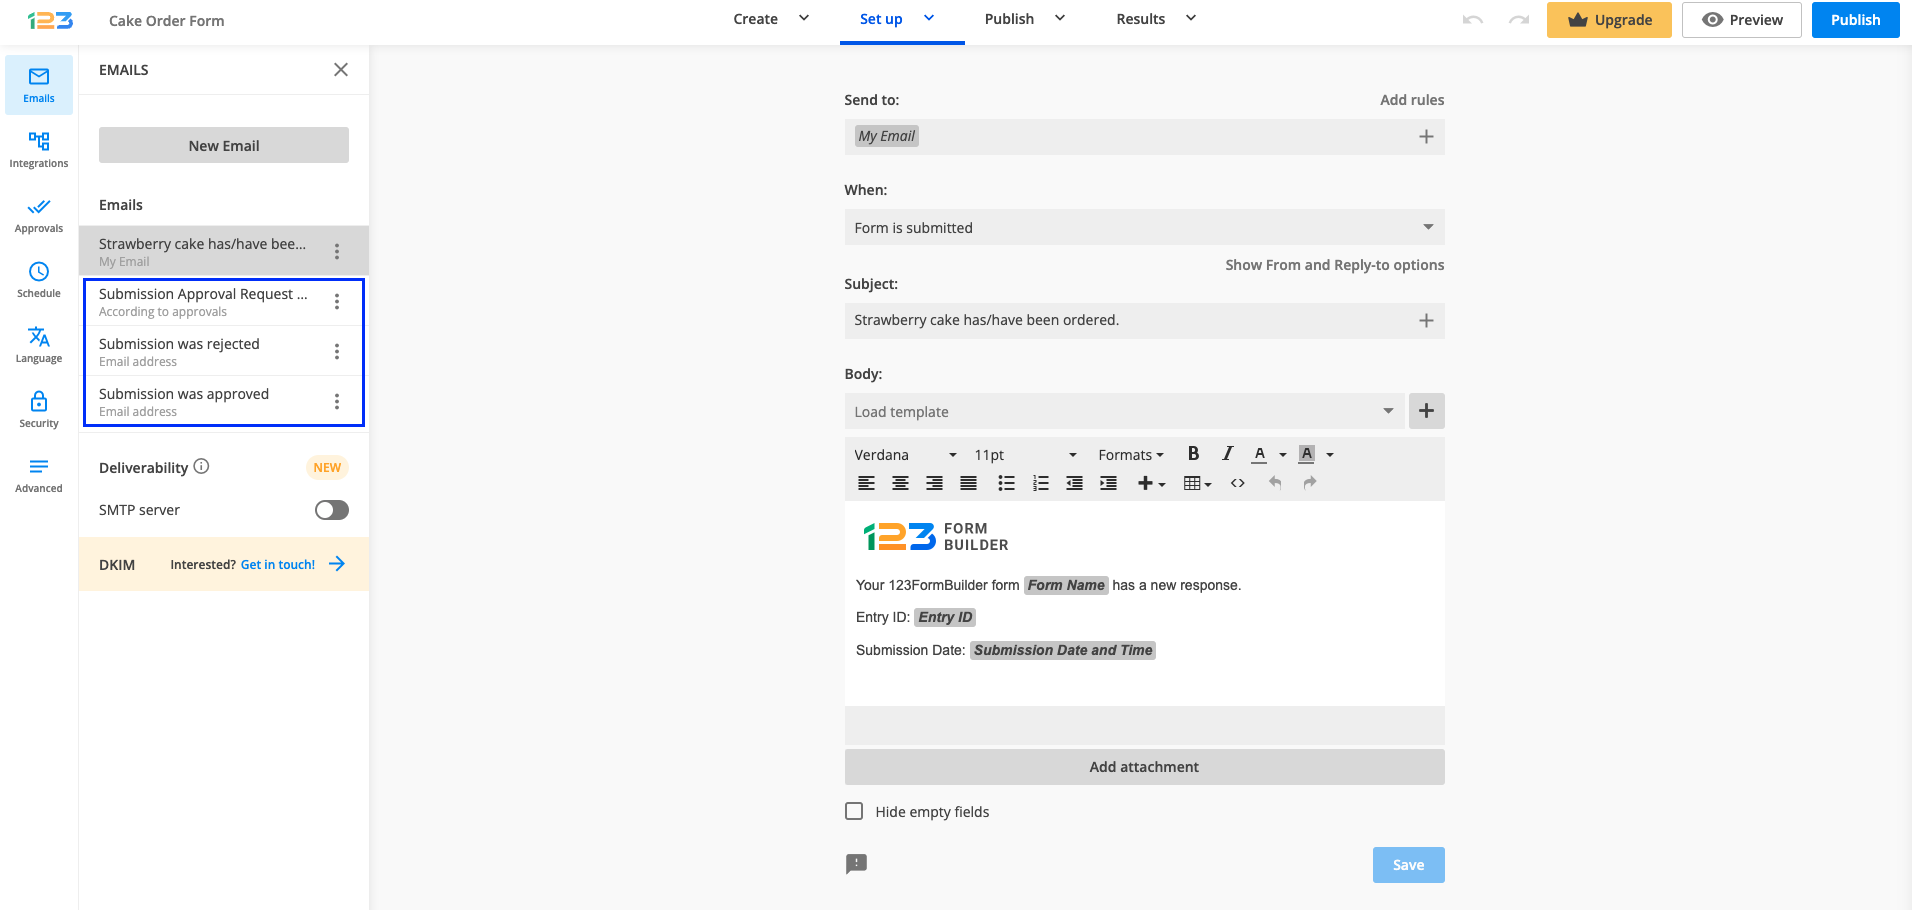
Enabling this feature will automatically create three email templates.
You can customize the email templates to your liking at any time by going to the Emails section.
Coming back to setting up Approvals, click on Add approver and type the email address of the person who will receive the submission. You can manually input the email address to which the approval email to be sent to or you can select a field from the form (in the below case, Email address field).

There are two options available in the first step: to email all submissions to the approver (this is selected by default, like in the above screenshot) or to establish some branching rules.
Let’s take an example of branching rules. For example, in the below screenshot, we are interested in the Date field. You have the option to select the rules that refer to Date field: is not, contains, does not contain, etc.
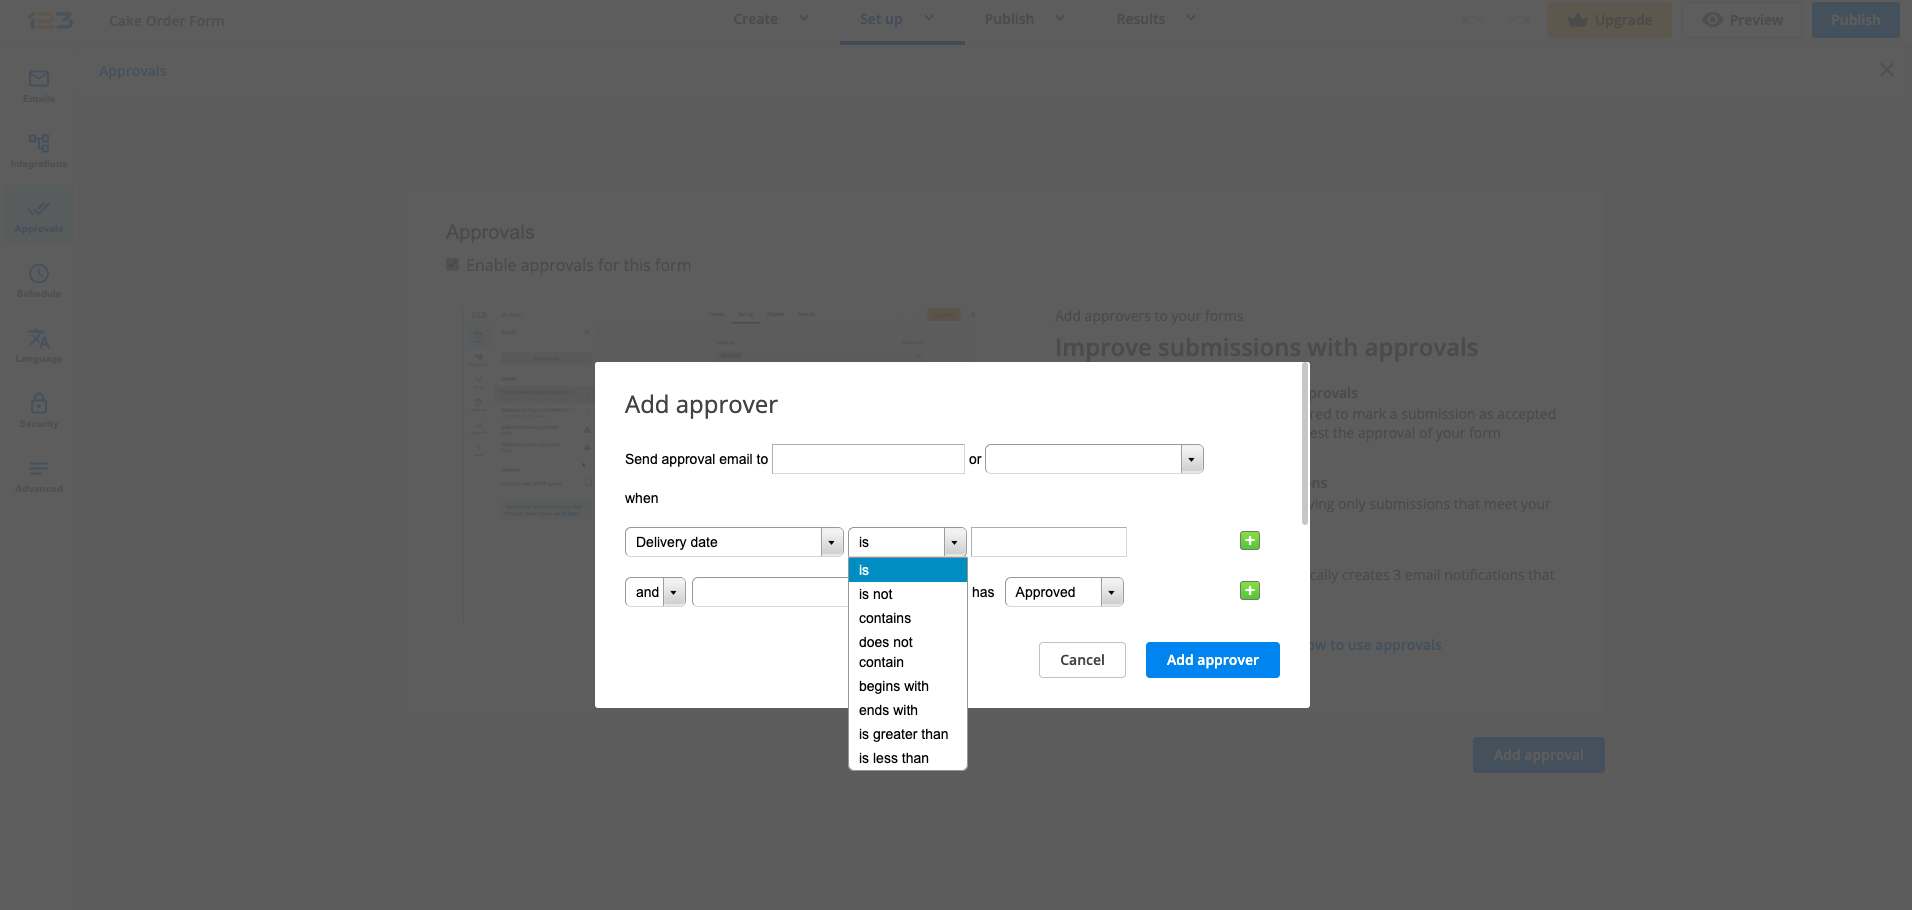
Once you have selected the condition, you have to input the logic based on which the approval email is sent.
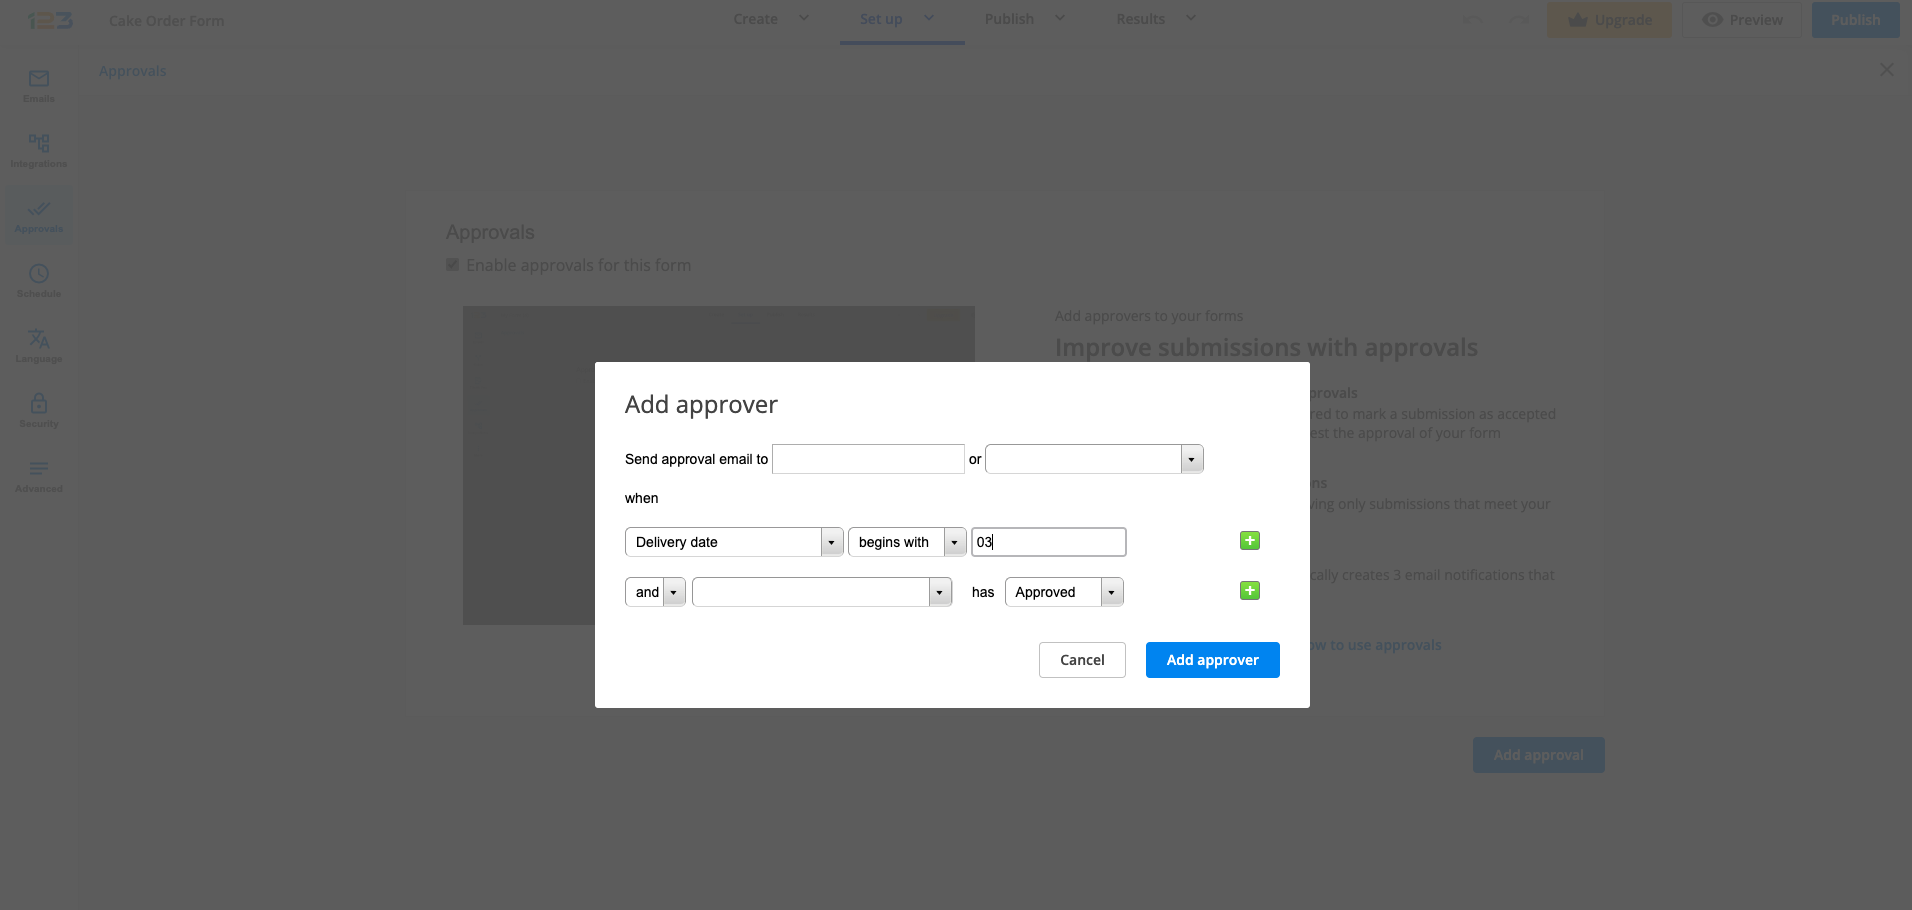
There might be cases in which one condition is not enough, so the plus sign allows you to add another rule.
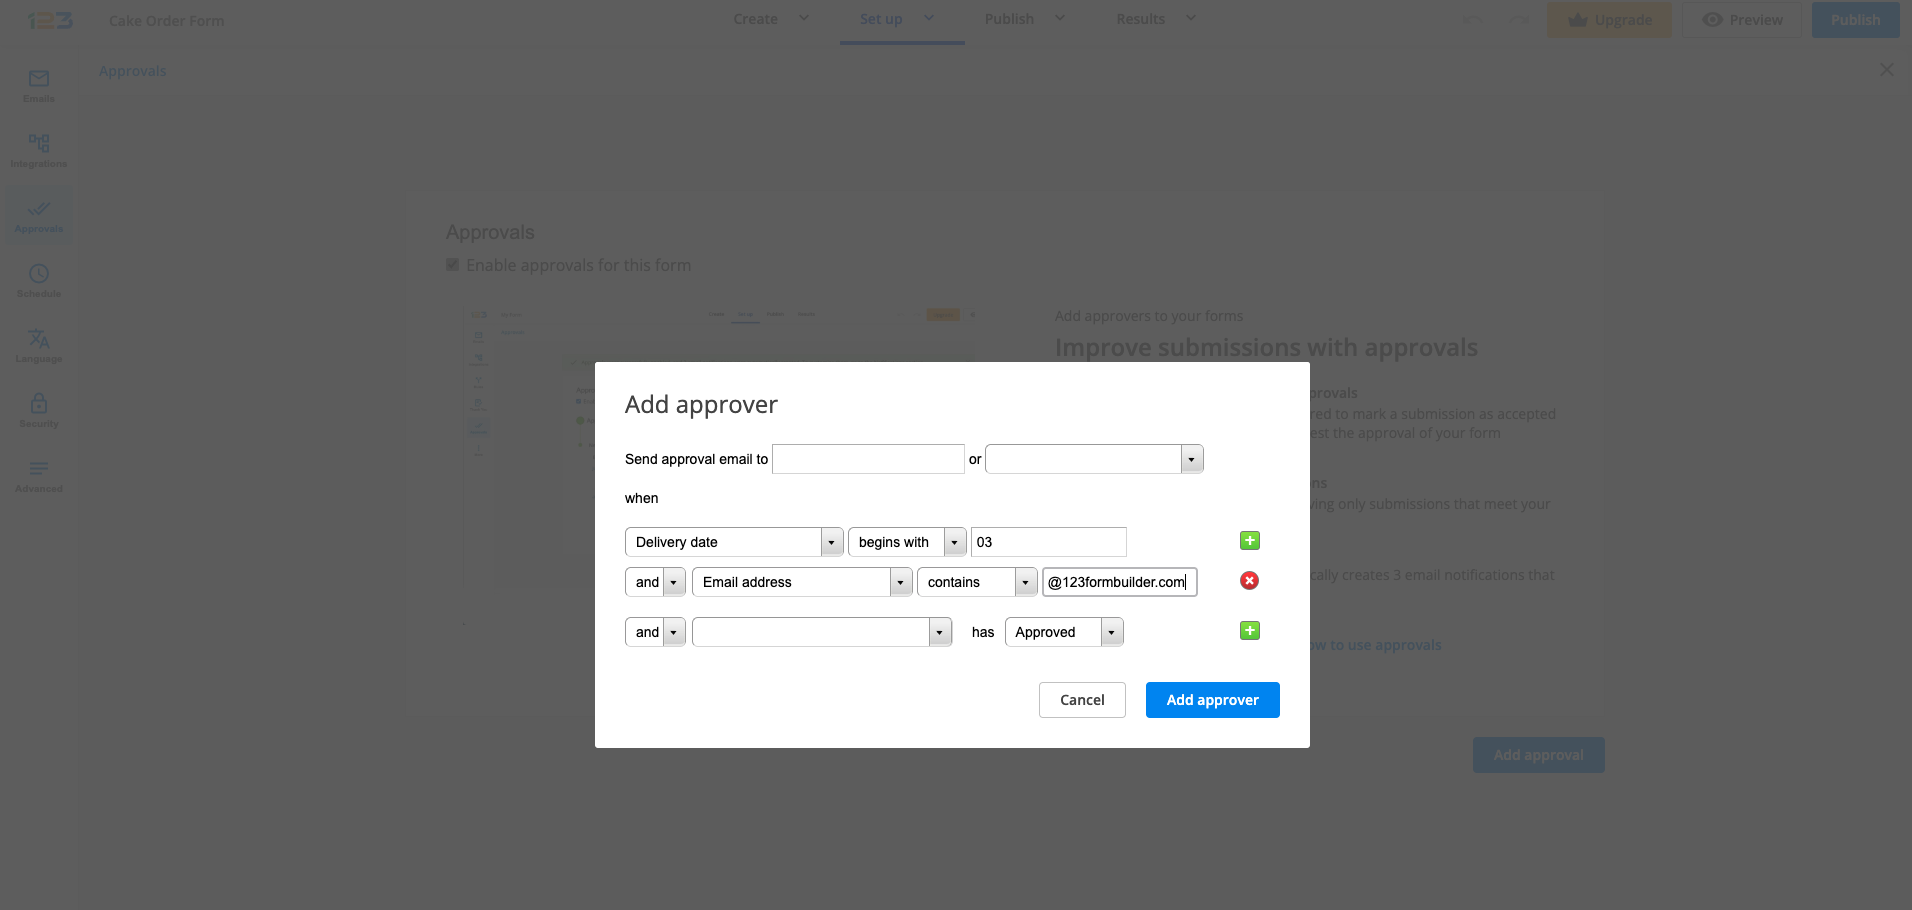
Use either the connector AND or OR to link your conditions. If you are familiar with our Rules feature, this follows the same structure and logic.
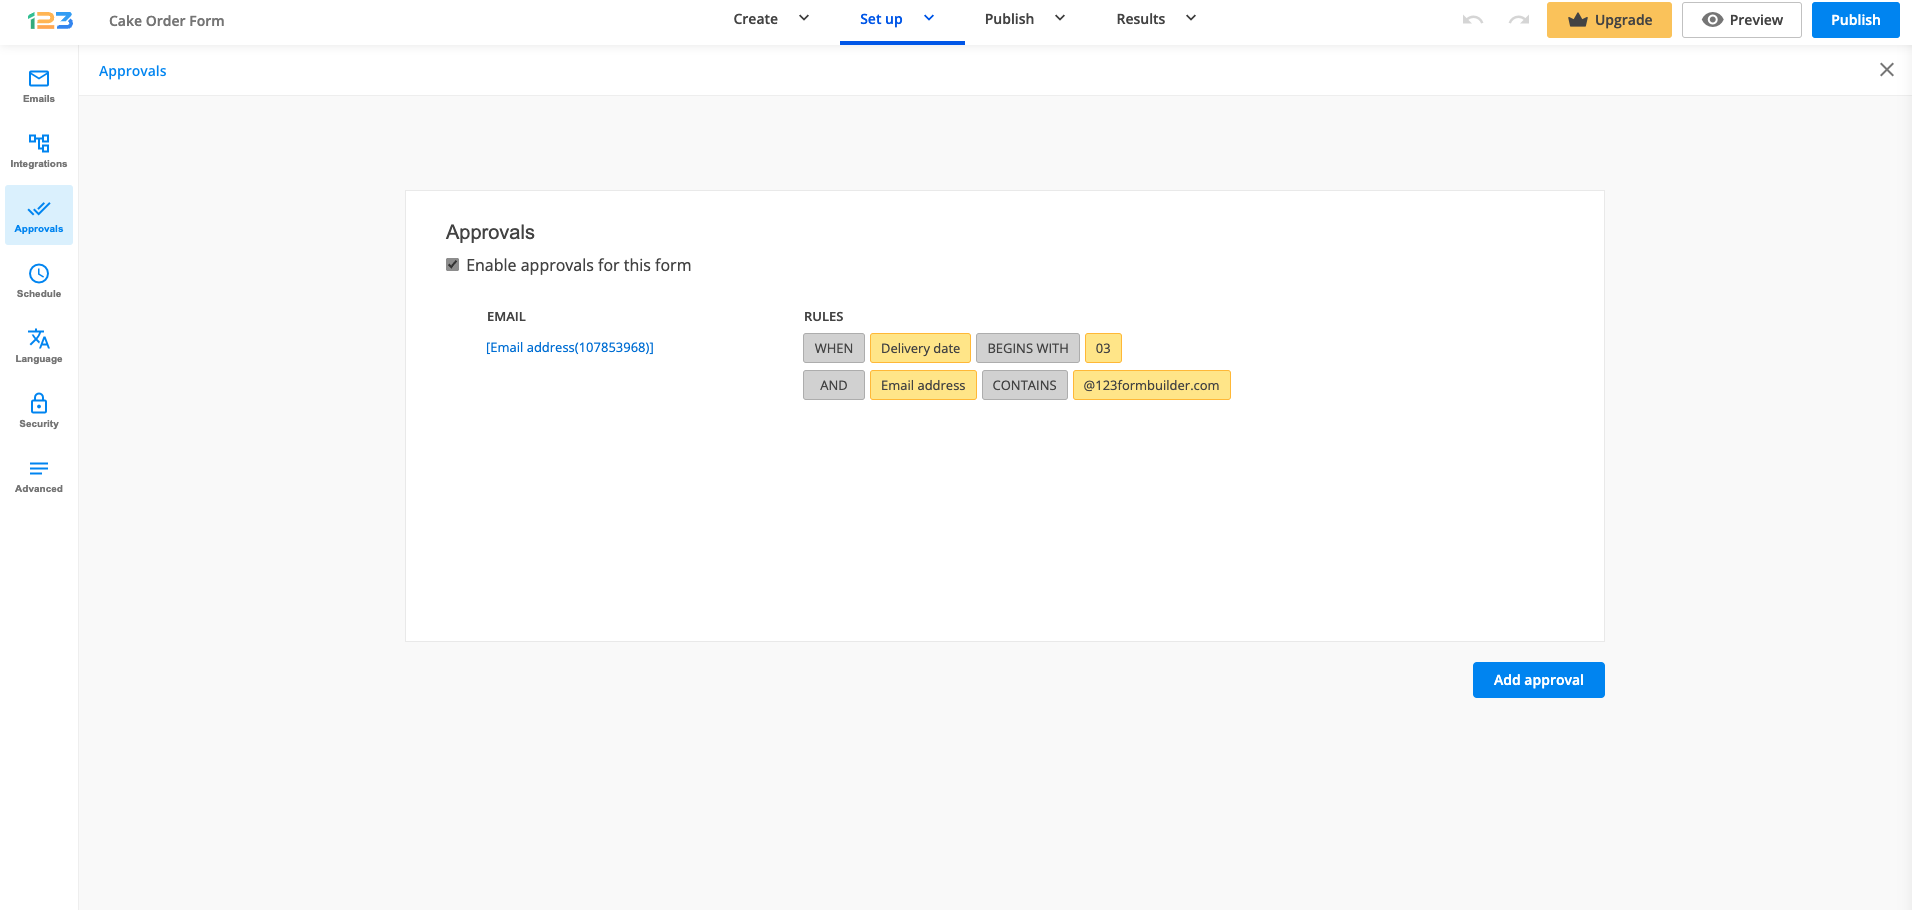
After saving the approval chain, here is how it is going to be displayed:
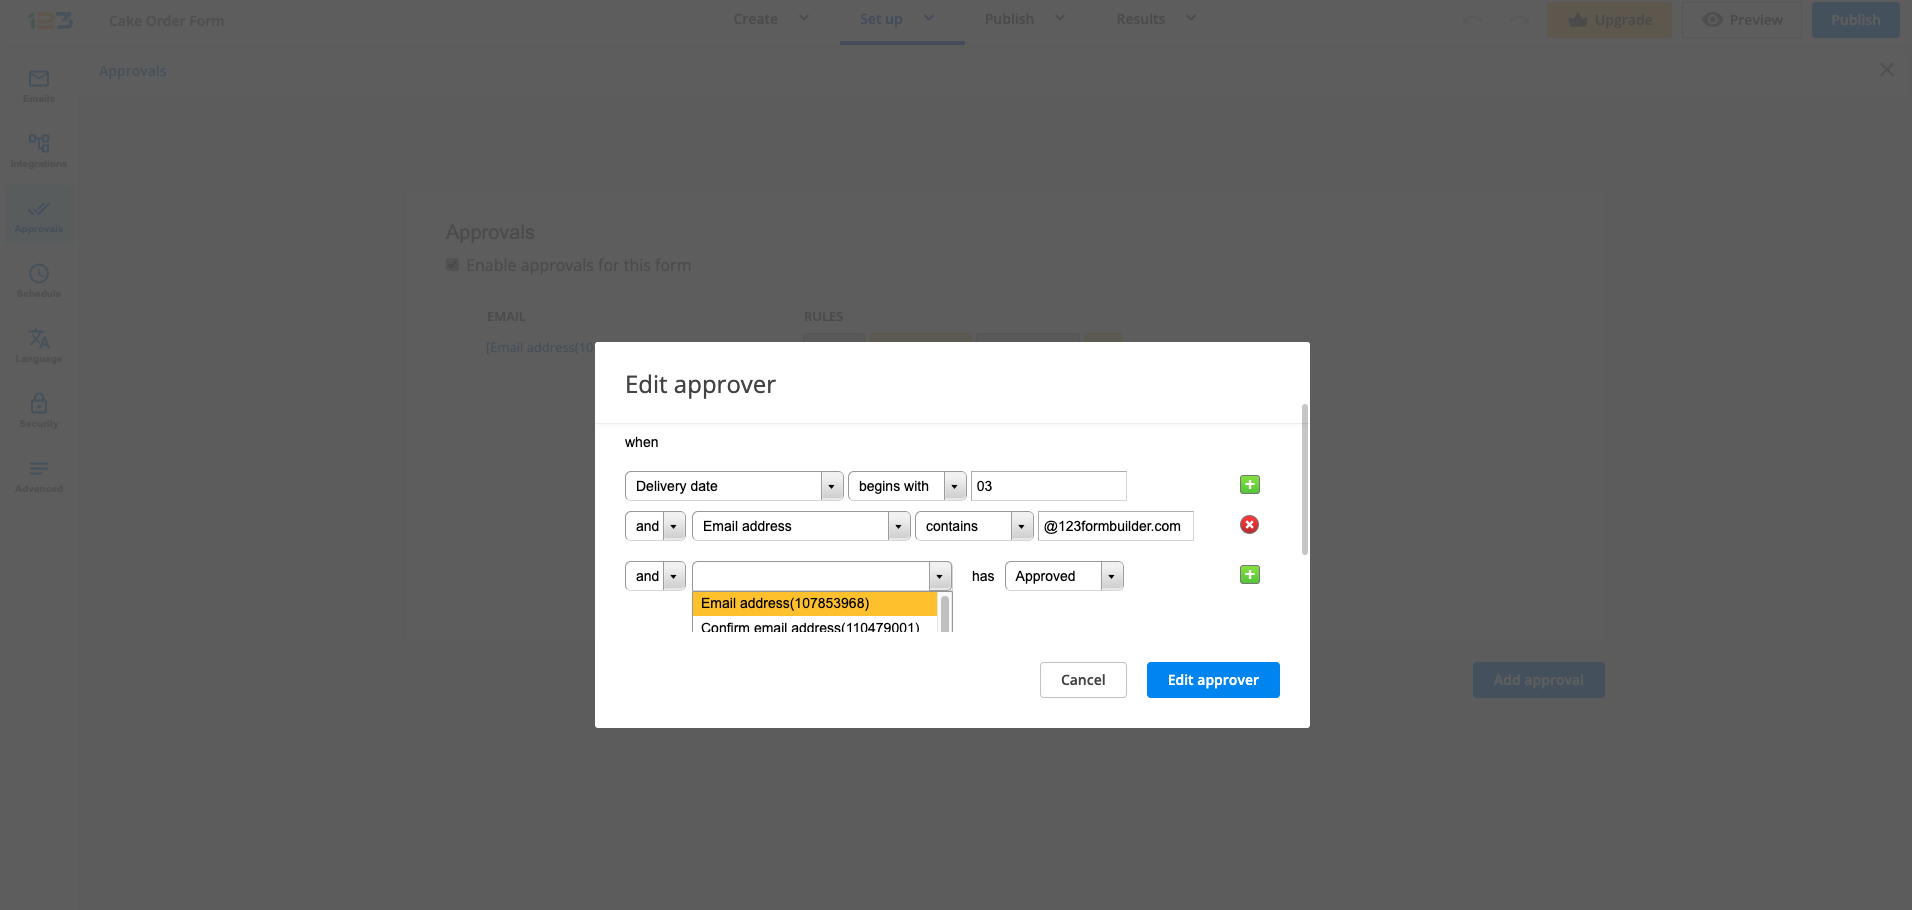
If you need to create a chain approval workflow, you can add a second approver by either selecting the email address field from the form or manually input an email address.
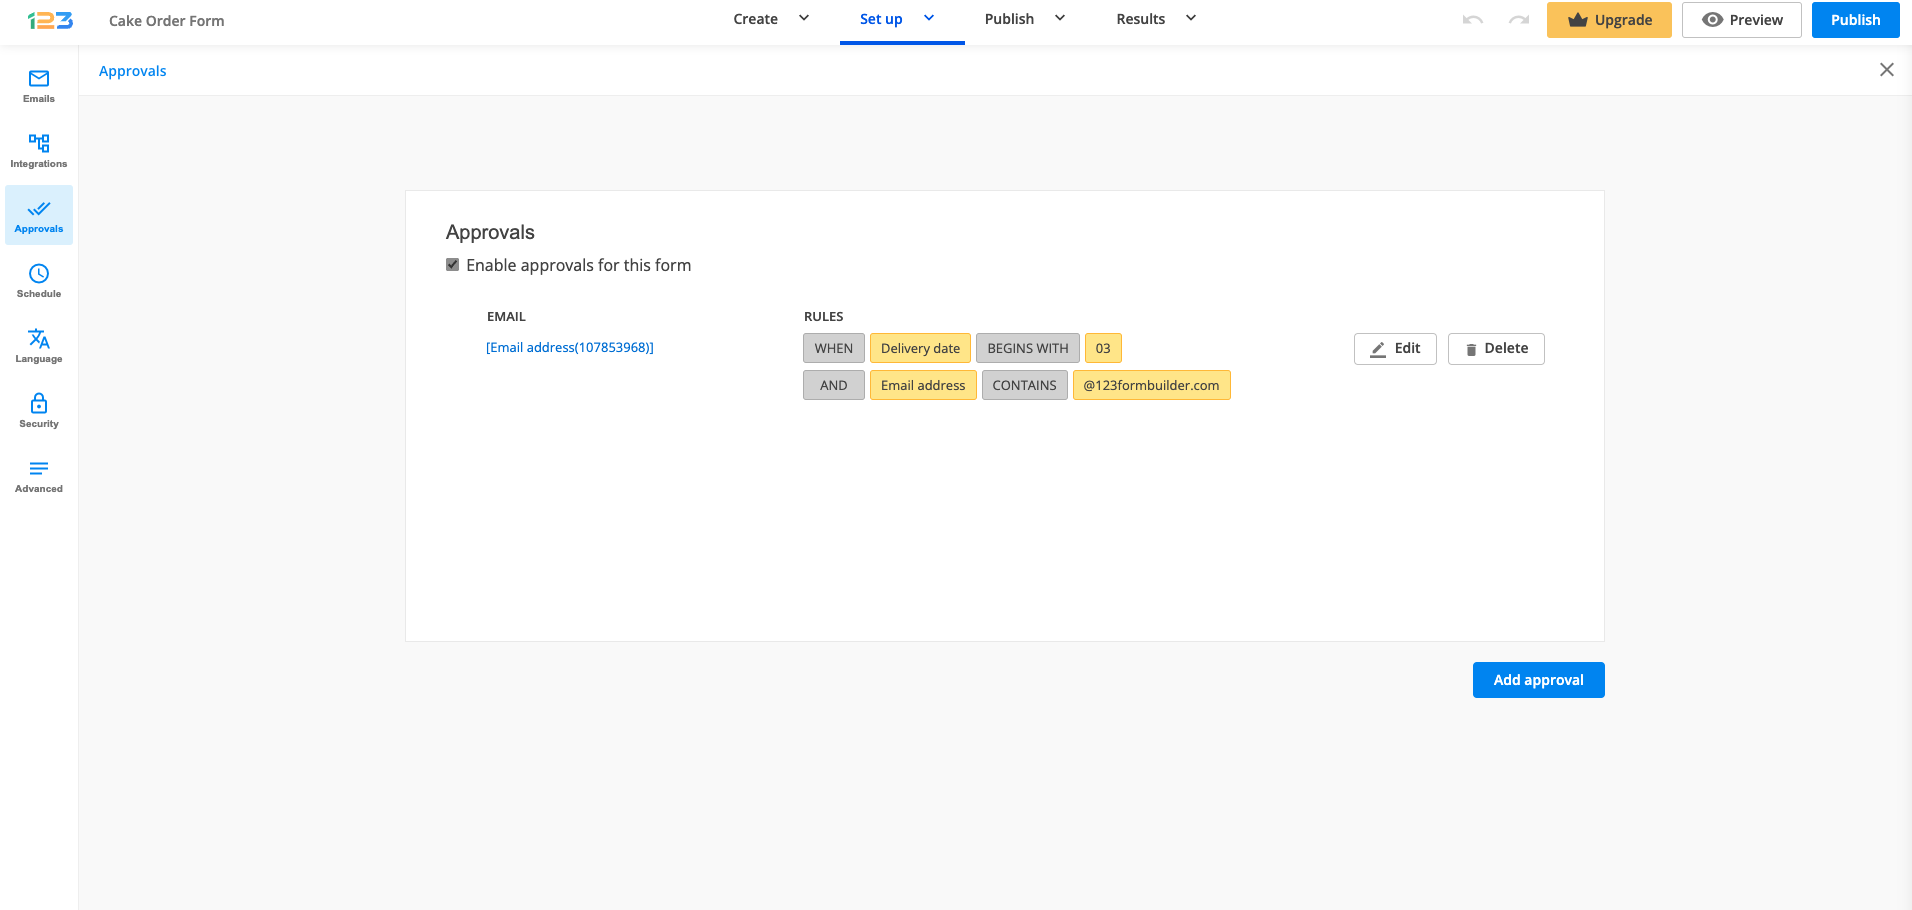
You can edit or delete your form’s approval rules at any given time by simply hovering over the approval rules and clicking on Edit or Delete button.
Important Notes
- The approval process will be stopped immediately when the submission entry was rejected by one person.
- The approval status can be checked in the Submissions table on every submission entry.
Related articles
17 comments
Leave a Reply
Similar Articles
Frequently Asked Questions
Here is a list of the most frequently asked questions. For more FAQs, please browse through the FAQs page.
Excellent guide on approval workflows! The explanations are clear, practical, and easy to follow, making it much simpler to streamline processes and improve team efficiency.
How do I change the text that appears when a user submits a form that needs to be approved? Right now it says that the form was submitted for review, instead of the “thank you” page that was customized for the form.
Hi there! You can change the confirmation message for approvals within the Translation Settings of your form. This allows you to customize the text that appears when a user submits a form that requires approval.
To update it, go to Set up> Language > Select the desired language, locate the message related to form submission for review, and modify it as needed.
Can the approval information be mapped into Salesforce and if so how do I do that.
Hi! Thank you for your question. At the moment, mapping approval information directly into Salesforce isn’t supported. However, we’re continually working on updating our platform and adding new features to enhance its capabilities.
How to add Multiple email id’s to approval ?
Hi there! To include multiple emails, simply click the “Add approval” button in the approvals section of your form. If you have a specific scenario in mind and would like tailored assistance, reach out to us via email at customercare@123formbuilder.com or through live chat. Share the details with us, and we’ll gladly provide the support you need.
How can I approve using the control panel management? The only way to approve is through e-mail?
Hi there!
Currently, approval requests can only be approved or rejected through the email you receive.
Best regards,
Hi there!
If a form is only active for a week and submissions with approvals are sent to approver then the form is inactive and the approver clicks approve, will that submission be marked as approved or does the form need to be active for the “approval” to go through?
Hello Riley! The form does indeed need to be active for the approval process to go through. Please don’t hesitate to reach out if you have further questions. Have a great day!
Do all the approvers have to hold a 123 licence or can they be non 123 fb users ?
Hi Kathryn, submissions can be approved by anyone, your approvers don’t need to have an account with us. Just add their email address and you are all set! If you need any assistance setting up your form, please don’t hesitate to contact us at customercare@123formbuilder.com. Have a wonderful day!
Before any approvals get done, could we edit the content received from applier when there are adjustments like time, or mistakes in speeling, so that the applier need not to apply again?
Hello Tsang! Sure thing, in order to be able to edit a submission before approving it, you will need to select the Review Submission button from the approval email. Once you are done editing, select the Approve or Reject button from the bottom of the form.
Now that I have the approvals set up, how do you actually approve?
Hi Shirrene! Now that you have approvals set up on your form, each time you receive a form submission, you will also receive an email notification containing the user’s input, along with two buttons to either Approve or Reject the submission. If you are missing out on these emails or something is just not working right, please reach out to us at customercare@123formbuilder.com. Thank you!