123FormBuilder Knowledge Base
Search our documentation platform for answers, service specifications and 3rd-party integrations.
How to create a price configurator form
If you are looking to automate the offer request process, this article will help you create a price configurator form.
Let’s take an actual example so that it would be easier to follow and understand.
John is a contractor and is offering woodworking services for homeowners and businesses. His goal is to create a price configurator form so that he wouldn’t spend so much time on the phone or exchanging emails anymore.
First thing he has to do is to create a new form from blank and change the name of the form by typing Price offer for woodworking services in the label box for Title field.
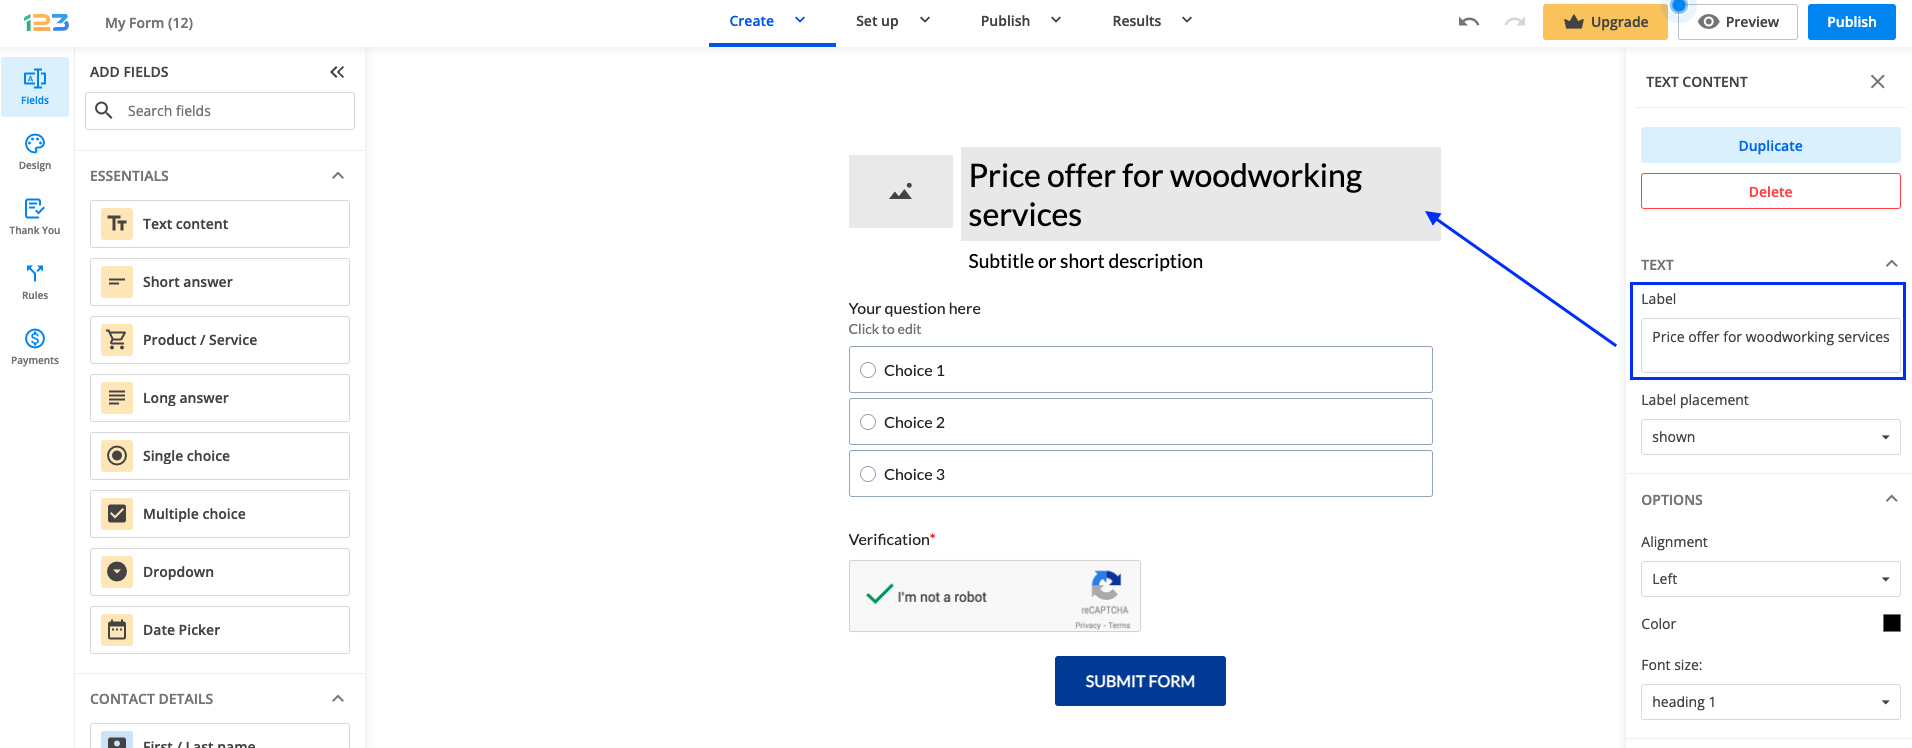
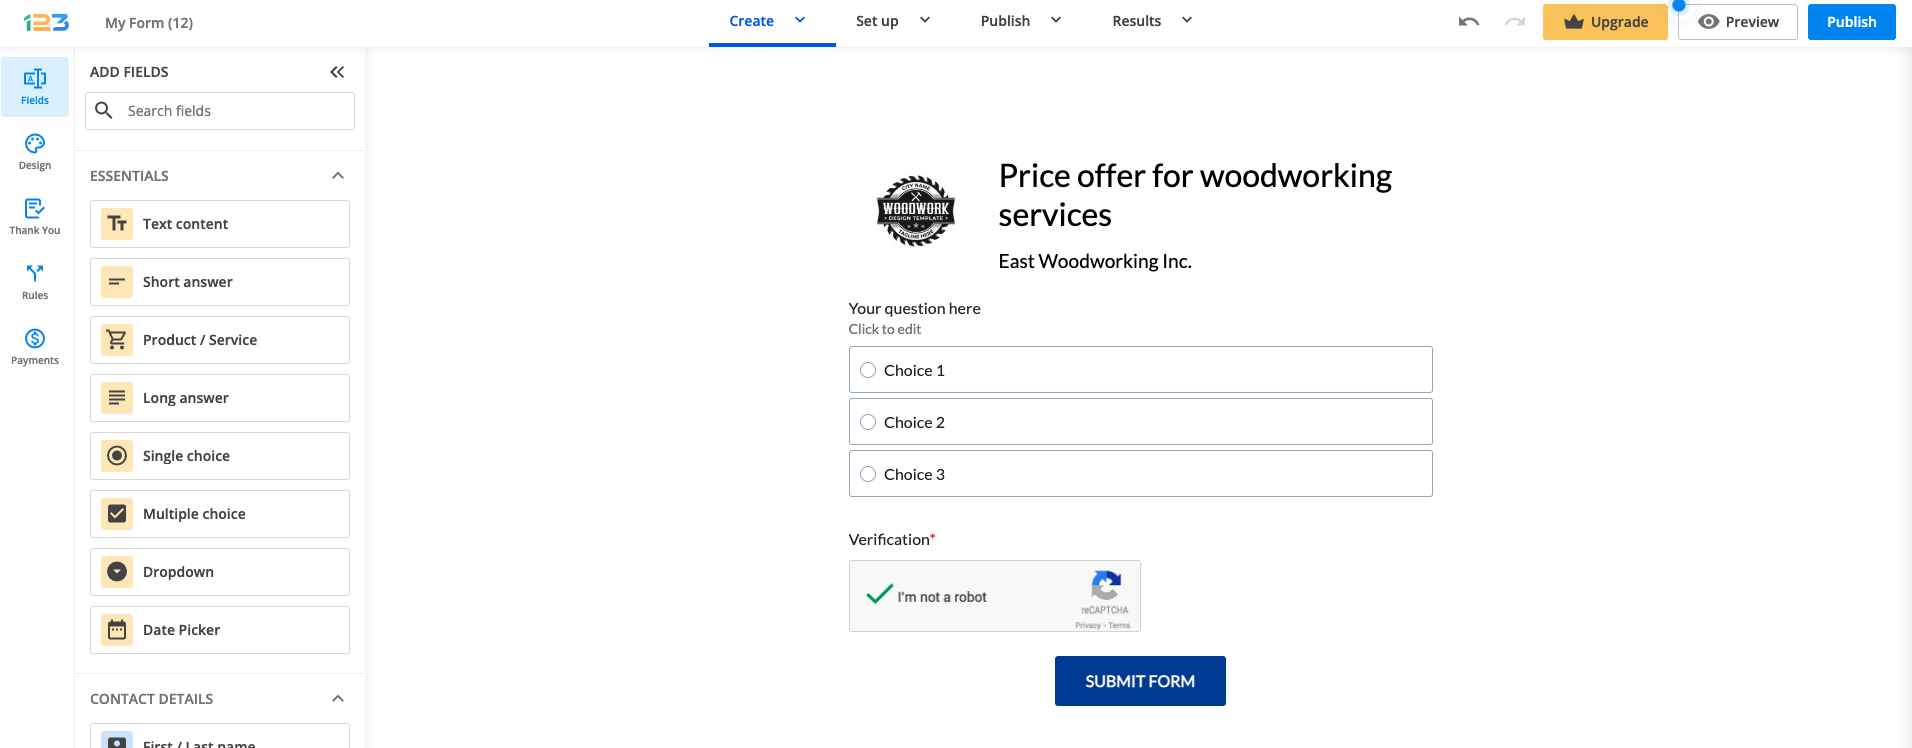
For the Subtitle or short description, let’s add the company’s name, East Woodworking Inc. Also, in the Embed image field that comes by default, he could add a company logo, so that everything looks on brand. The image can also be resized by dragging and dropping the field handles.
John is offering three different types of wooden flooring: oak, maple or cherry. In order for respondents to choose their option, he adds a Single choice question and makes it required so that the form could not be submitted without having an answer to this question.
In the Label section on the left side panel, he has to input the question’s text: “Please select the type of wooden flooring that you want to enquire about”. In the Instructions section, he could add additional information for his respondents: “The installation costs are included in the price quotation”.
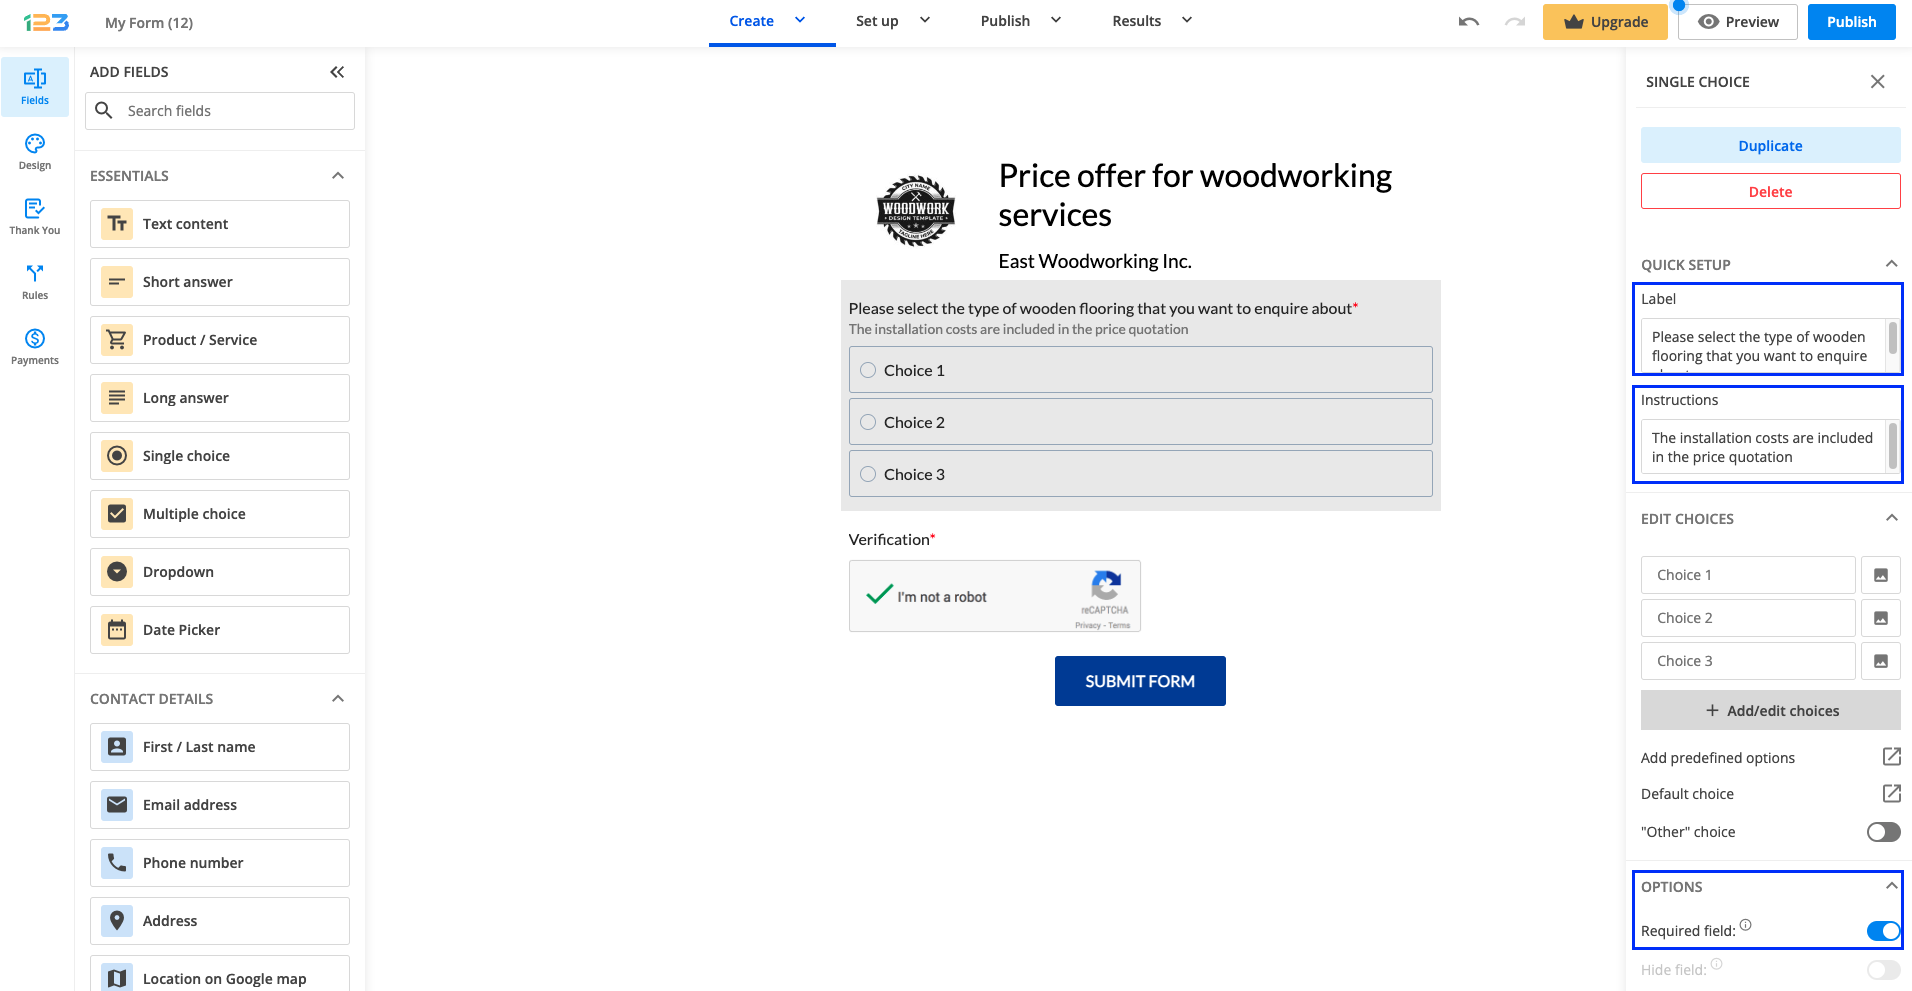
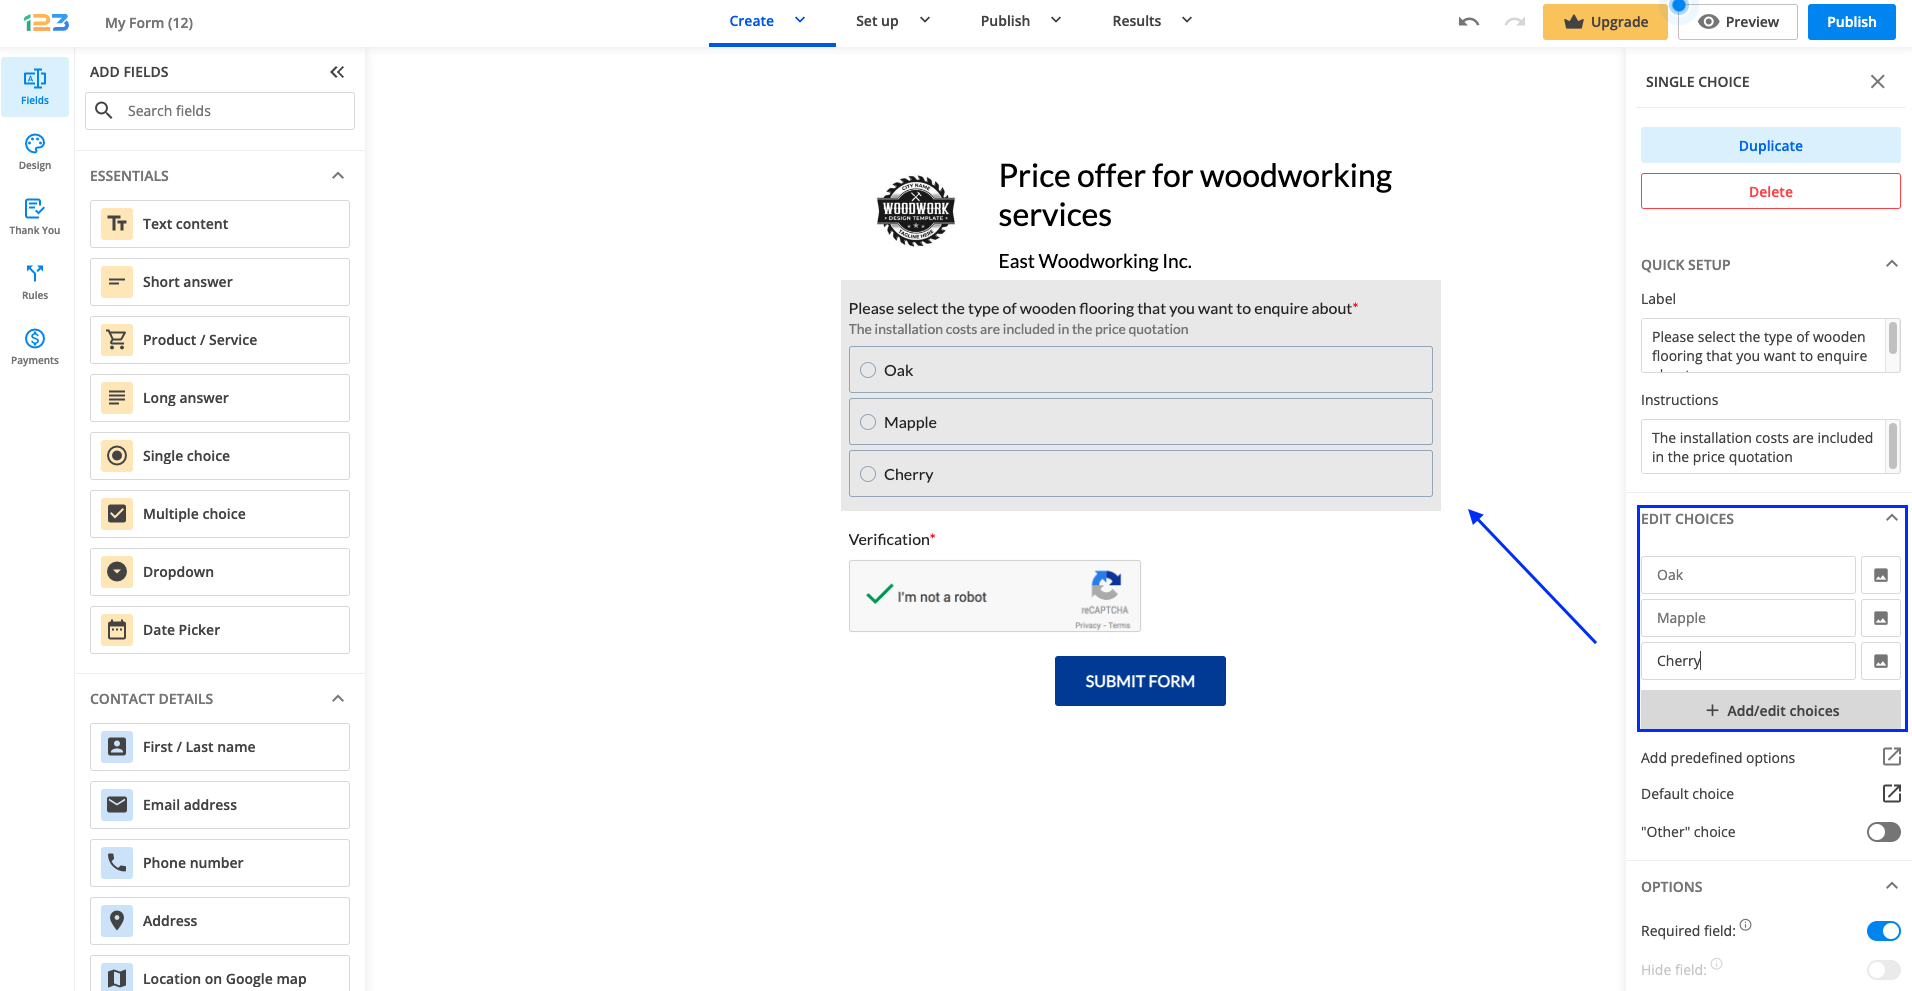
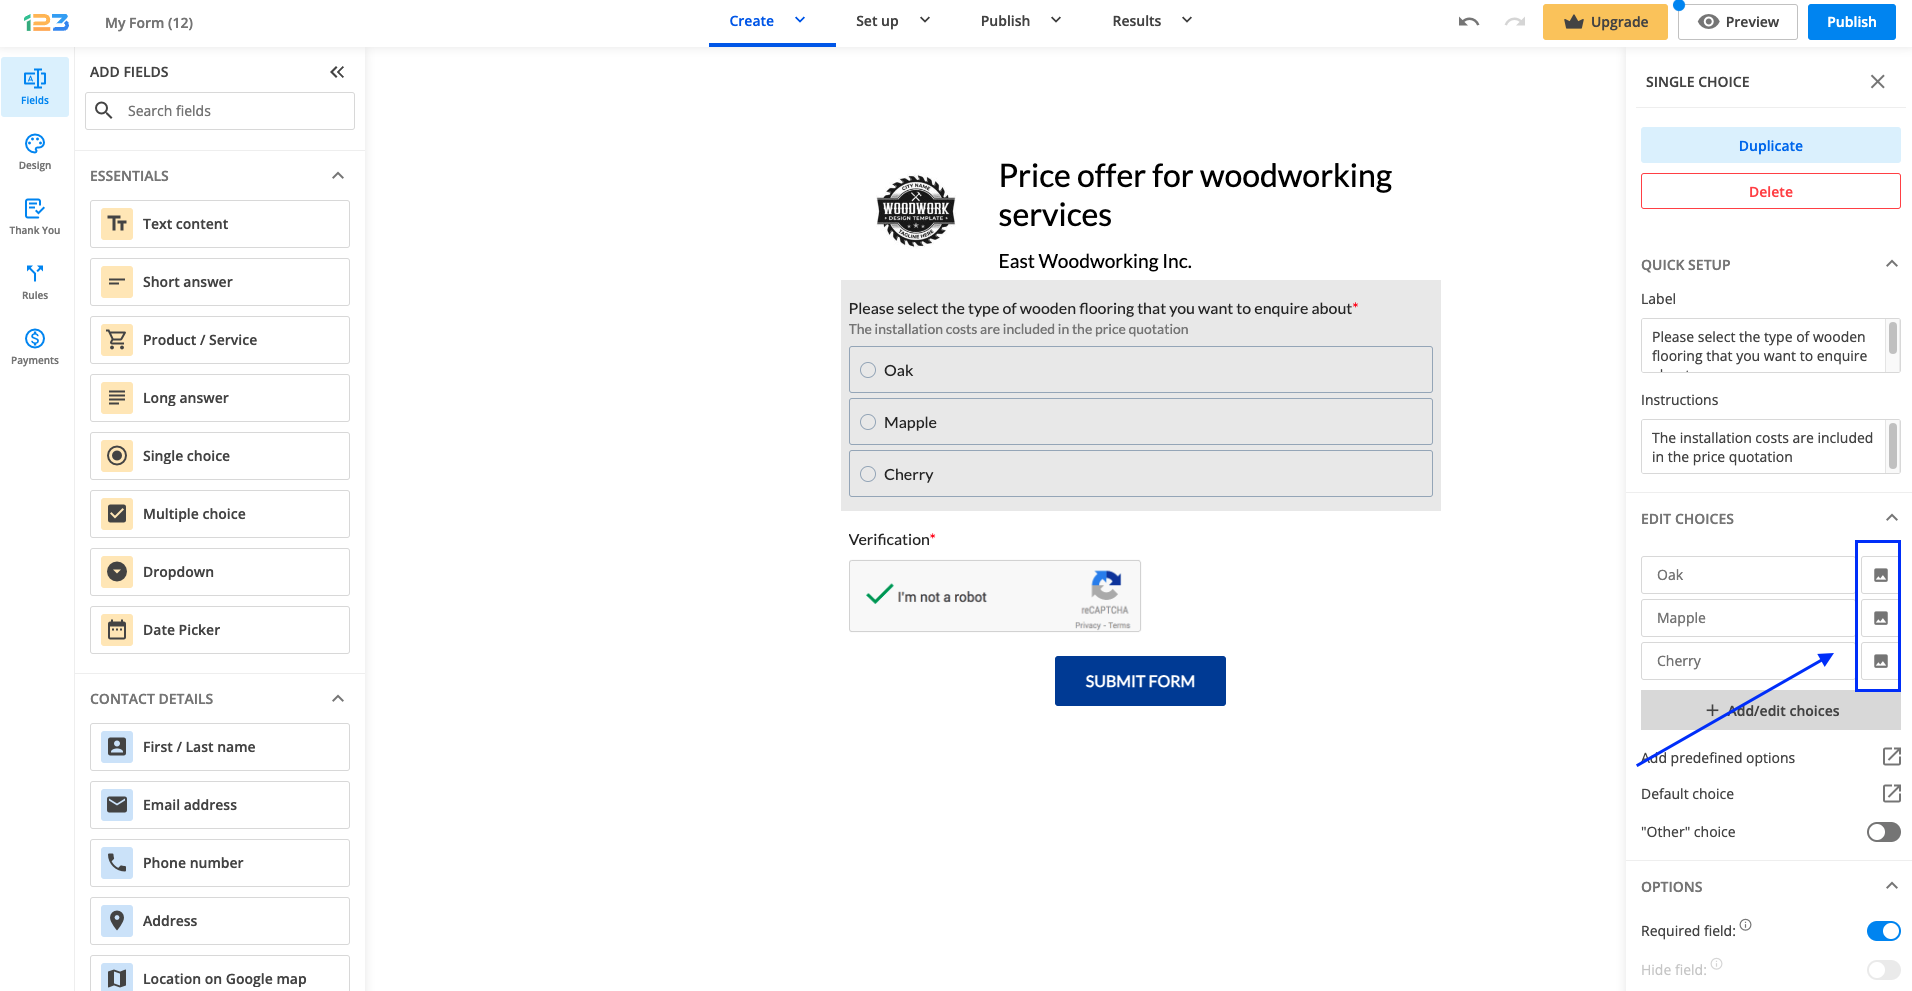
Because John is offering only three different types of wooden flooring, he has to edit the default choices of the Single choice question, which can be found under Edit choices.
A nice addition would be to add image choices for each possible choice. This can be done by clicking on the image icon for any choice.
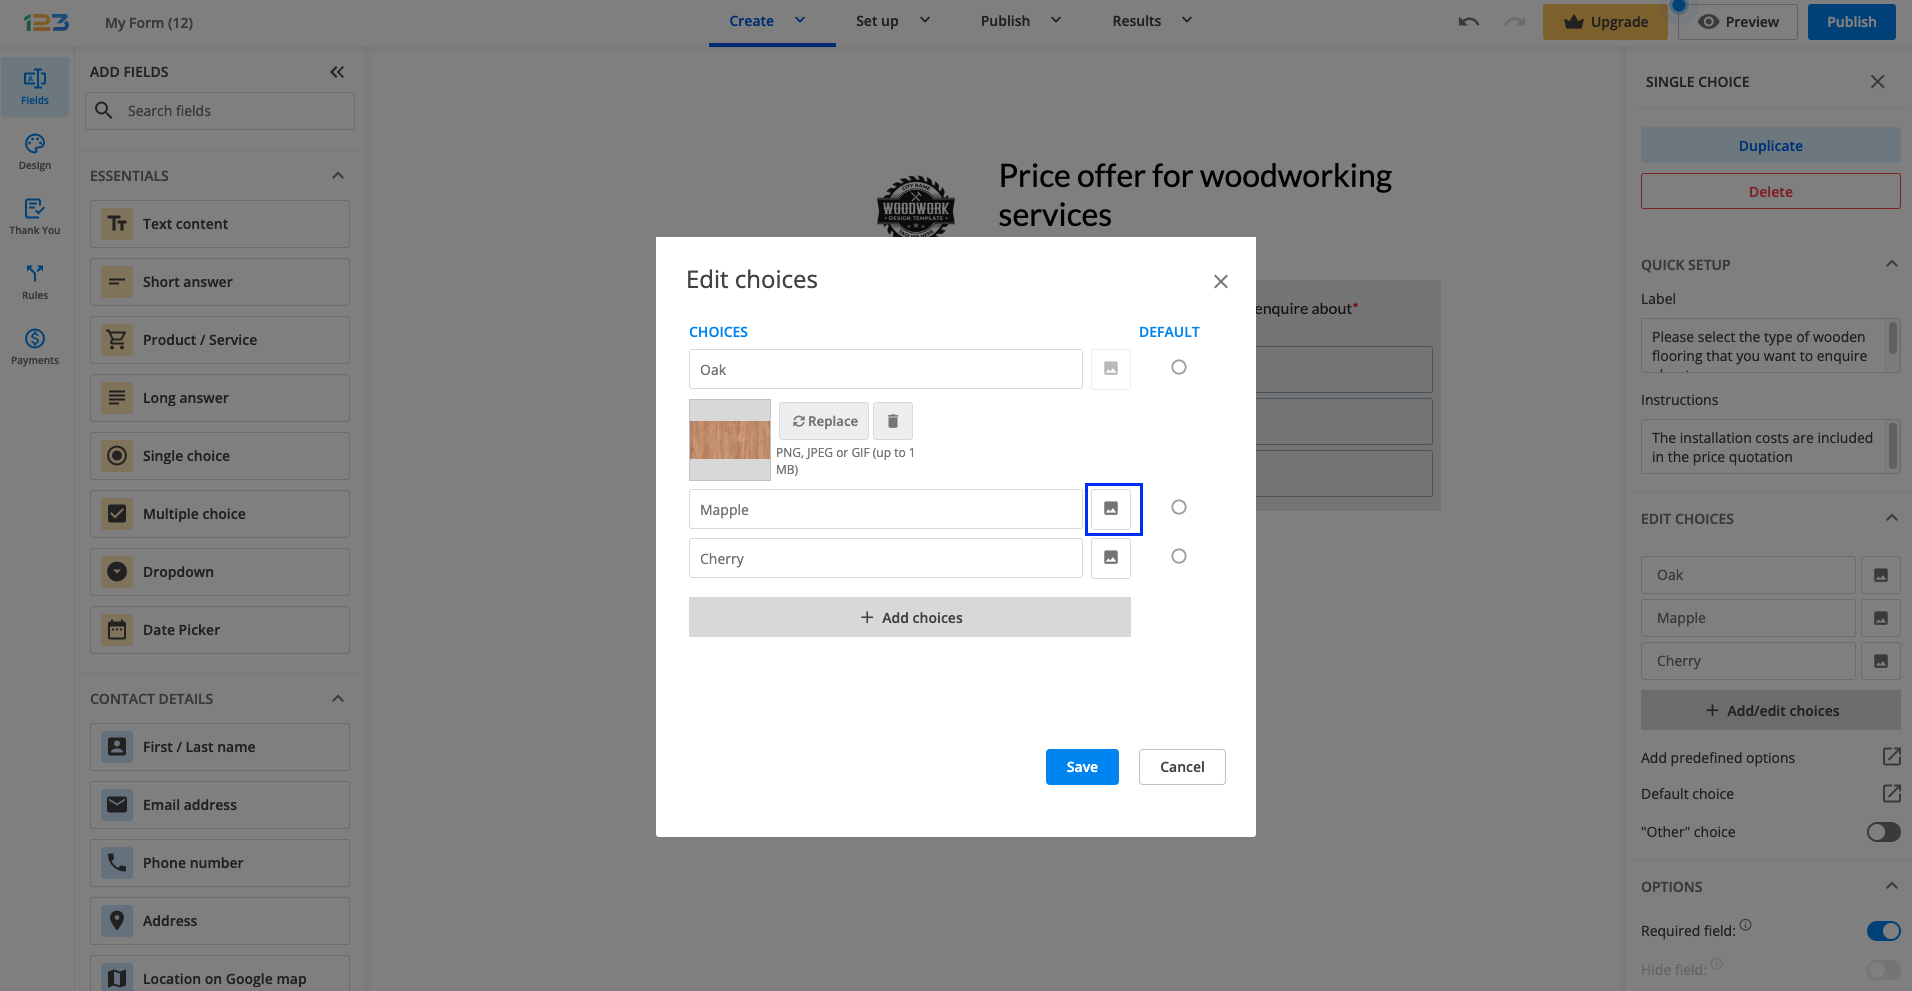
In the pop-up, he can upload an image for each possible option and then click Save.
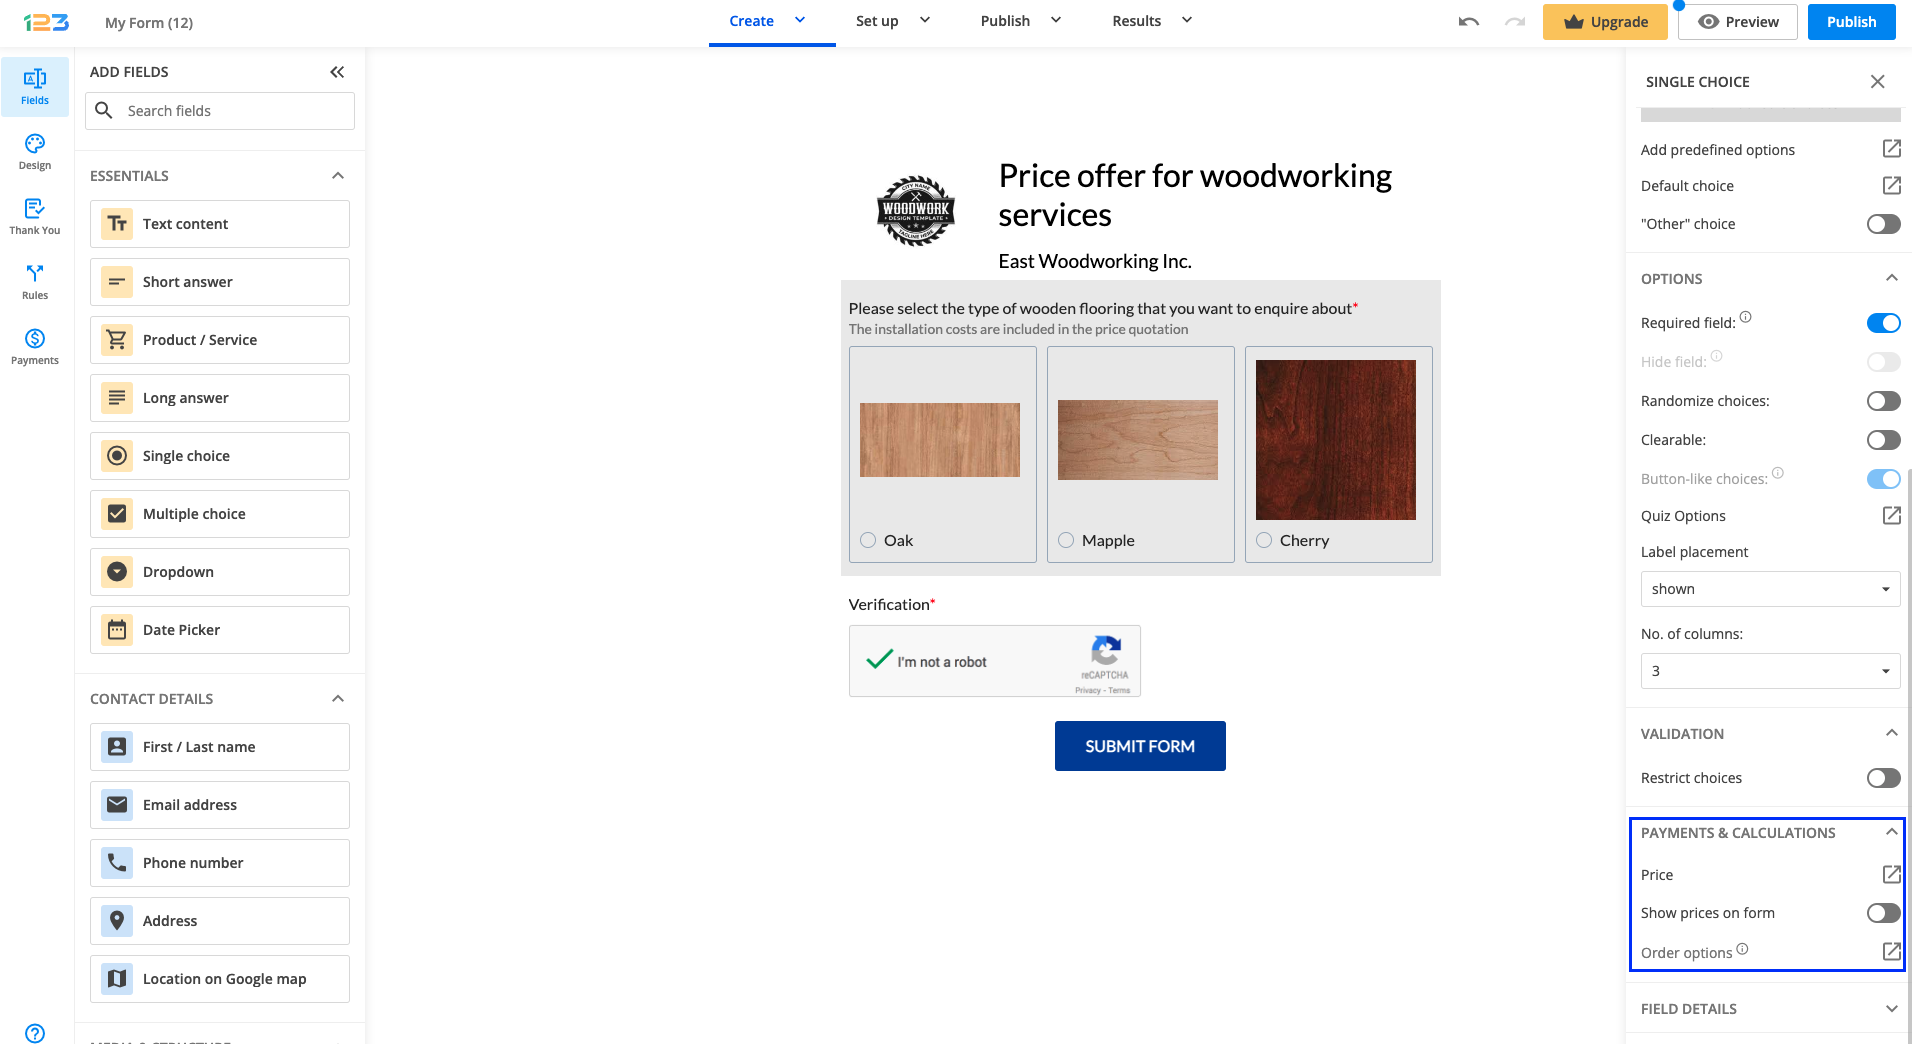
Once all images have been uploaded, this is how the form would look like:

The next step would be for John to add price information for each option. In order to that, he has to navigate to Payments and Calculation in the left side panel for the Single choice and select Price.
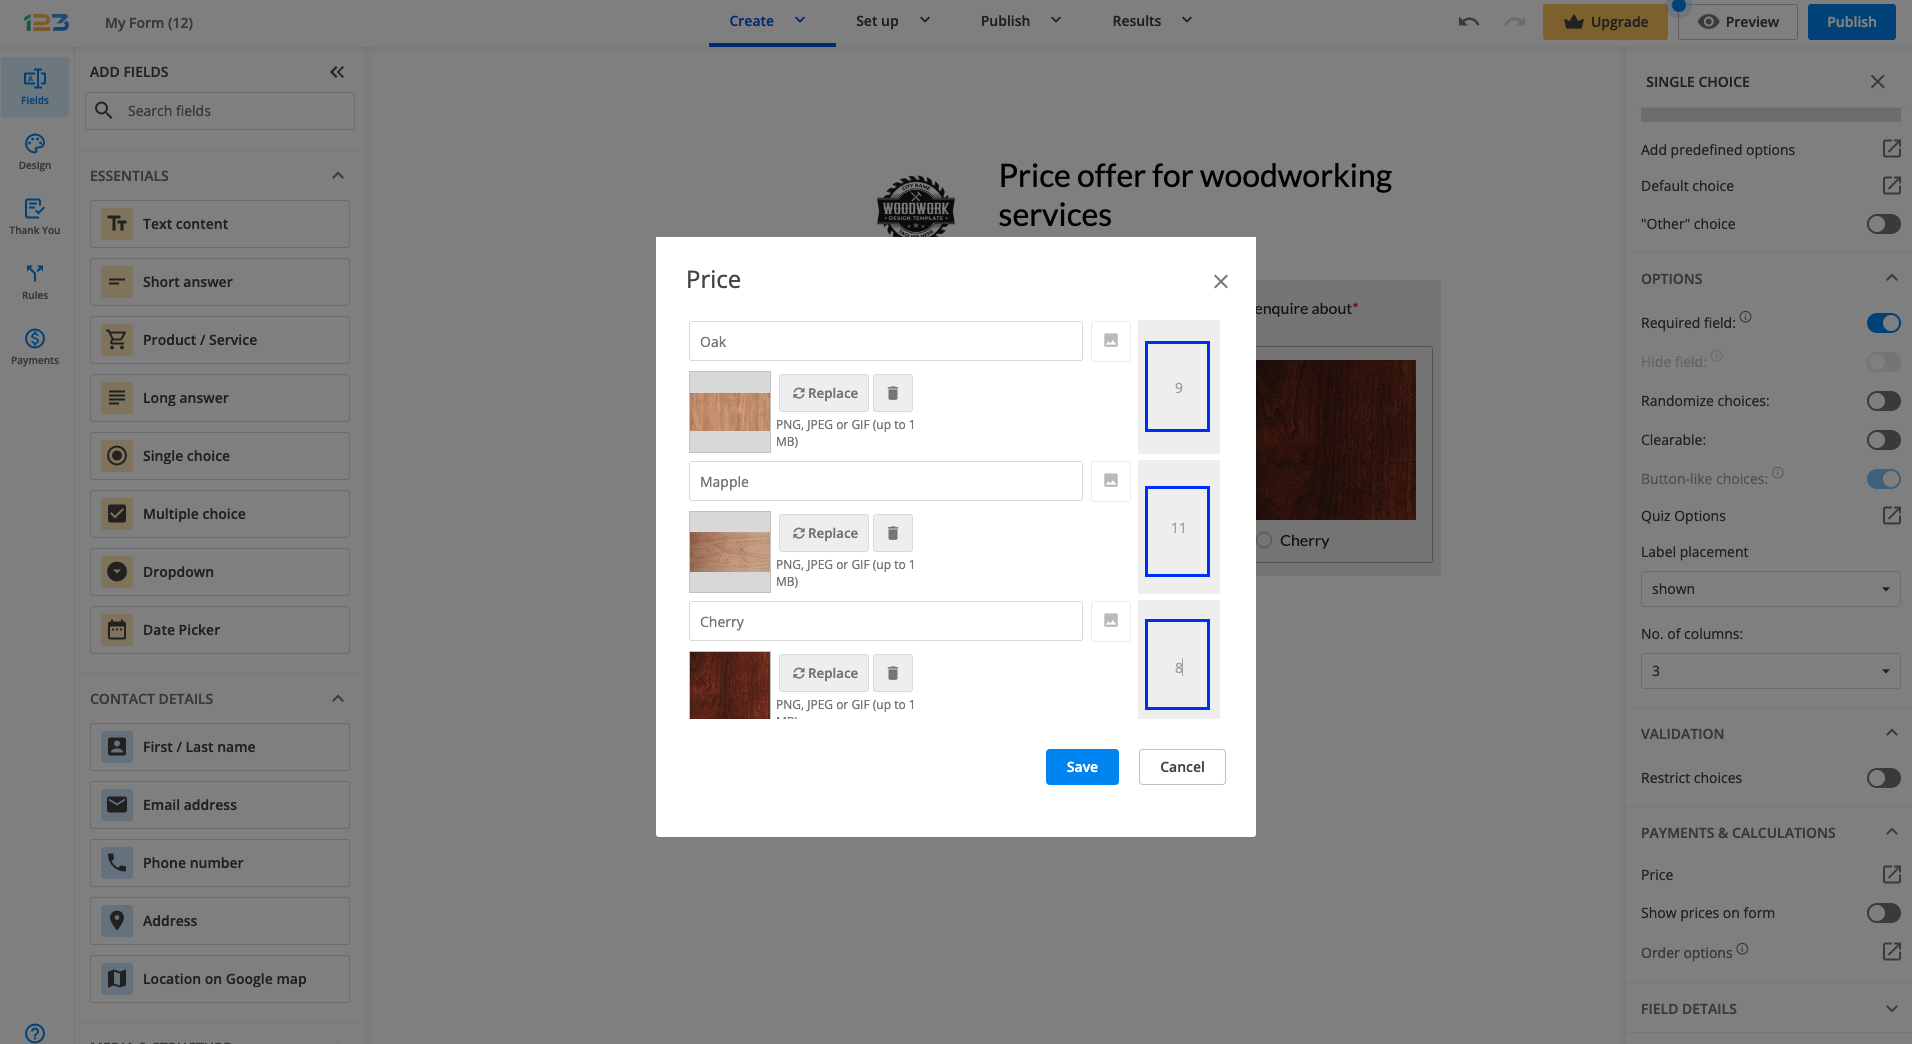
In the pop-up window that opens, each option can have a price configured. Let’s say that John has 9 USD for 1sqf of Oak, 11 USD for 1sqf of Mapple, 8 USD for 1sqf of Cherry.
Note: The prices applied to choices are not visible for respondents, but they can be manually added to the label in case you want to offer this level of detail for your respondents.
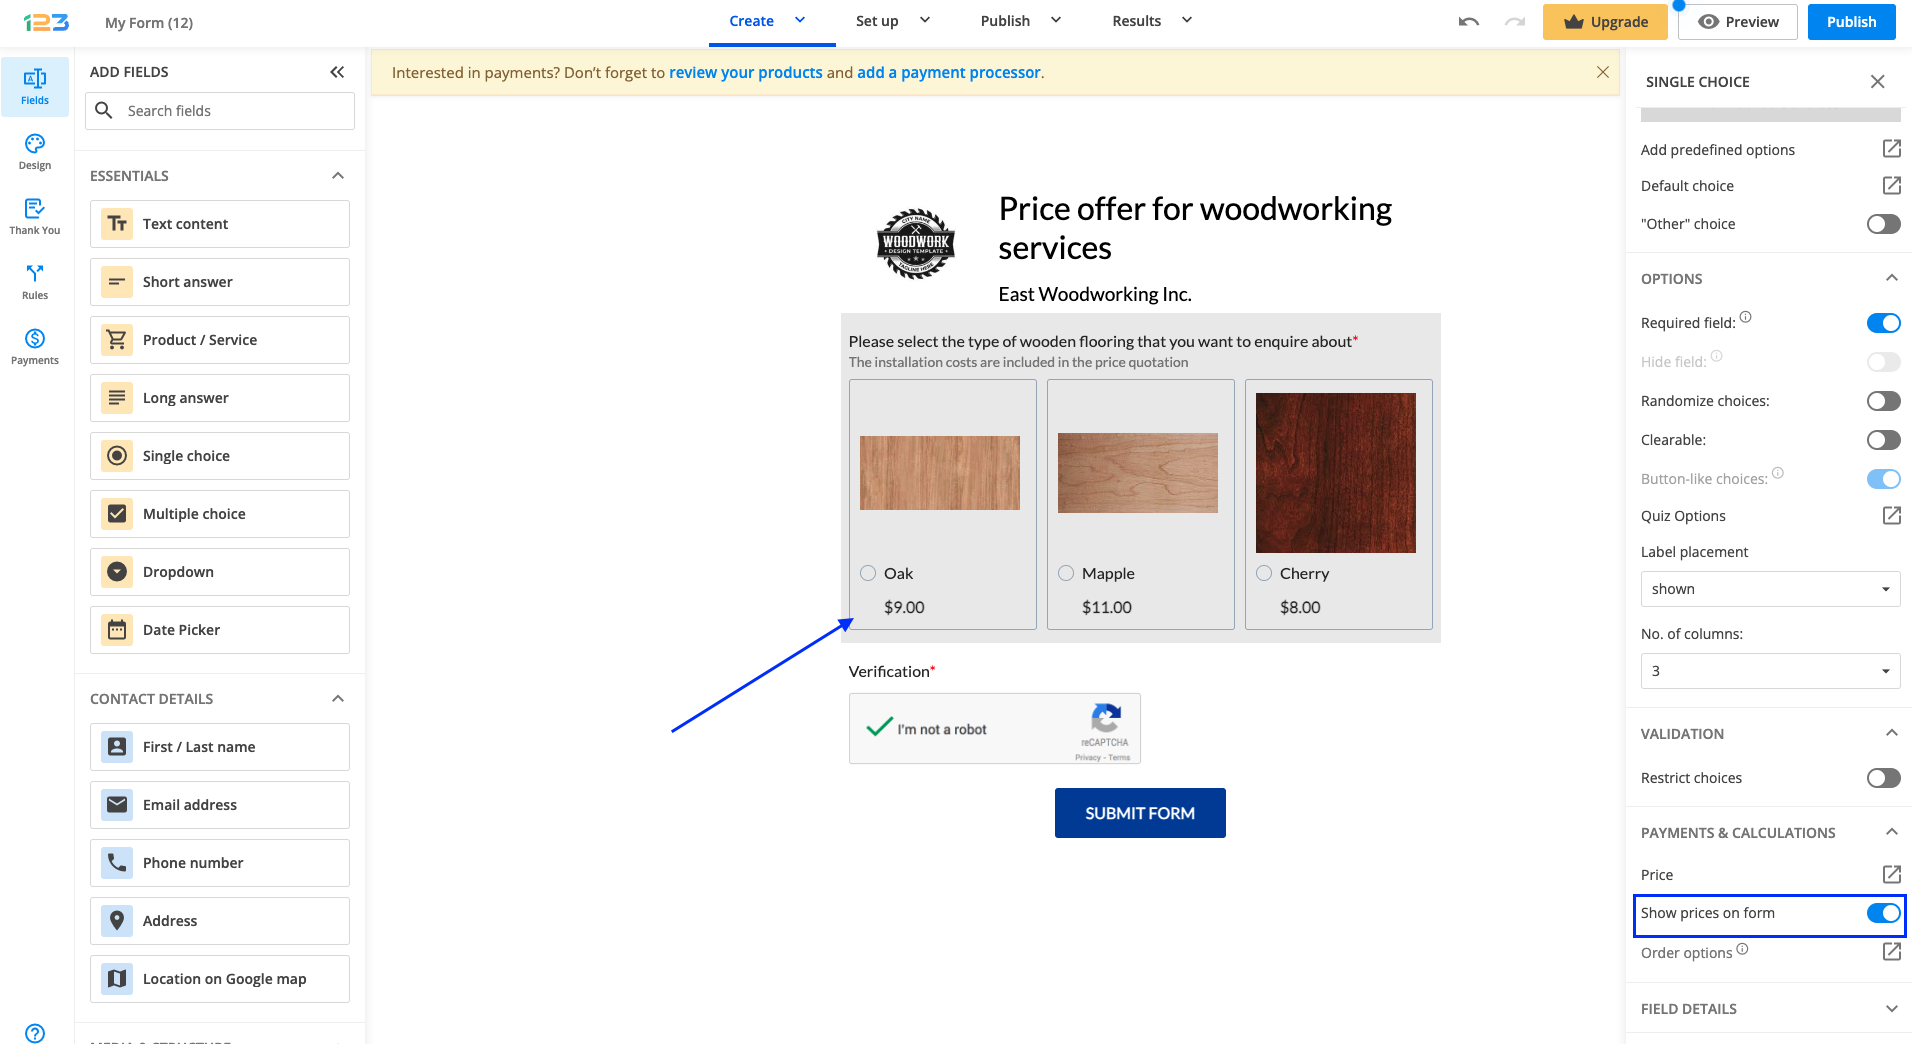
You can also choose to show prices on form by enabling this option. Each choice will have the price assigned displayed under the text.
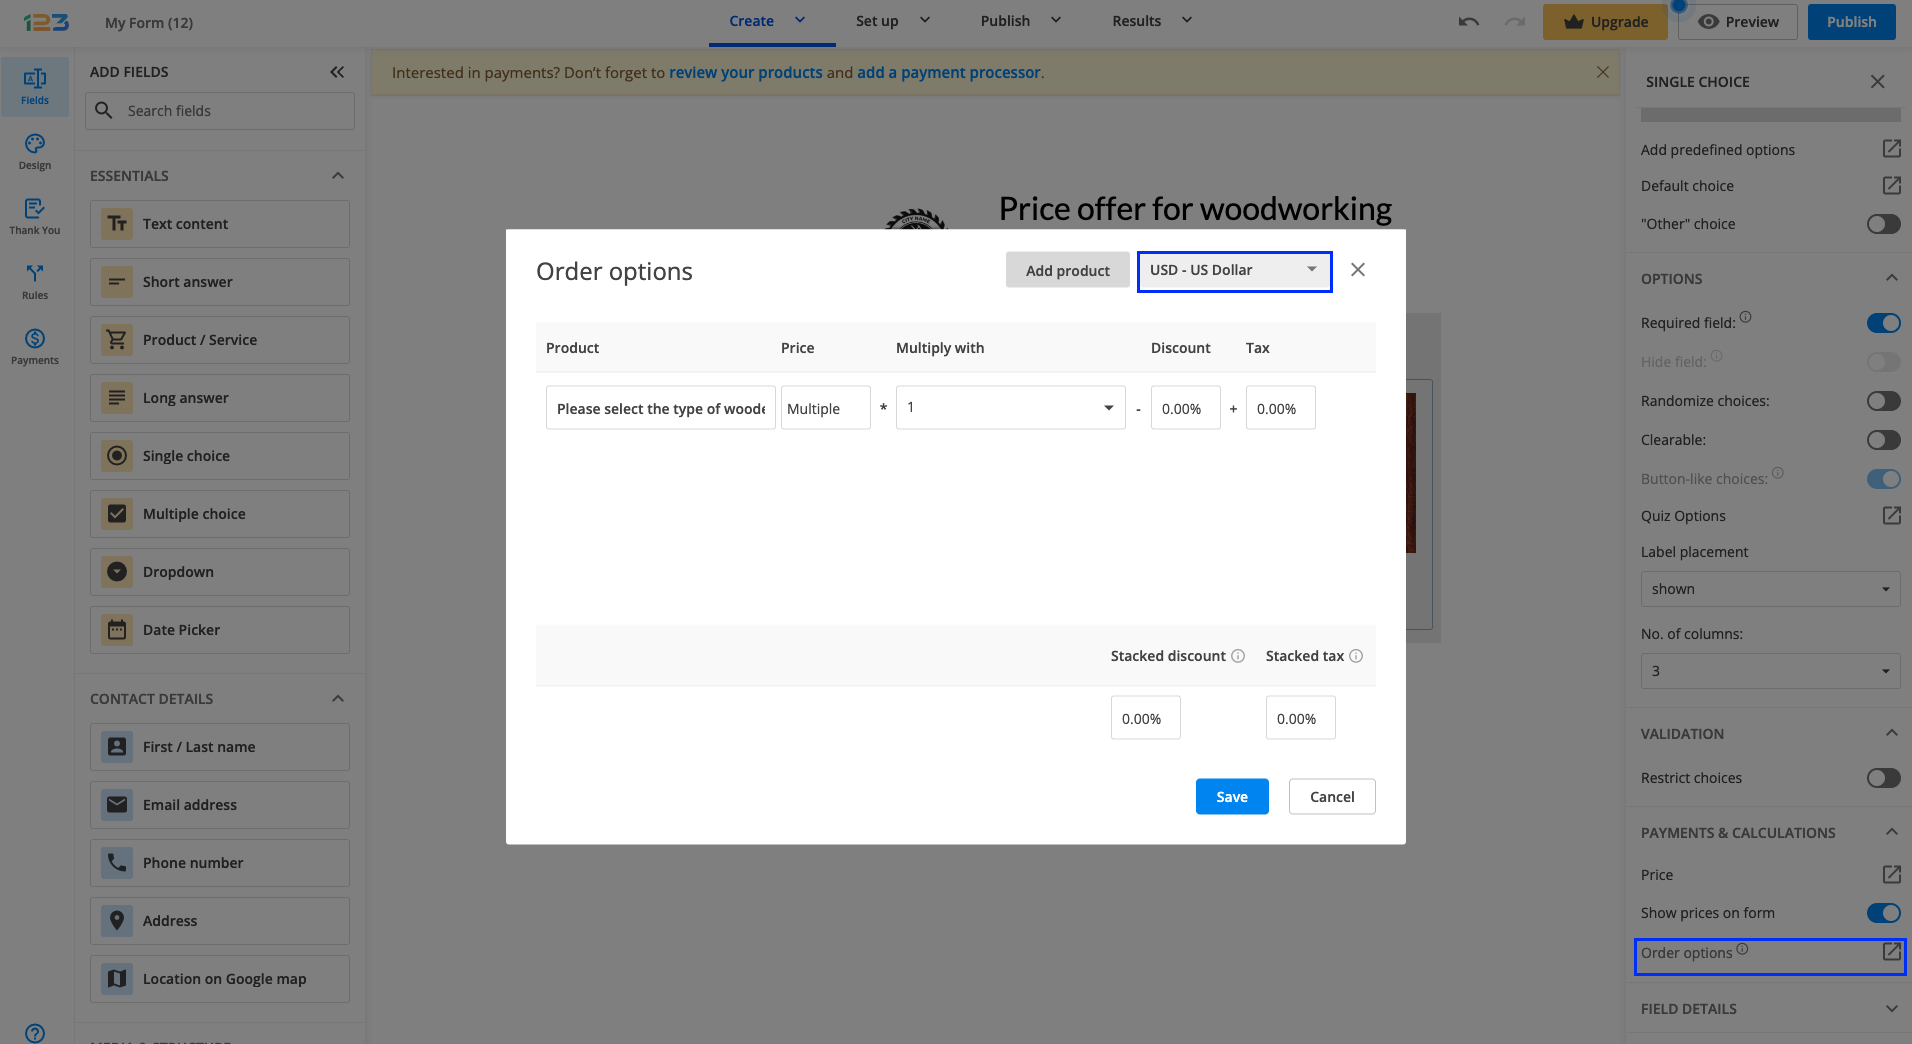
Next step would be to click on Order options in order to make sure the currency John wants to use is selected.
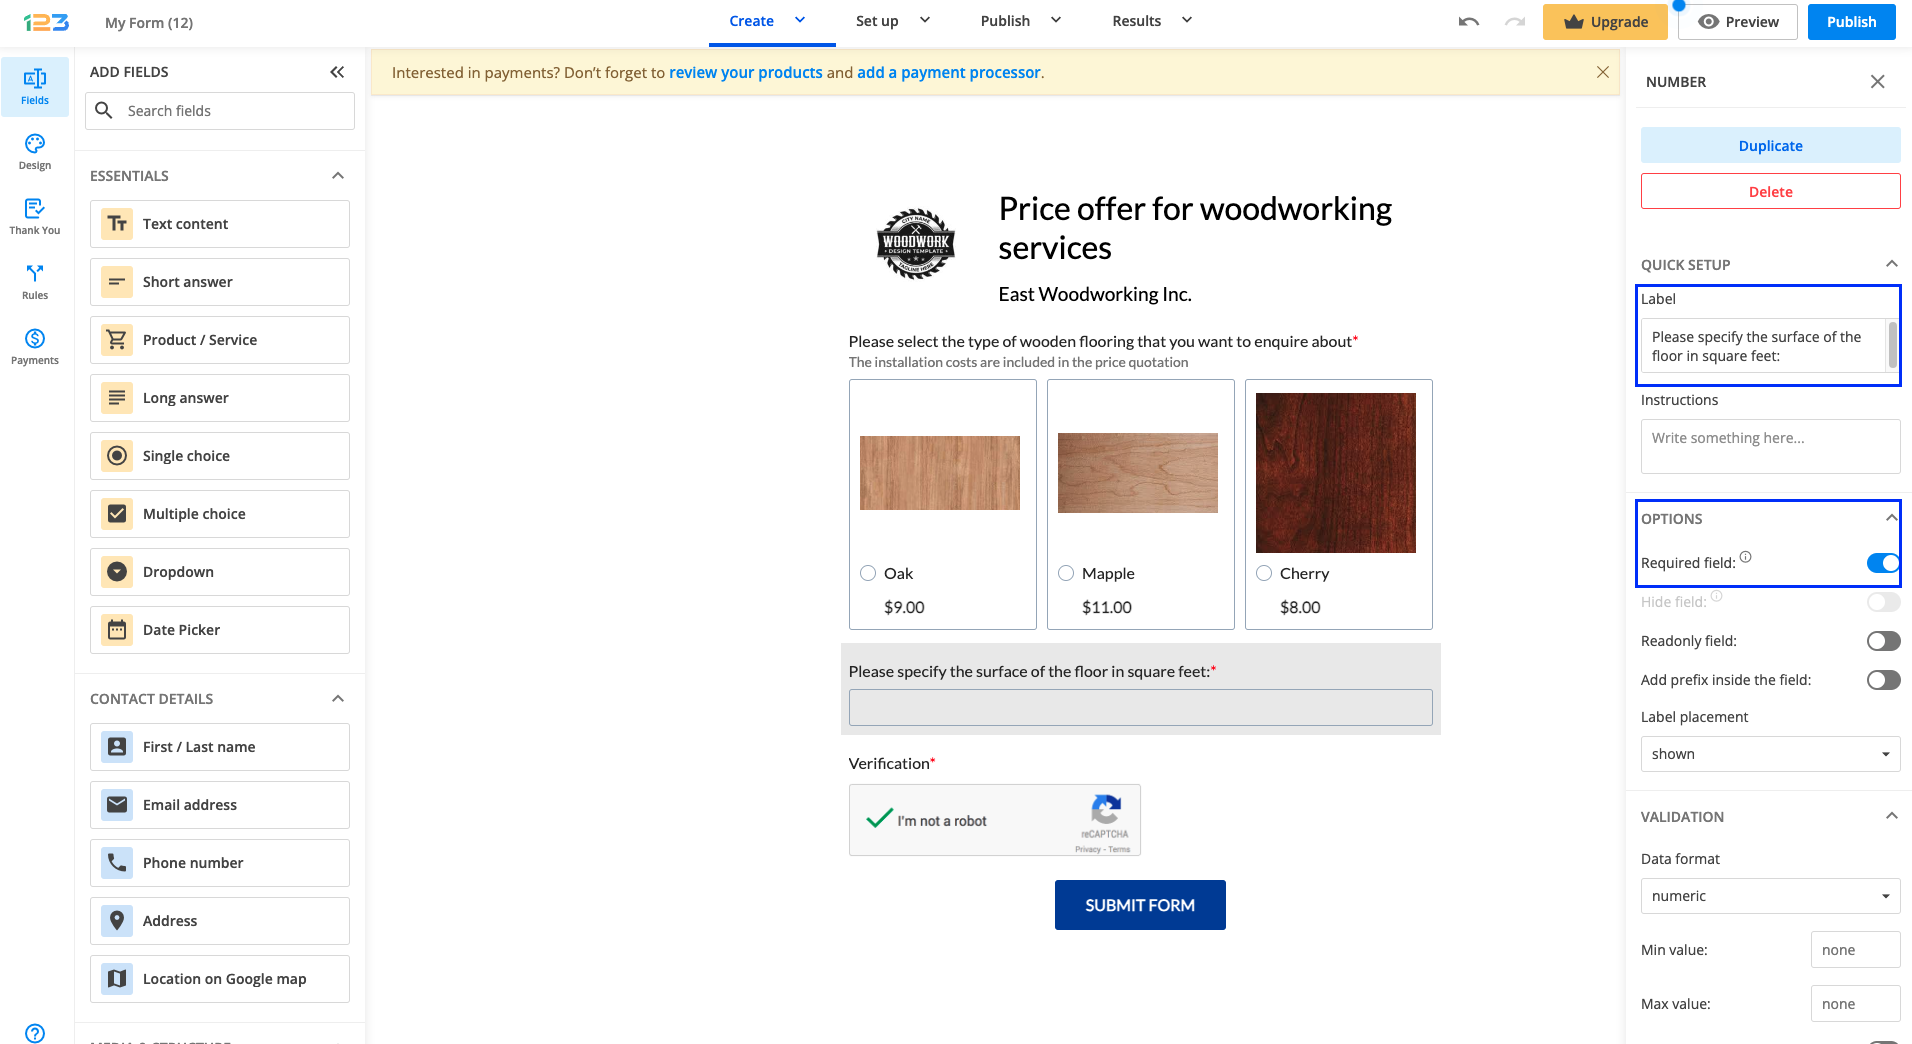
John also wants to collect information about the surface of the flooring from his customers. In this case, a Number field has to be added on the form. As this information is essential, the field has to be marked as required.
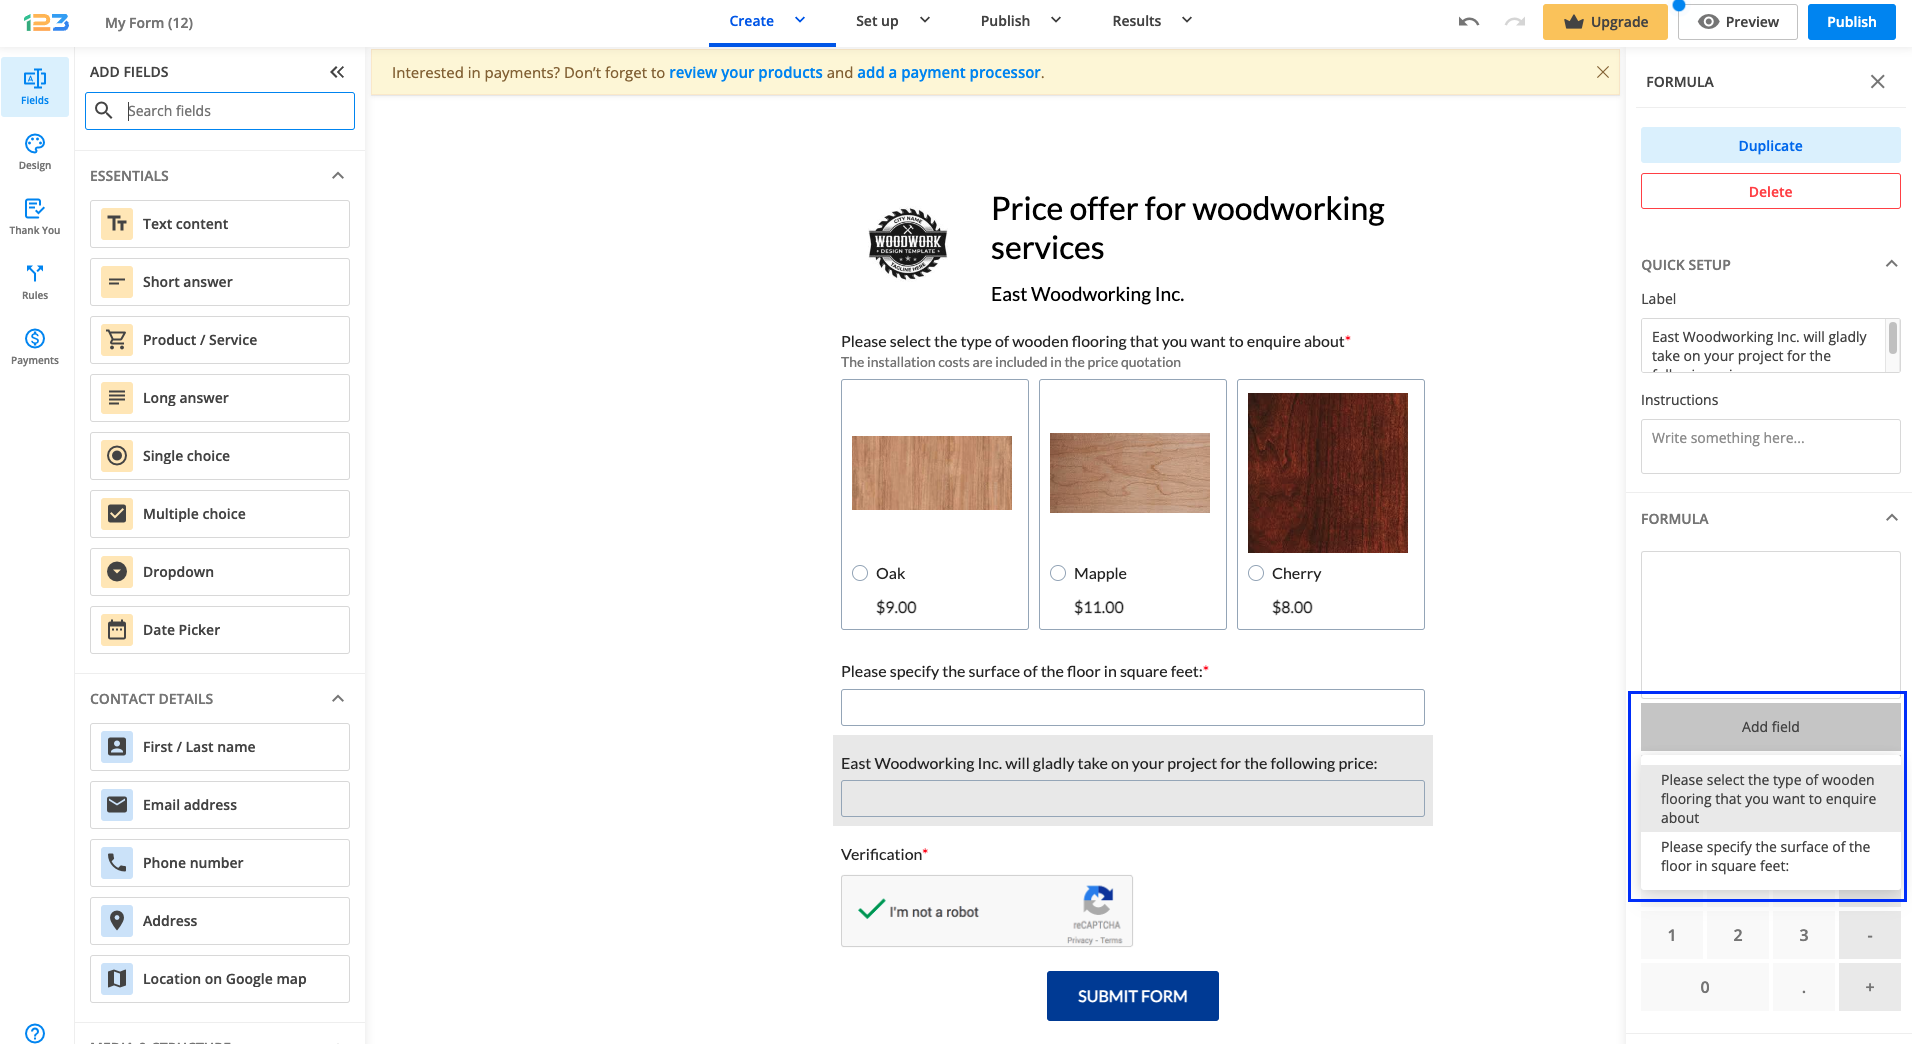
Since John wants to display a calculated price based on the selected wood type and the surface, he has to use a Formula field. Under the Label option, John has to input the question text: “East Woodworking Inc. will gladly take on your project for the following price:”
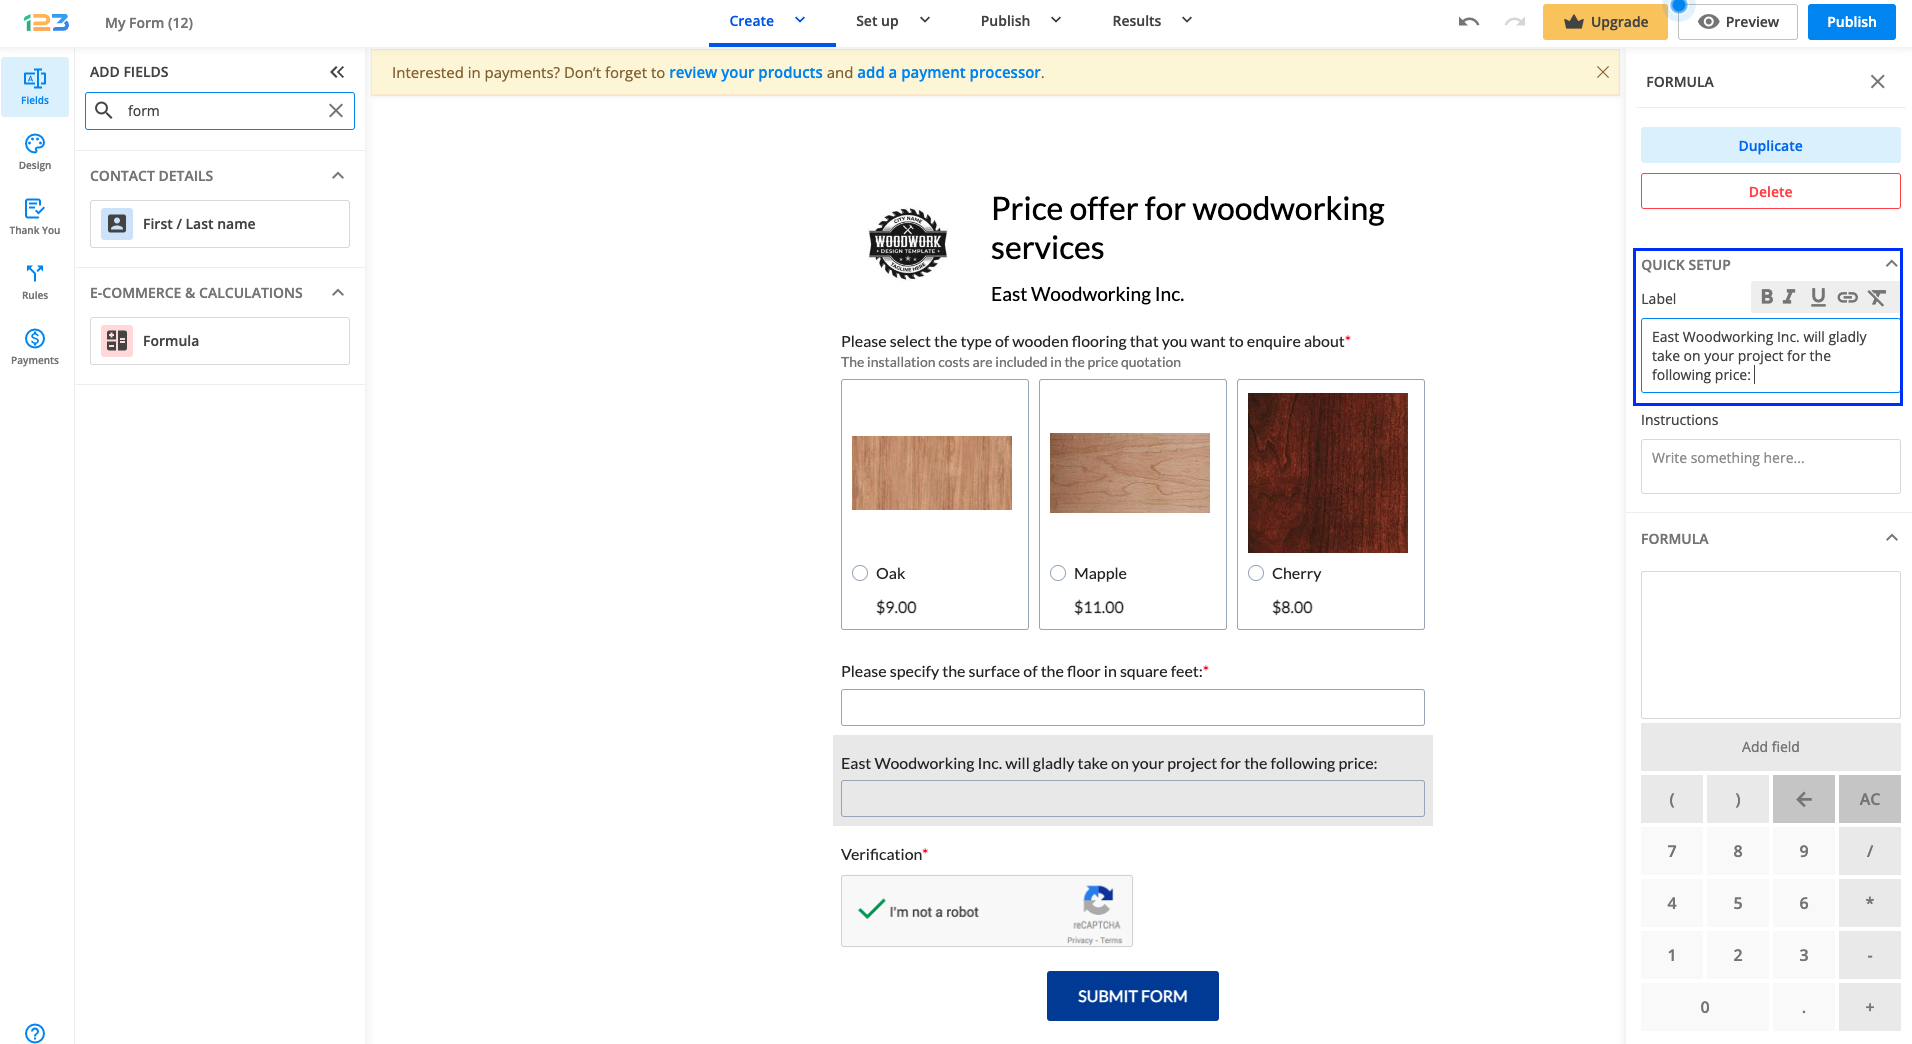
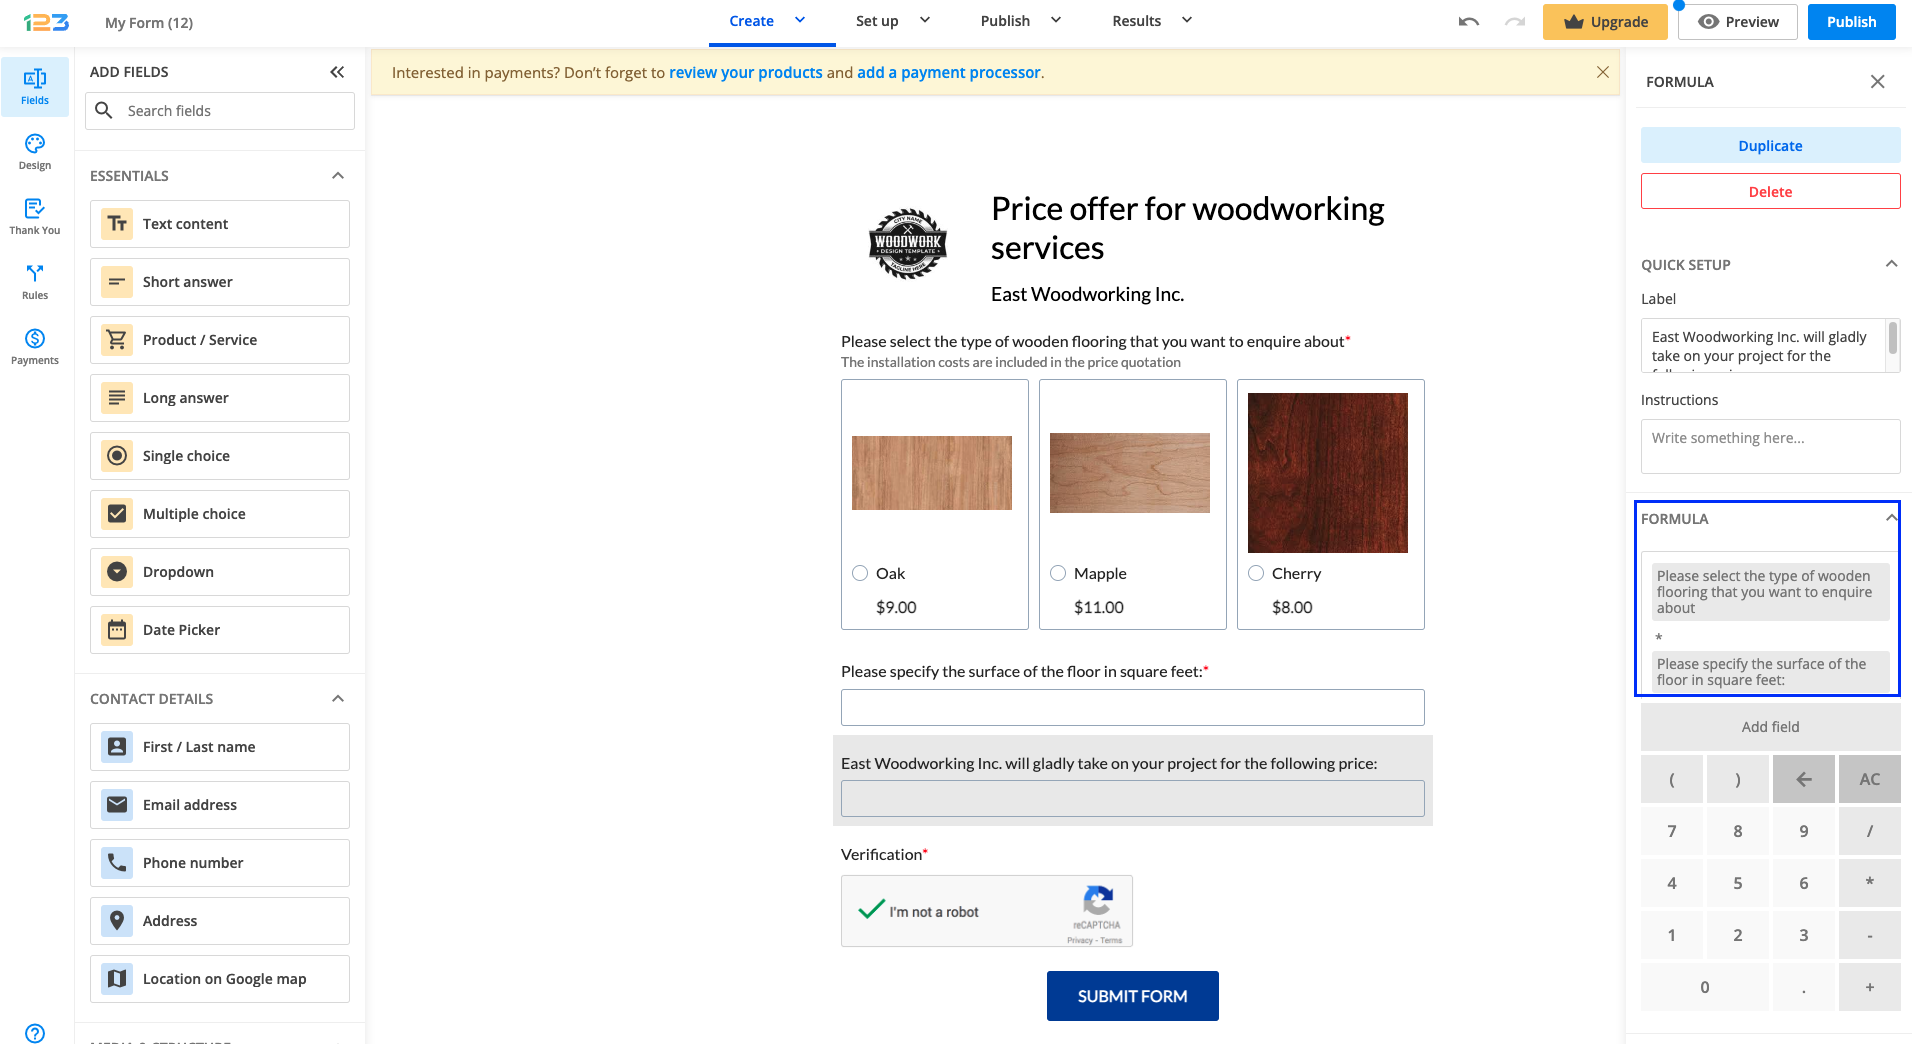
What is missing now is the actual formula to be created. John has to click on Add field button and select the field with the flooring options, which will then be multiplied by the value of the field containing the surface information.
Once created, the formula will look like below:
If John wants to have the currency displayed next to the resulting value, then Add prefix inside the field has to be checked.
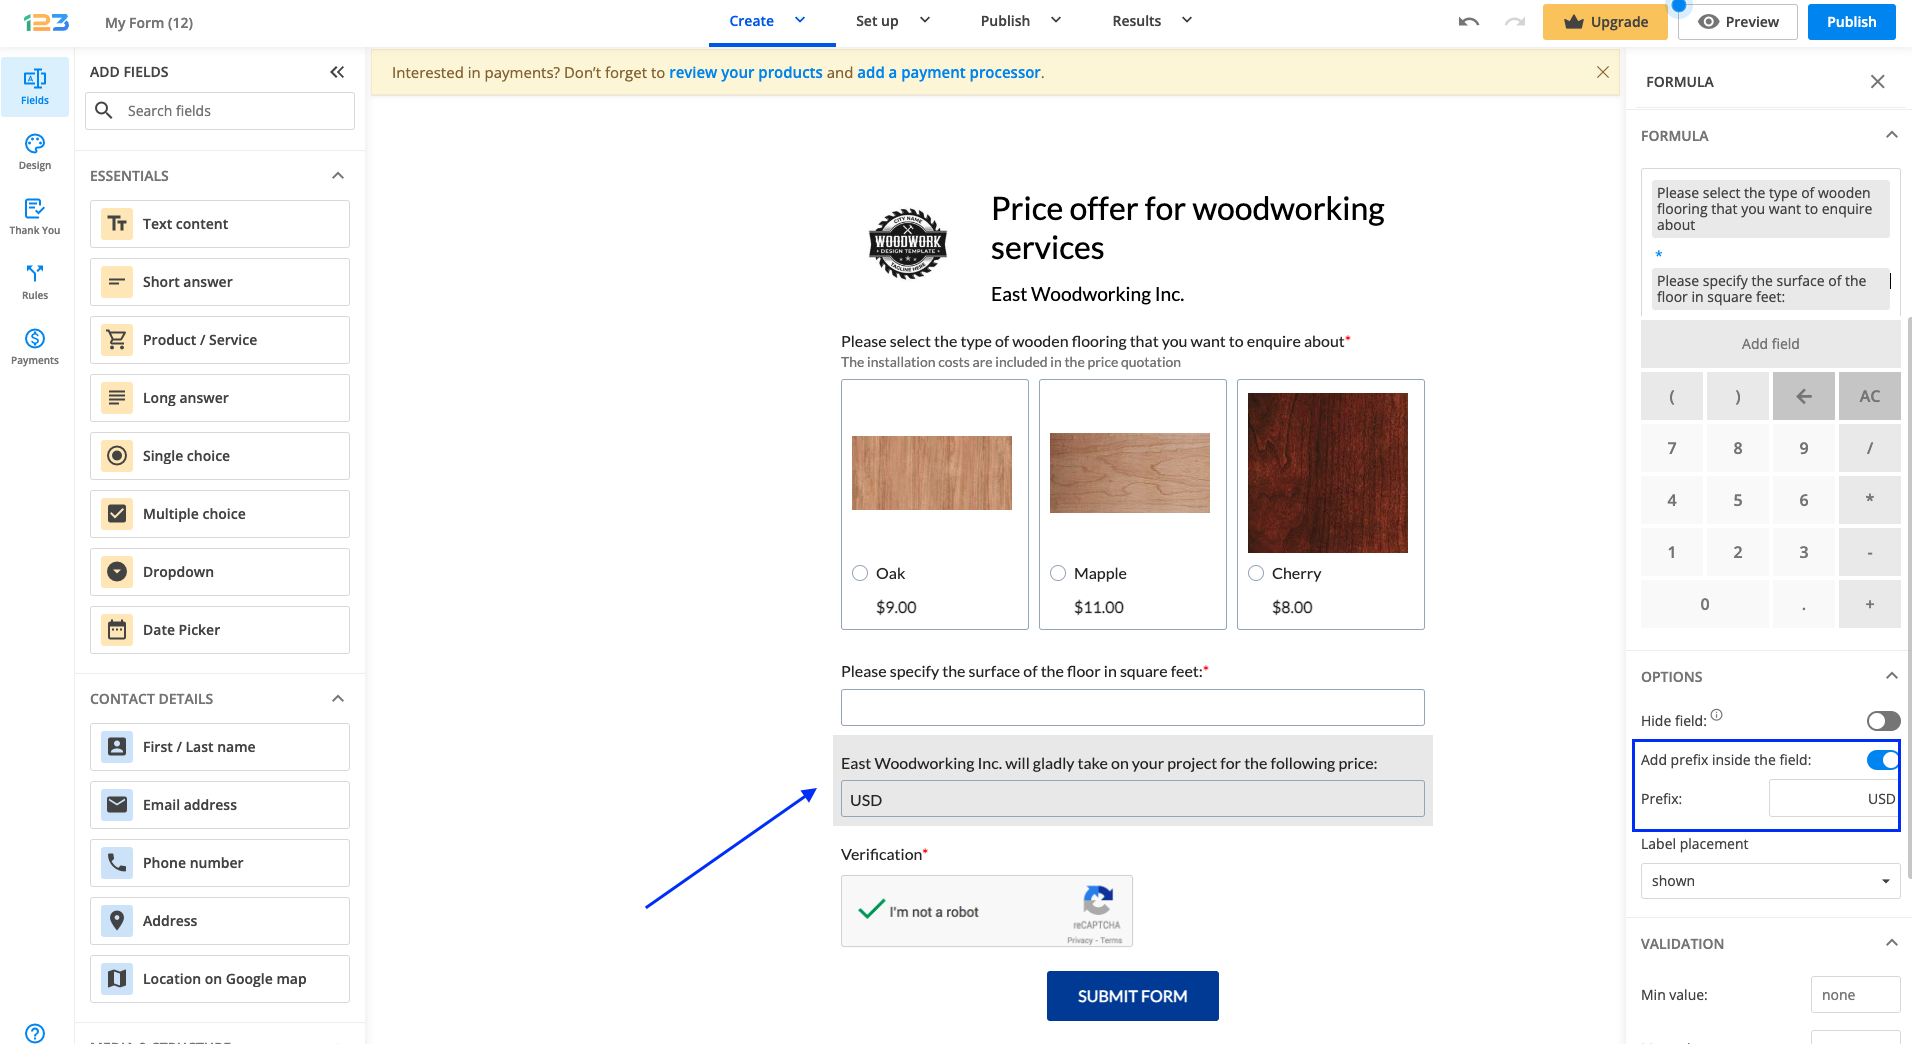
Important note: Formula field behaves differently than any other field. It is a read-only field in which only the total amount will be displayed.
This form can totally be improved, so let’s take it step by step. Let’s assume that respondents find the offer highly competitive and want to get in touch with John.
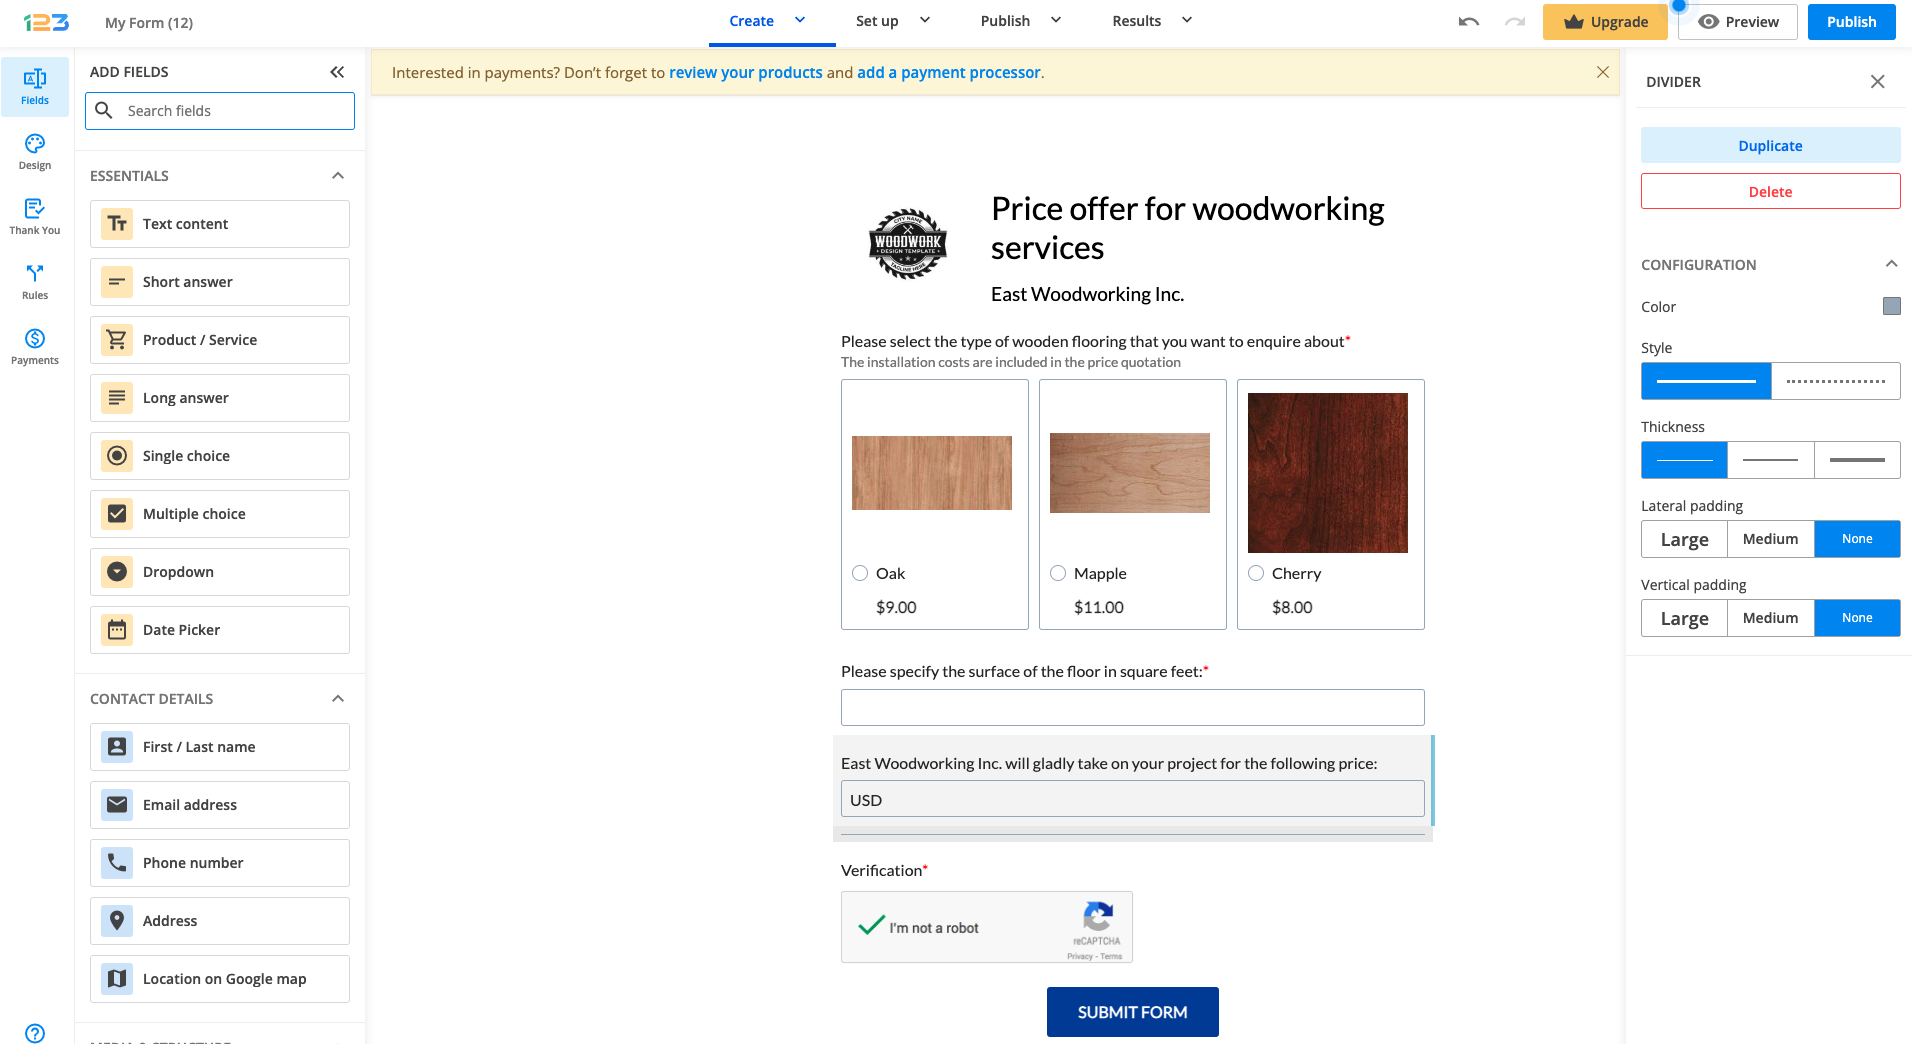
Firstly, we can add a divider field as we are going to ask respondents contact info and we want to split the form into different sections. The divider field can be customised according to your needs.
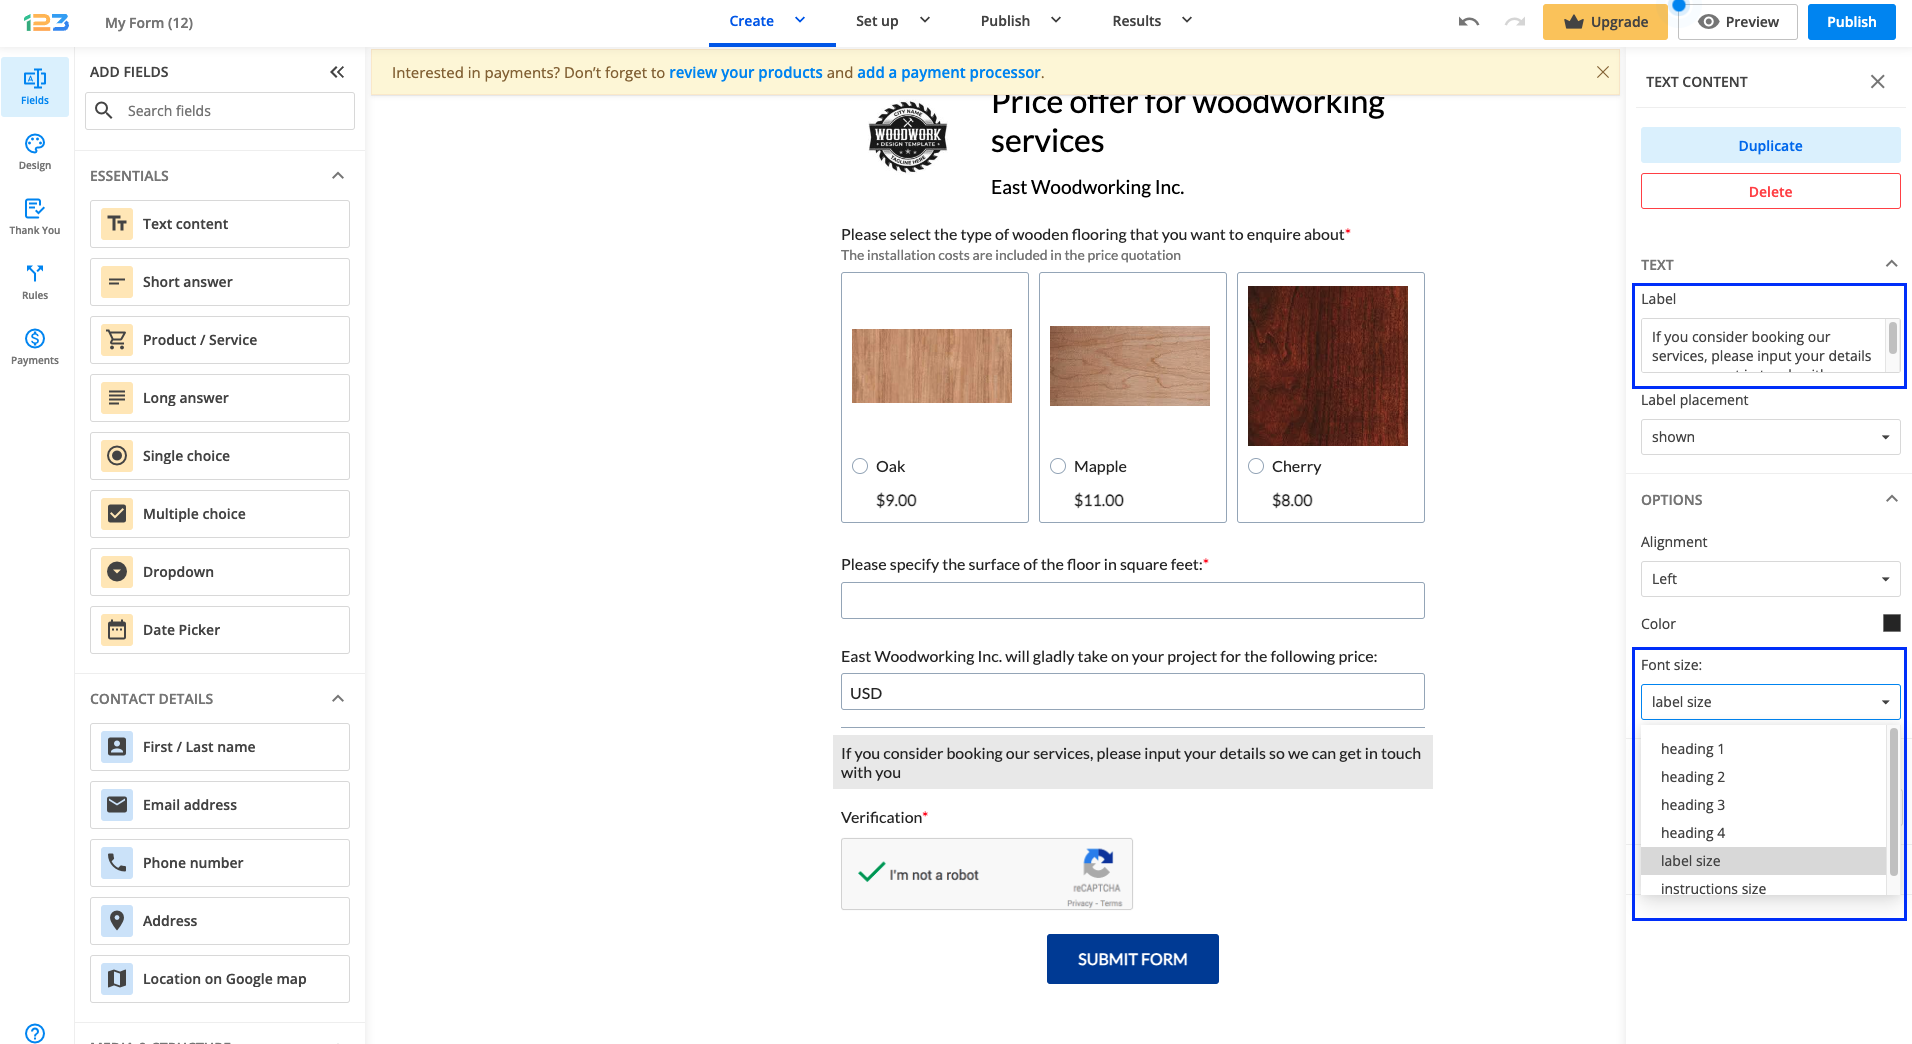
A Text field can be added to the form where respondents are informed why John is asking for contact information, with the text: ” If you consider booking our services, please input your details so we can get in touch with you”. The label size can be changed so that it looks like the rest of the form.
Next step would be to add appropriate fields for collecting contact information, such as First/Last name, Email address and Phone number and also make them all required.

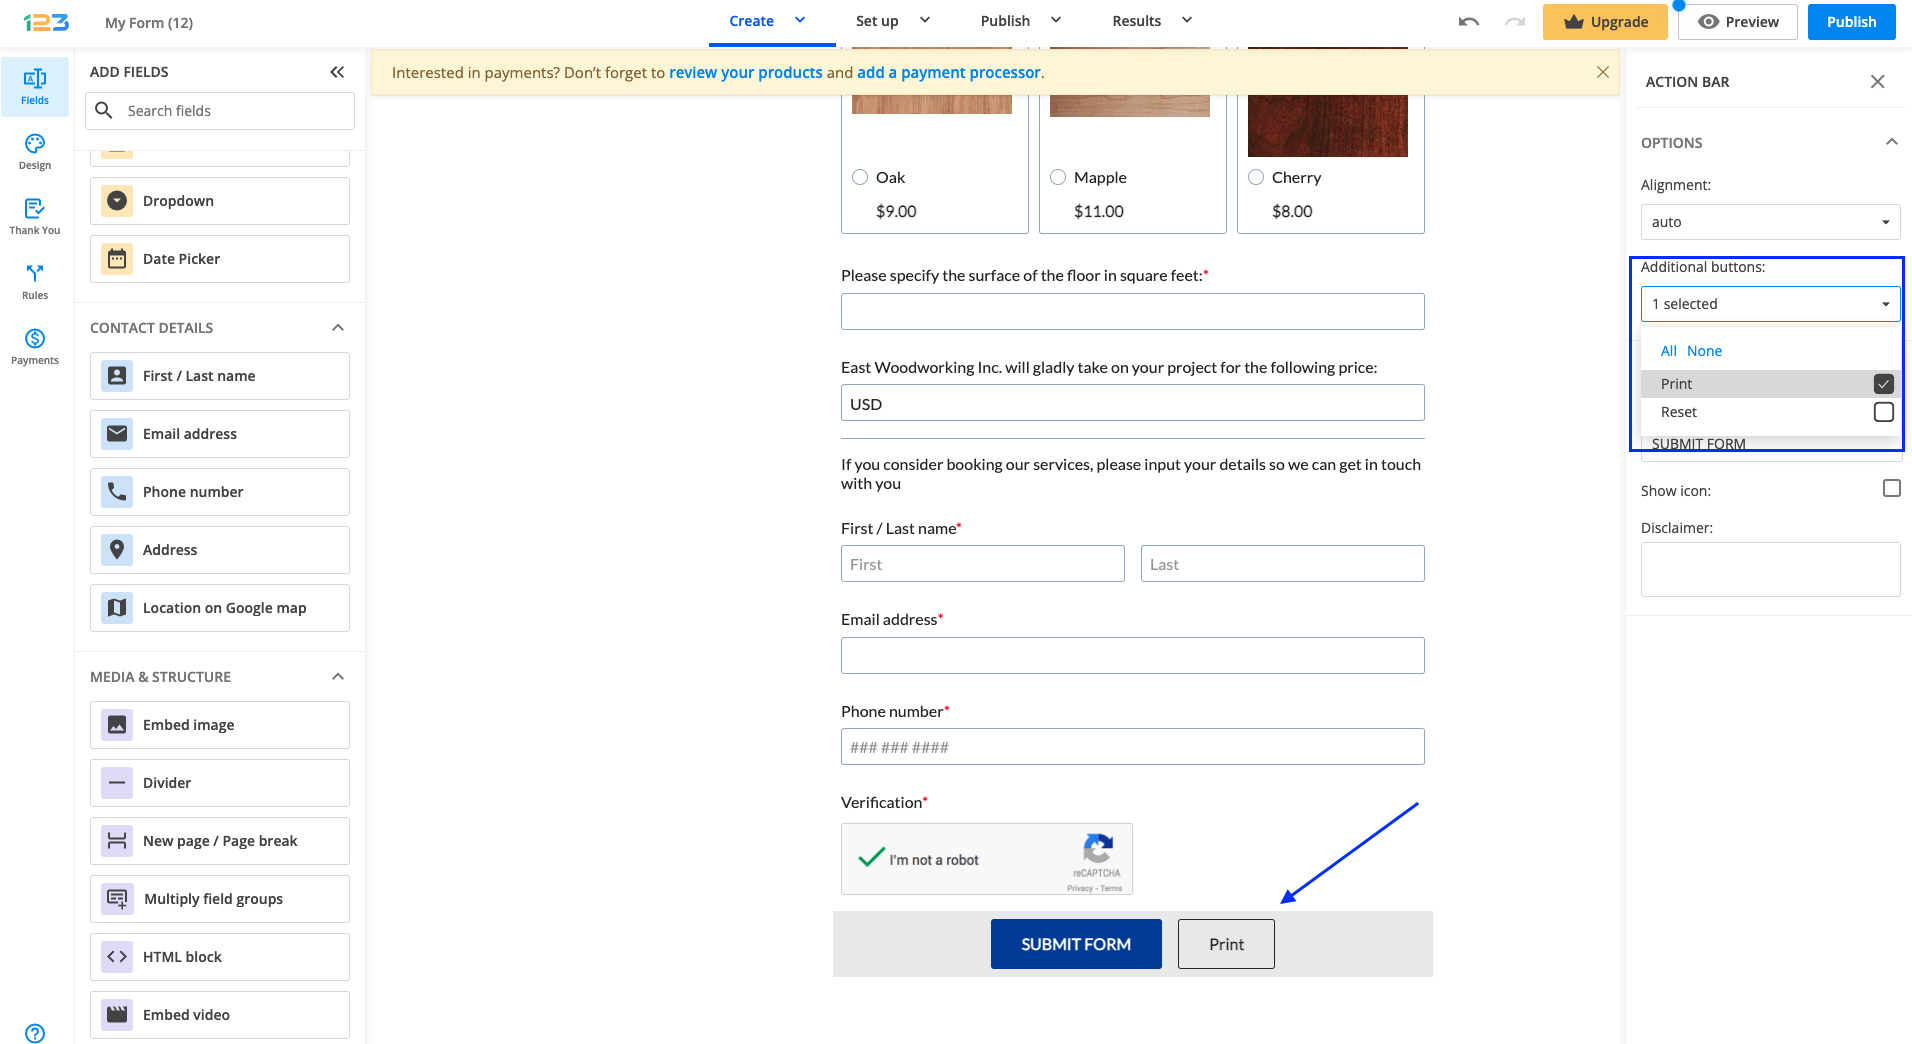
If John wants to offer his respondents the option to print the form, this can be done by clicking on the Submit button and adding an additional Print button.
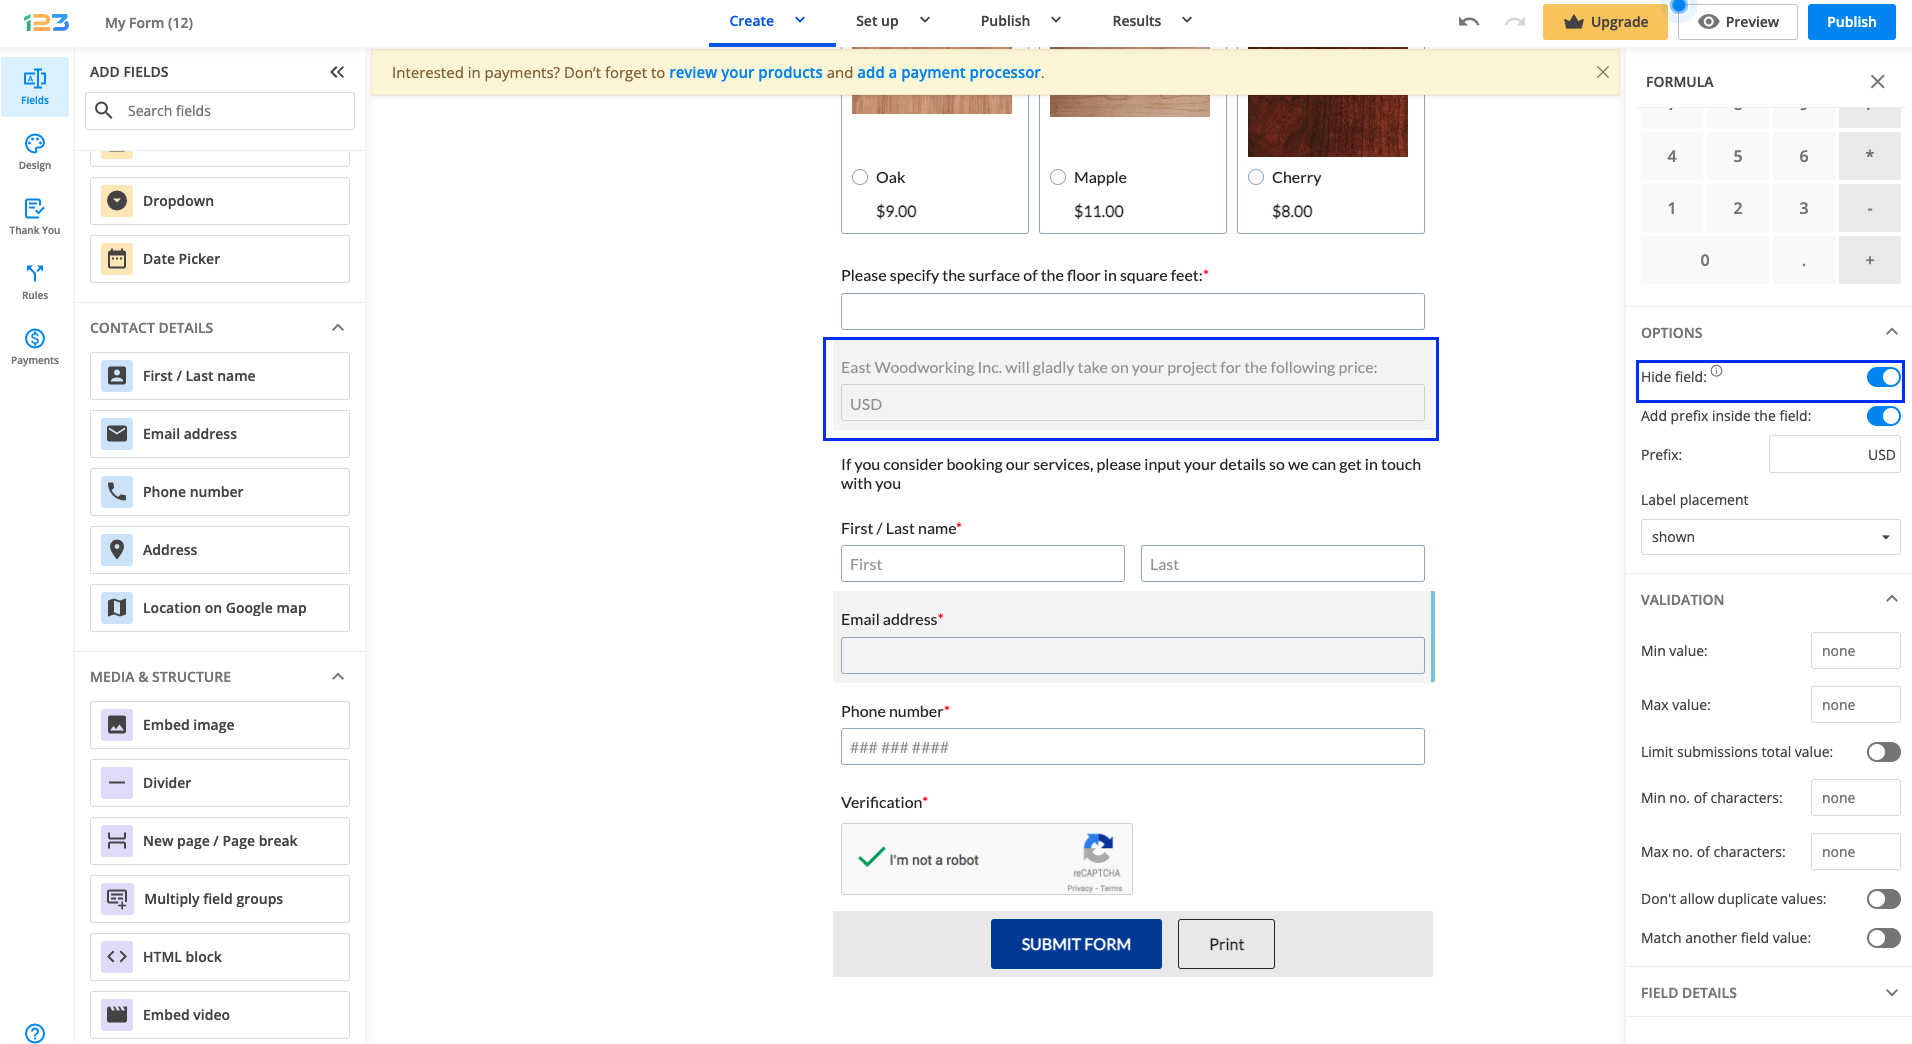
The pricing information can be presented as part of the Thank you message. In this case, the Formula field has to be hidden on the form. This can be done by clicking on the Formula field and checking Hide field. Once this is enabled, the Formula field will be greyed out on the form.
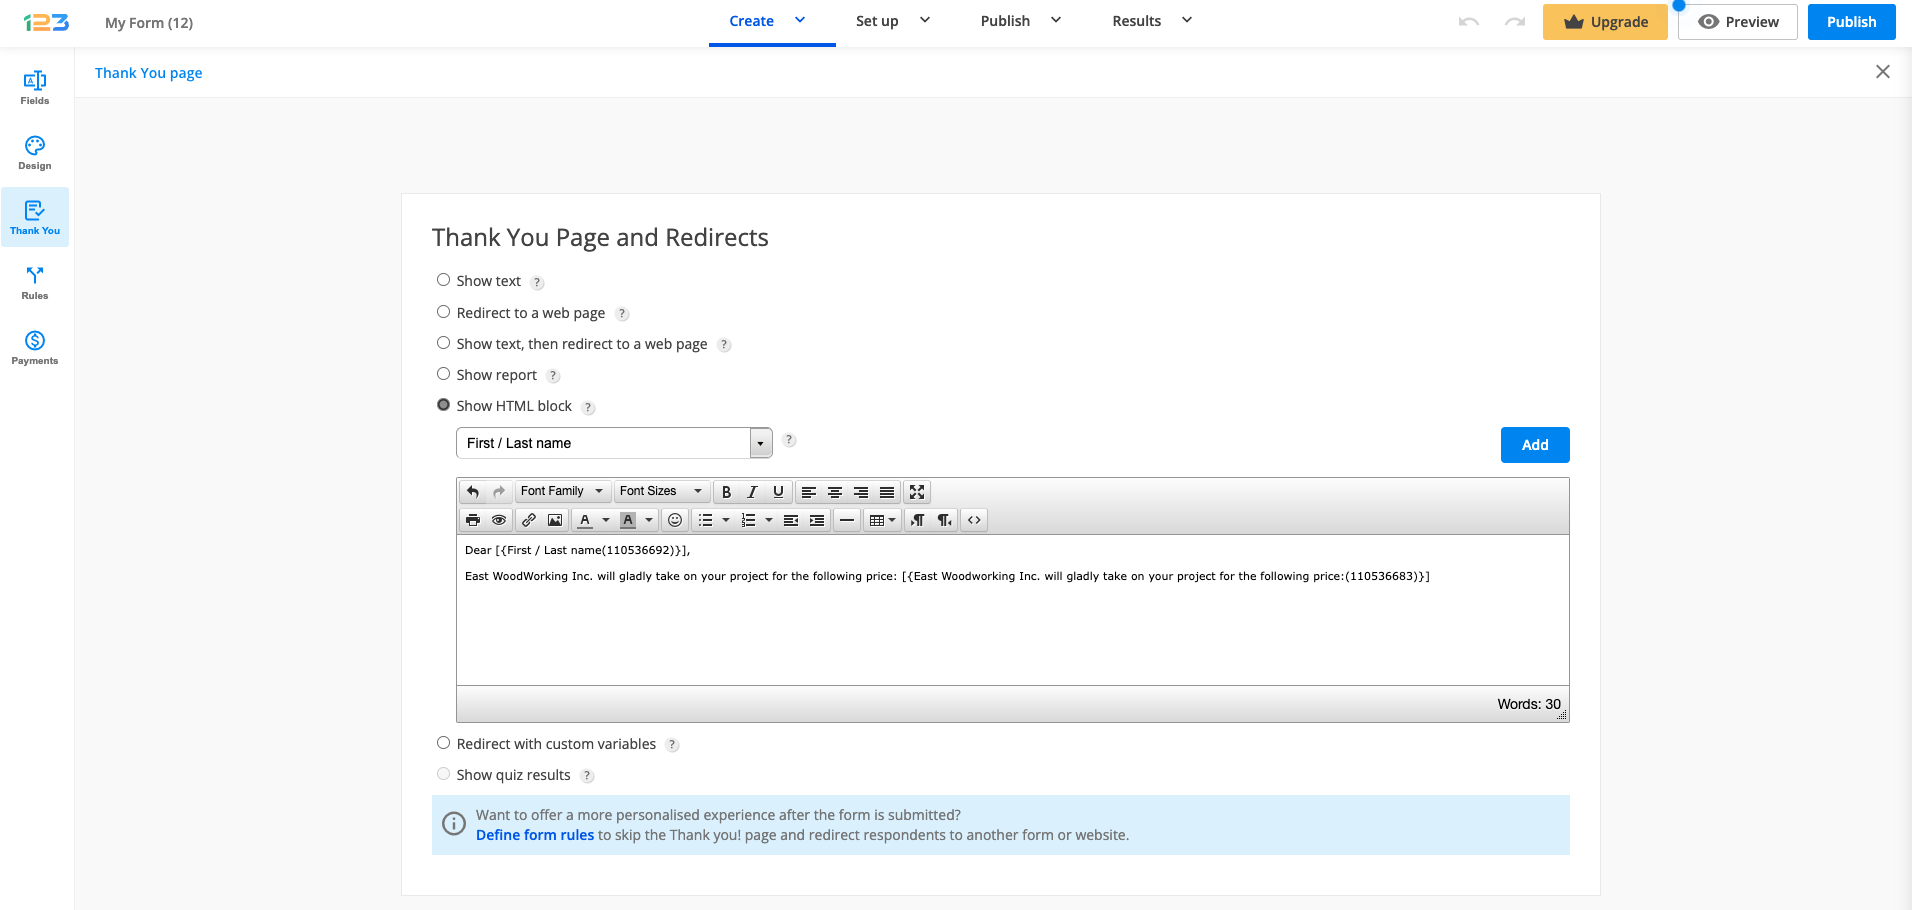
Going further, to modify the Thank you page, John has to navigate to Set up section and Thank you page.
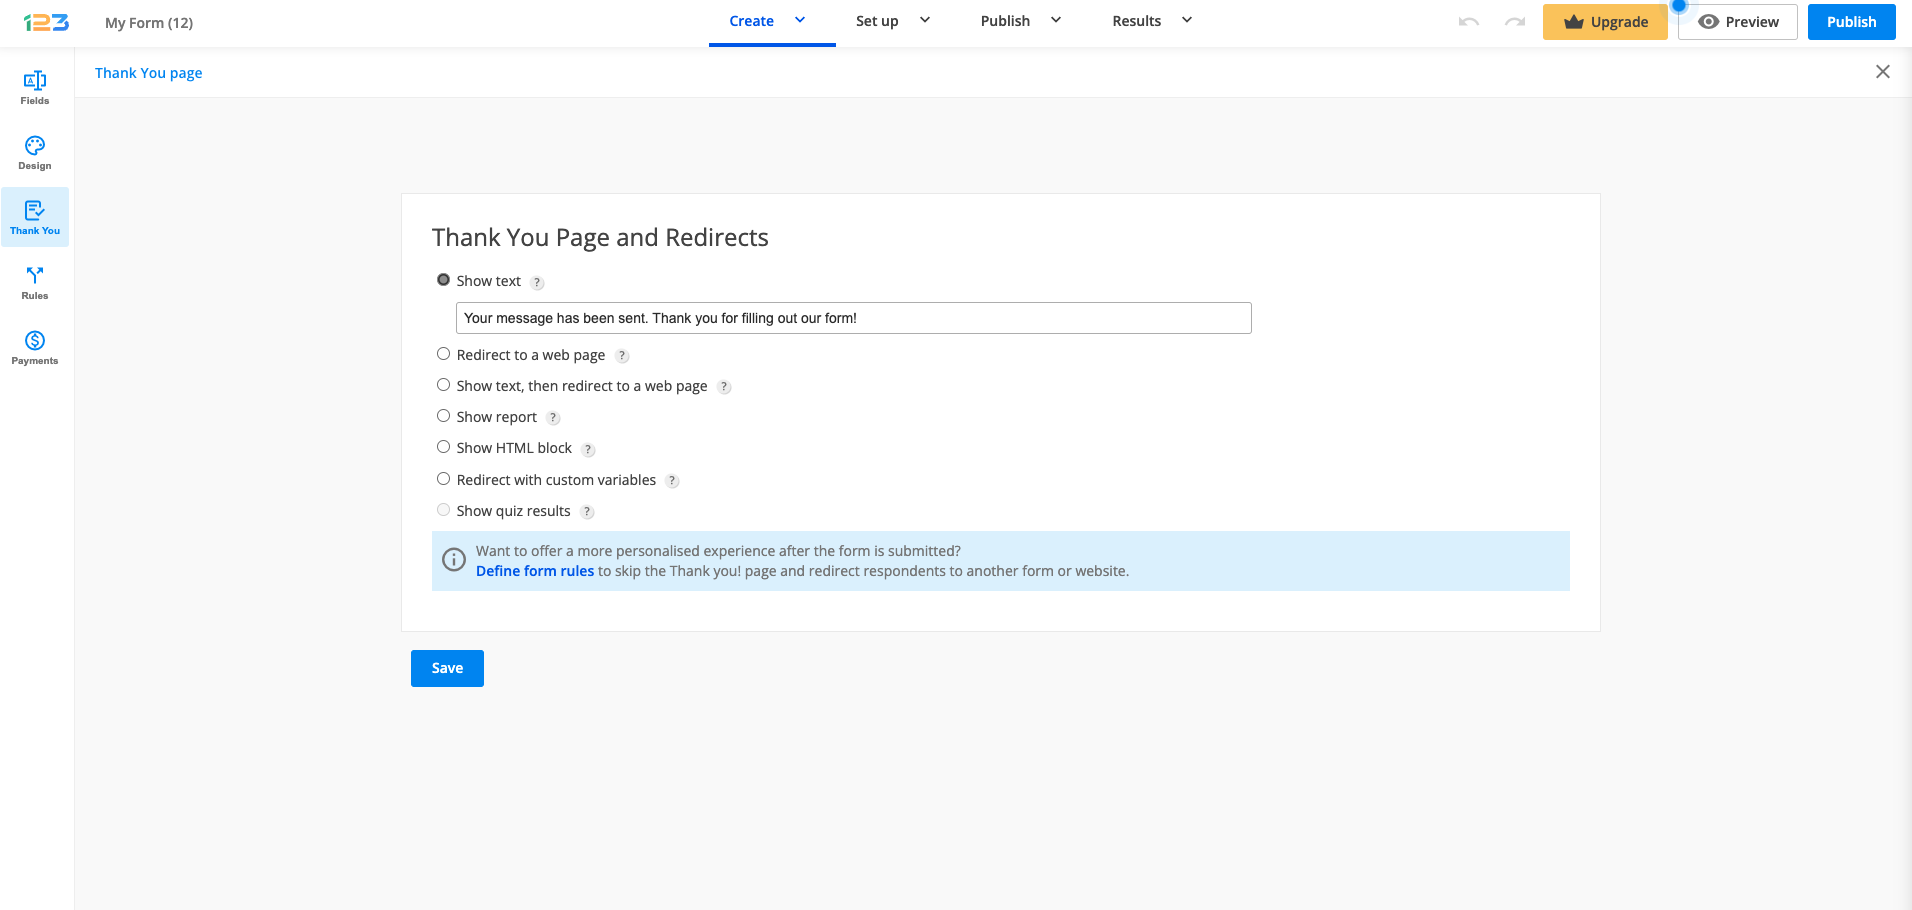
John has to select the option Show HTML block and then using the dropdown menu, select the field from the form and add it to the Thank you message by clicking on Add button.
If John wants to see how everything turned out, he can always use Preview and make a test submission.
Related articles:
Similar Articles
Frequently Asked Questions
Here is a list of the most frequently asked questions. For more FAQs, please browse through the FAQs page.