123FormBuilder Knowledge Base
Search our documentation platform for answers, service specifications and 3rd-party integrations.
Setting up the Products section on your form builder
Once you connect a payment processor and assign your prices, you can specify how should the total price be calculated by setting up the Products section.
To do so, in your Form Editor, scroll to the bottom of the form and click on the Order Summary.
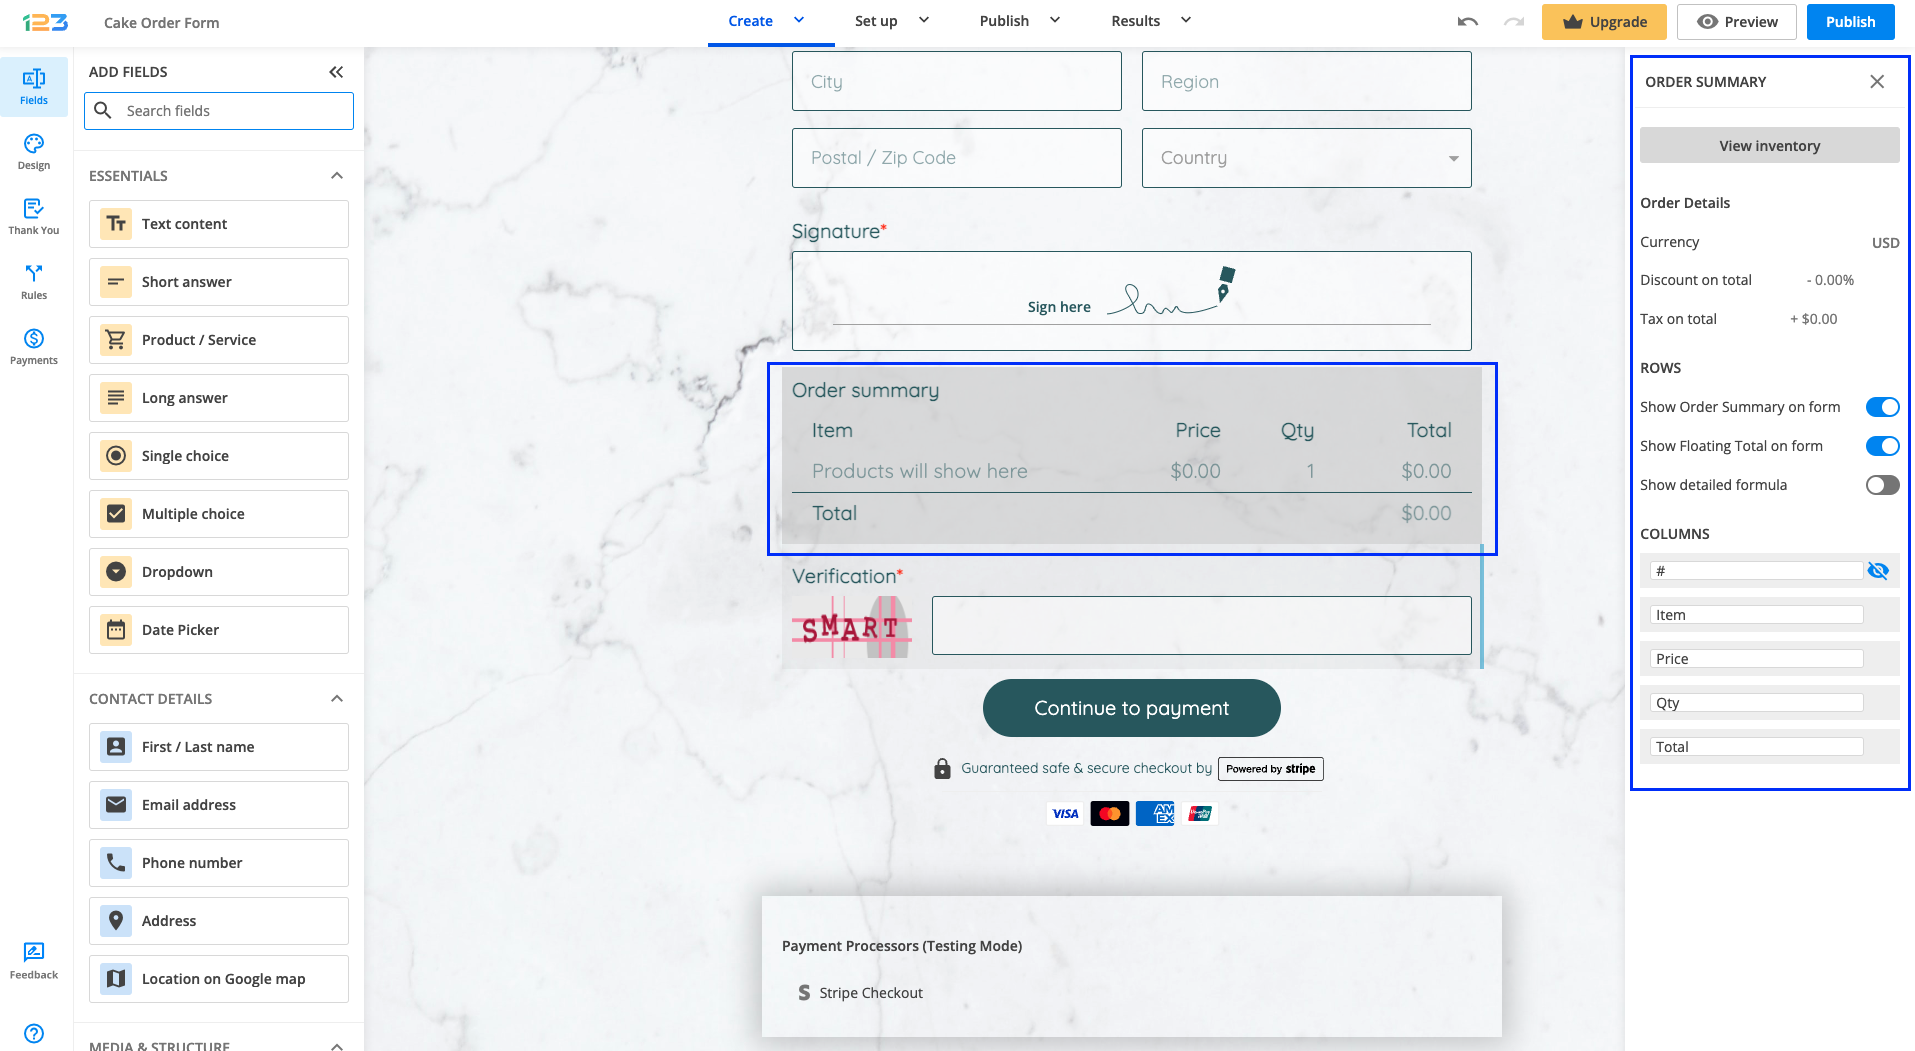
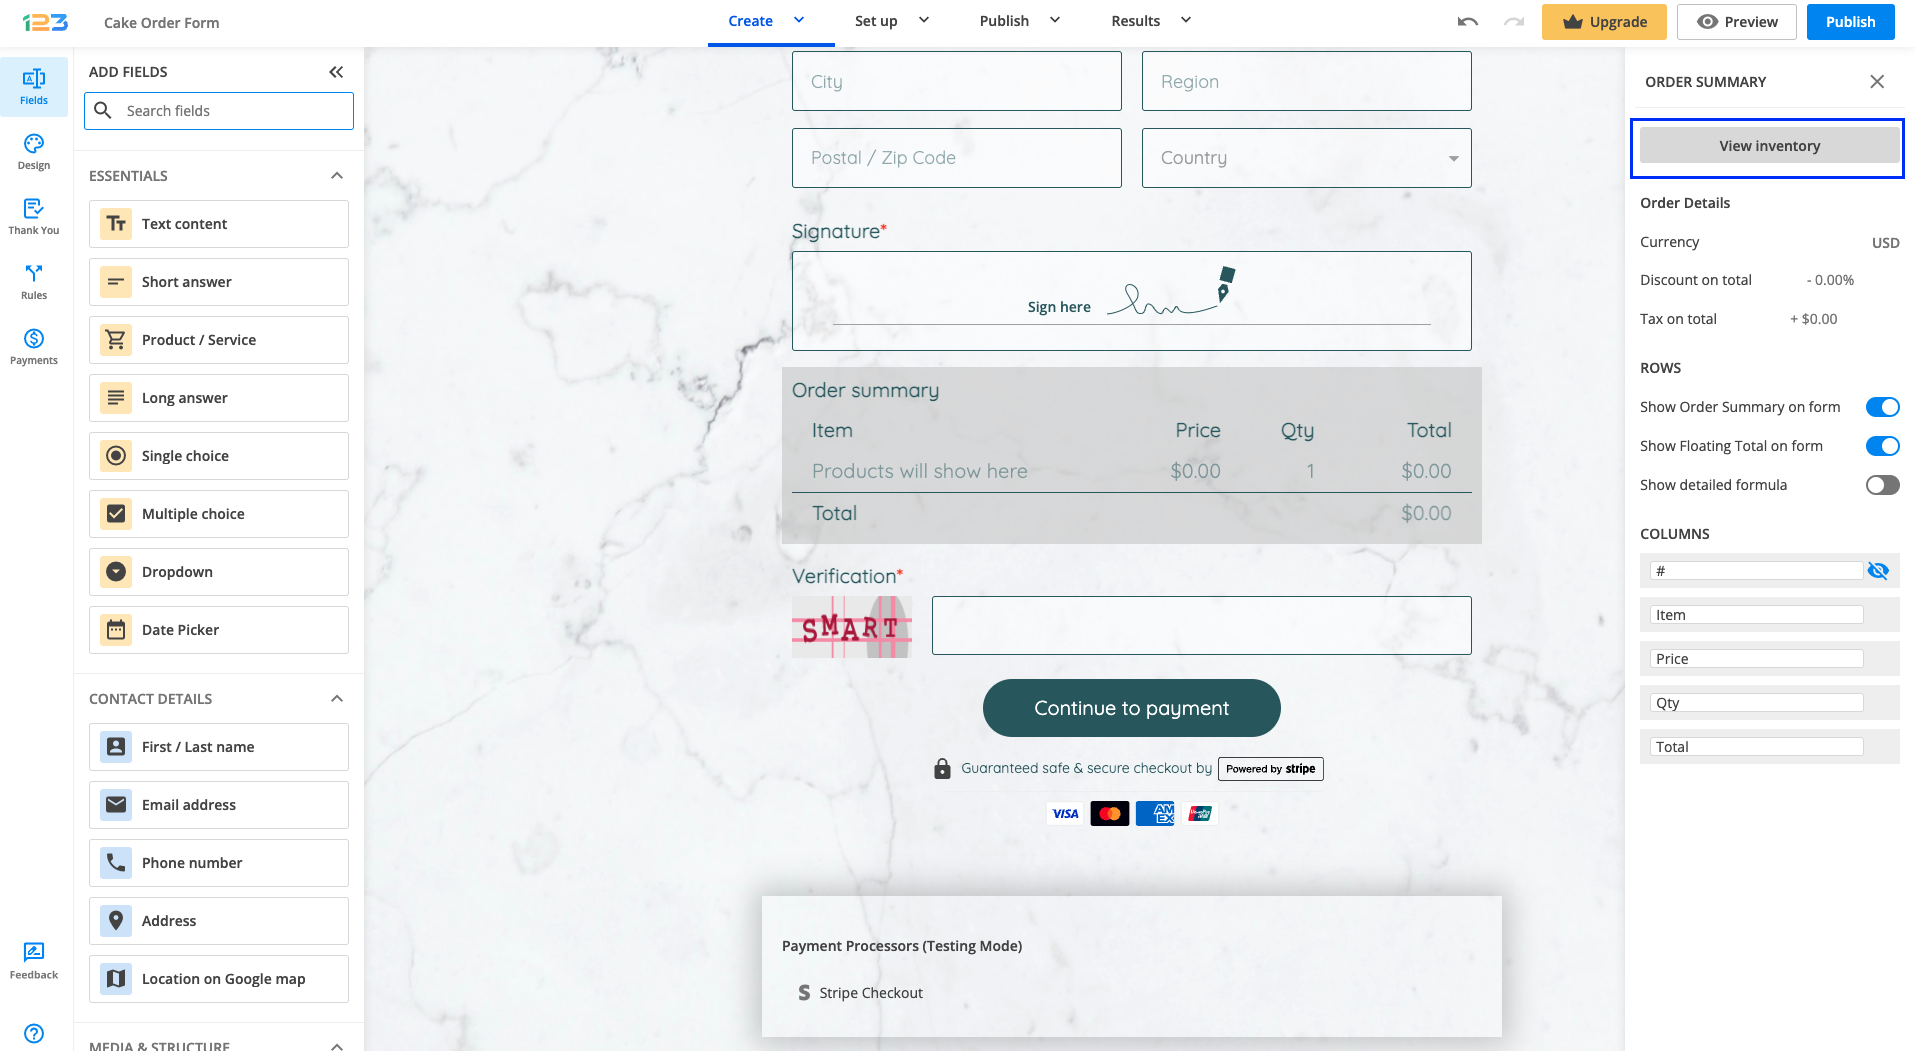
Afterward, click on the View Inventory button.
The pop-up window has 5 columns: Product, Price, Multiply with, Discount, and Tax.
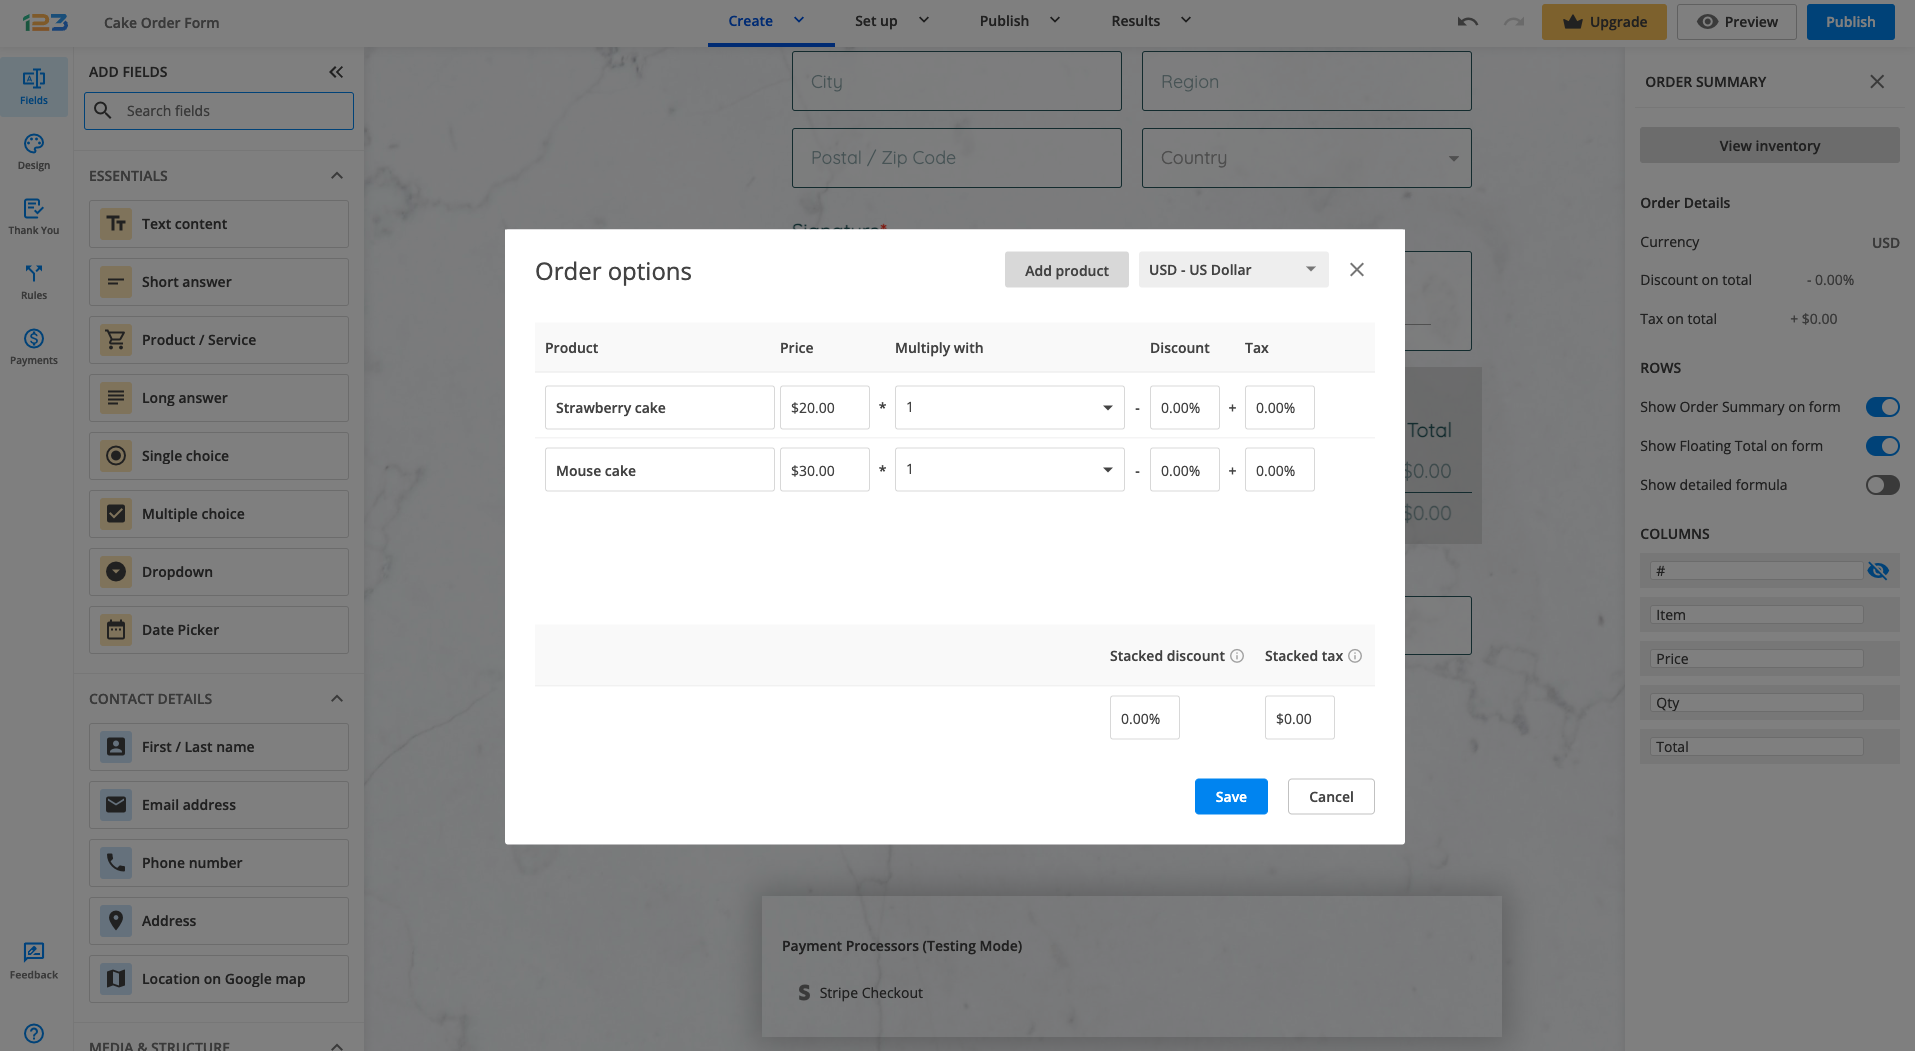
Product
Under this column, you will find the labels of all the fields that you have values assigned.
You can also rename your fields if you want to present your products in the Order Summary differently than in the form itself. Just click on your item and start typing the new description.
Price
The Price column will auto-detect its type based on the field’s functionality. There are three types of values:
- Multiple is for choice fields (Single/Multiple choice and Dropdowns) because there is more than one option to choose from, and each choice can have a different price.
- Variable is for Formula fields. The final value depends on the user’s choices.
- The fixed price is displayed for input fields.
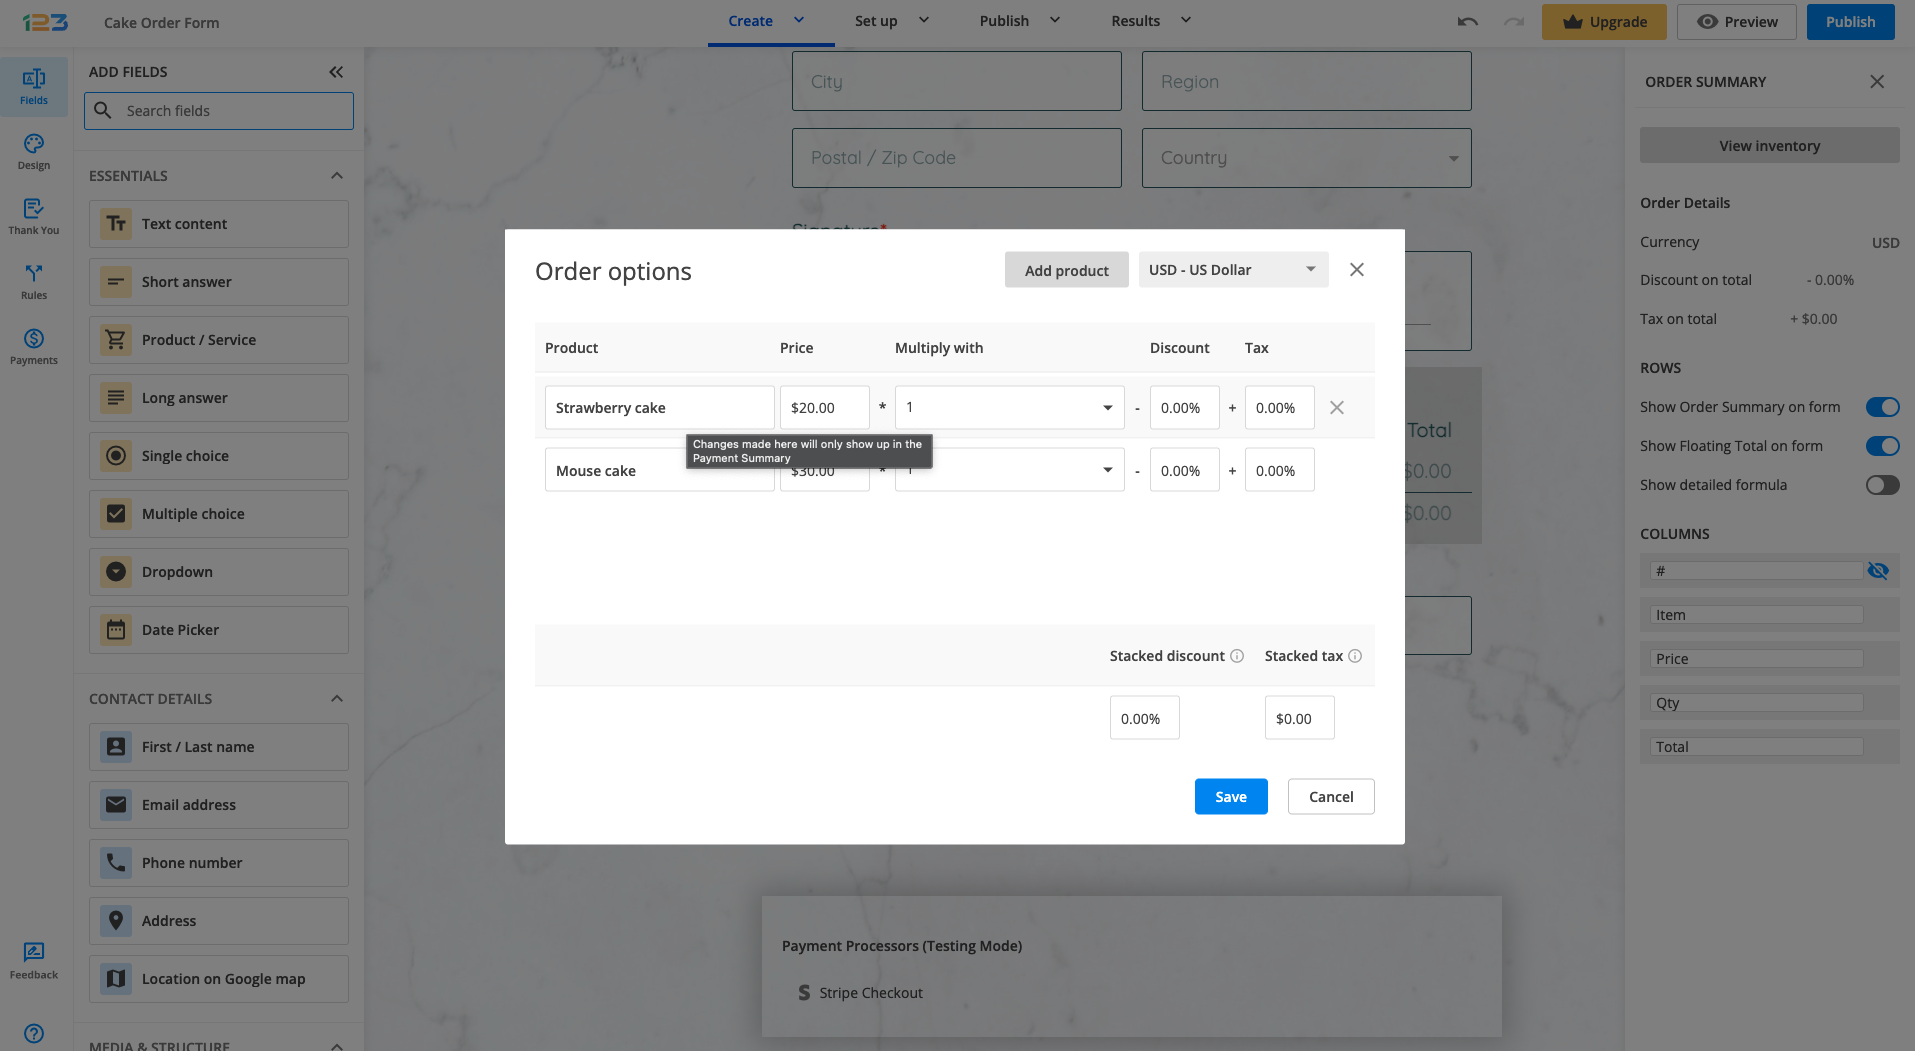
Click the price type. This will allow you to change the prices or assign values to your choices.
Note that formulas can not be modified from here. You will need to return to your formula field to bring changes.
Multiply with
By default, each product is multiplied by 1. However, you can choose to multiply your product with any number.
Discount and Tax
In each field, you can apply a discount and a tax. You can choose a percentage or a fixed value. If you want to apply a discount or a tax on the total value, add it to the bottom of the Products page in the On Total section.

2 comments
Leave a Reply
Similar Articles
Frequently Asked Questions
Here is a list of the most frequently asked questions. For more FAQs, please browse through the FAQs page.
Can I add in a field to charge delivery fee? Also, can I get the delivery to be automatically waived once the entire order reaches a certain amount?
Hello Janelle,
Yes, you can do that! Use a Formula field to calculate the Total: https://www.123formbuilder.com/docs/form-calculations/.
Add a Single Choice field with one choice, make it default, and assign the fee value to it. Afterward, create a Field Rule to make the Fee disappear from the form when a certain value is reached: https://www.123formbuilder.com/docs/field-rules/.
For further assistance, don’t hesitate to contact us at customercare@123formbuilder.com.
Thank you!