123FormBuilder Knowledge Base
Search our documentation platform for answers, service specifications and 3rd-party integrations.
Date Picker field
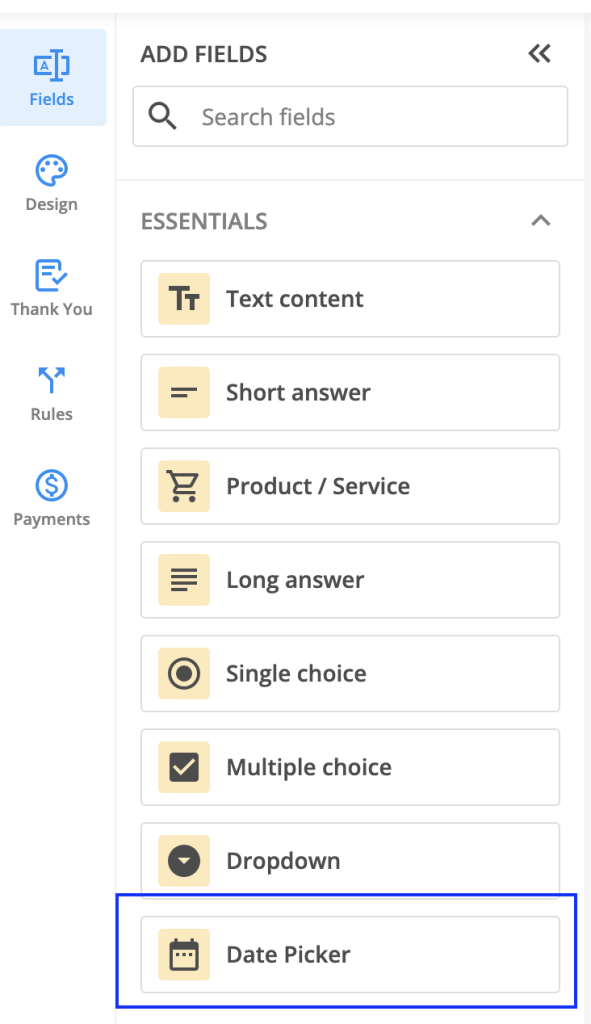
The new Date picker field can be found under the Essentials category. Its role is to help you gather date information from your respondents.
Setup
Once you’ve added the Date picker field to your form, you will notice a sidebar menu with 3 options: Settings, Duplicate, and Delete. Click on Settings to open up the right-side panel with all the settings available for the Date picker field.

Let’s take them one by one.
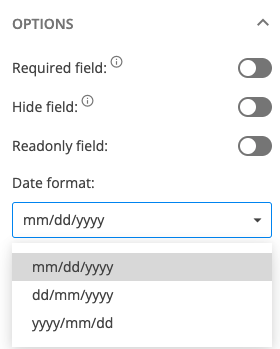
You can provide a label and instructions, as for any other field. Using the toggles, you can mark the Date picker field as required, hidden, or readonly, depending on your needs.

By default, the date format is set to mm/dd/yyyy, which means respondents need to provide their input in this order: month, day, and year. You can choose to change this to either dd/mm/yyyy or yyyy/mm/dd.
You can also choose the separator used to display the date. By default, we have set it up to /, but you can change it to . or –

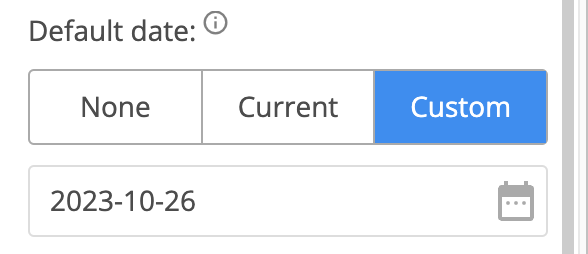
Another aspect that can be customized is the Default date. By default, it is set to None, but you can change it to Current or Custom. When current is selected, the date picker will automatically display the current date your respondent accessed the form.
By choosing custom, you can select which date should be displayed on the form instead.
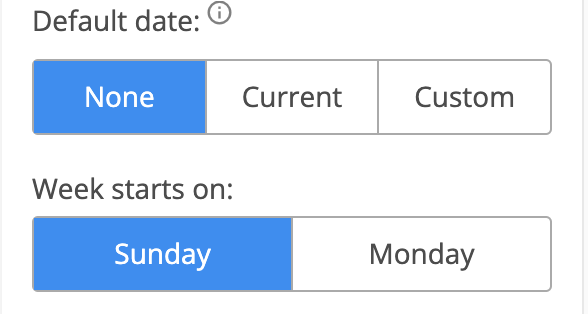
You can bring some customization to the calendar itself by choosing on which day of the week the calendar should start – Sunday or Monday.
Validation
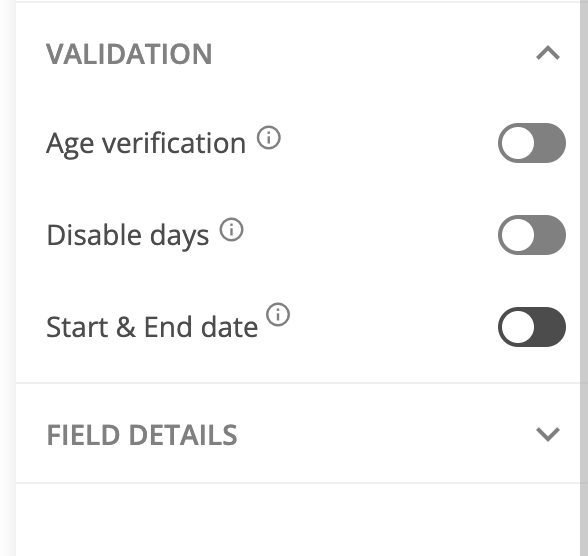
Under the Validation section, you can find three options for validation: Age verification, Disable days, and Start & End date.
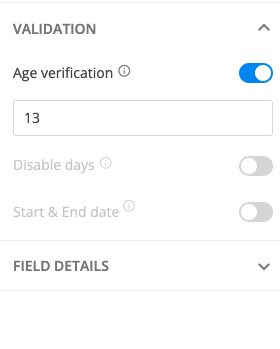
Age verification – let’s say you are interested in receiving submissions only from respondents who are over 13 years old. In this case, all you have to do is to enable Age verification and write down the minimum age threshold.
Note: When Age verification is enabled, you can not use Disable days and Start & End date options as they are not compatible.
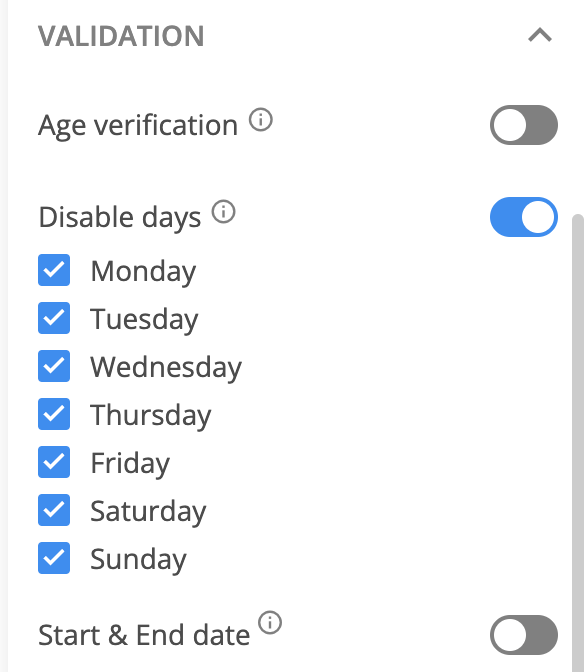
Disable days – if you want to prevent respondents from selecting a certain day of the week, then all you have to do is to enable Disable days and select the days you are interested in disabling.
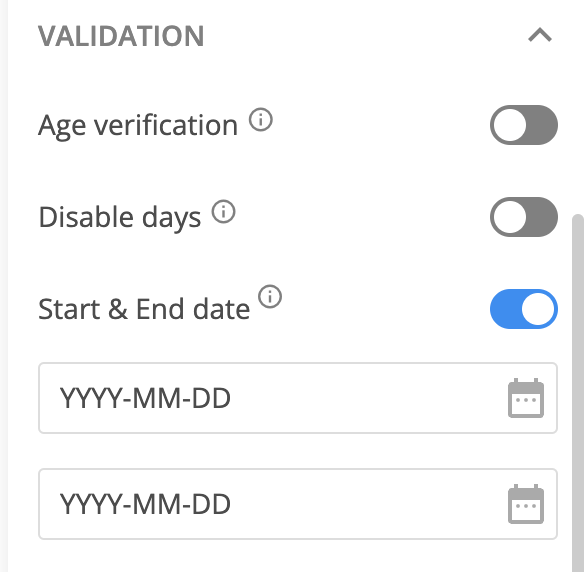
Start & End date – if you are interested in allowing your respondents to select dates between a certain timeframe, then you have to enable Start & End date and select the dates.
Rules
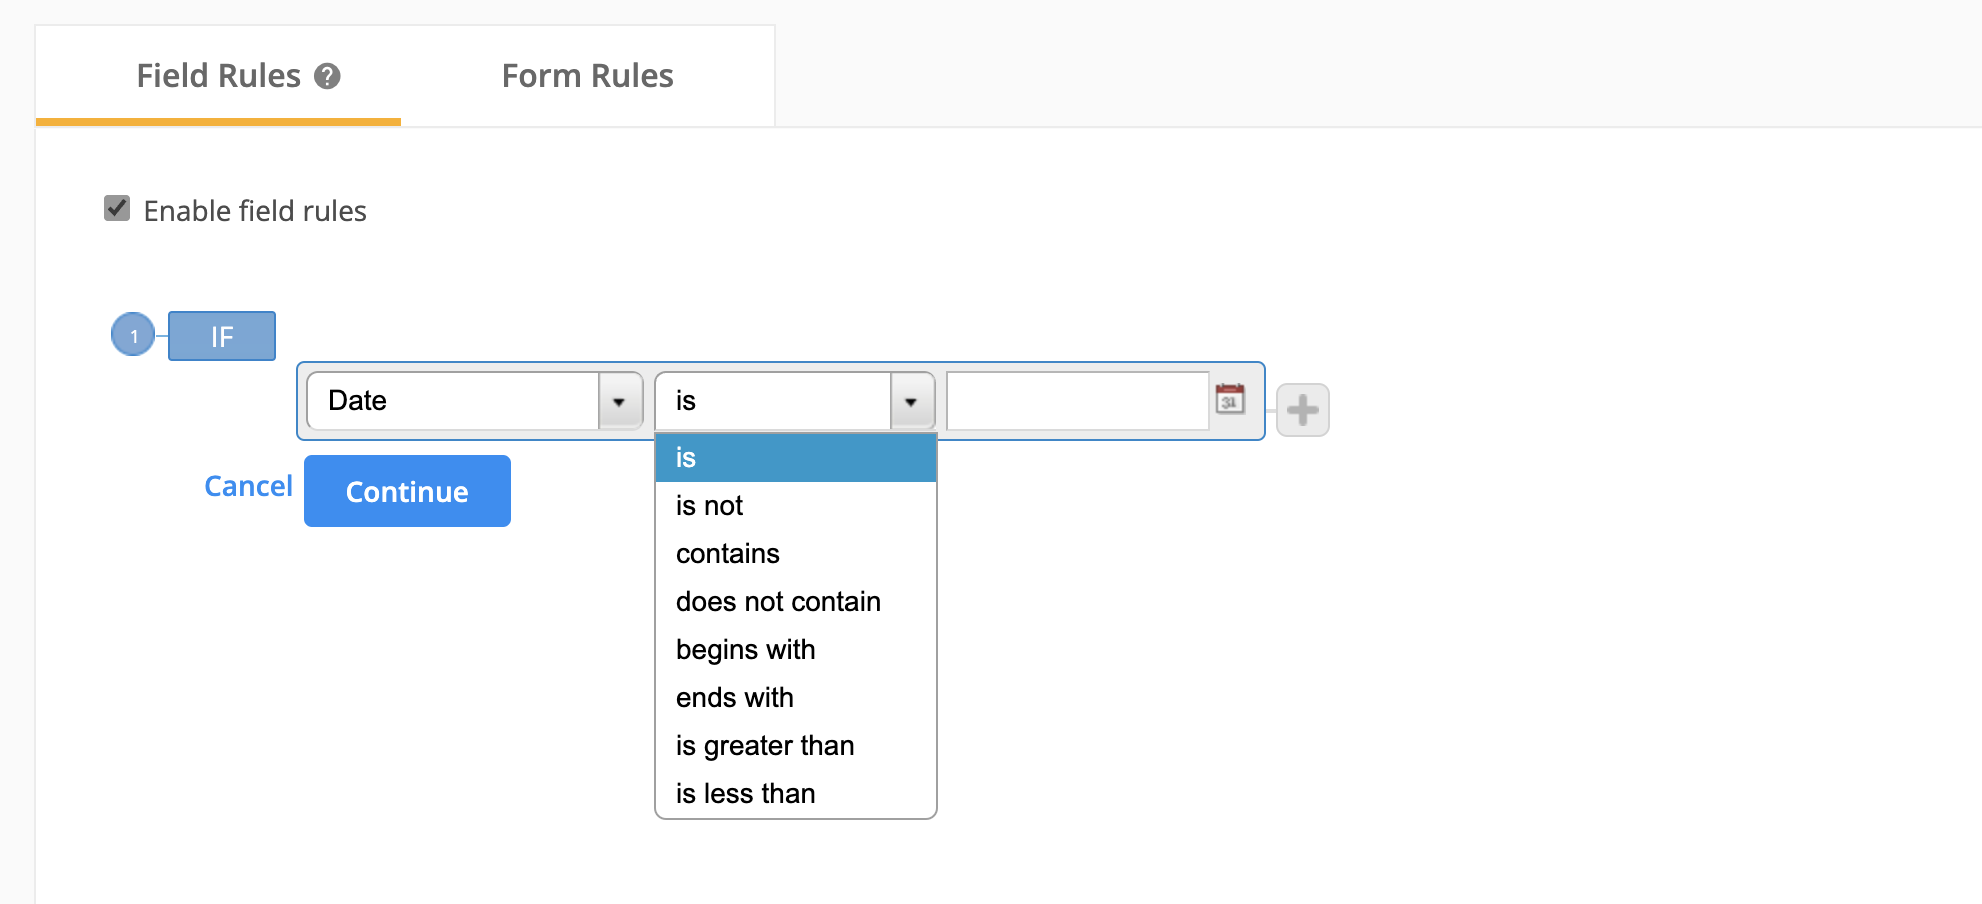
You can set up field rules with the new Date picker field. After selecting the field, you have to check the logic operators (you can see them all in the below screenshot).
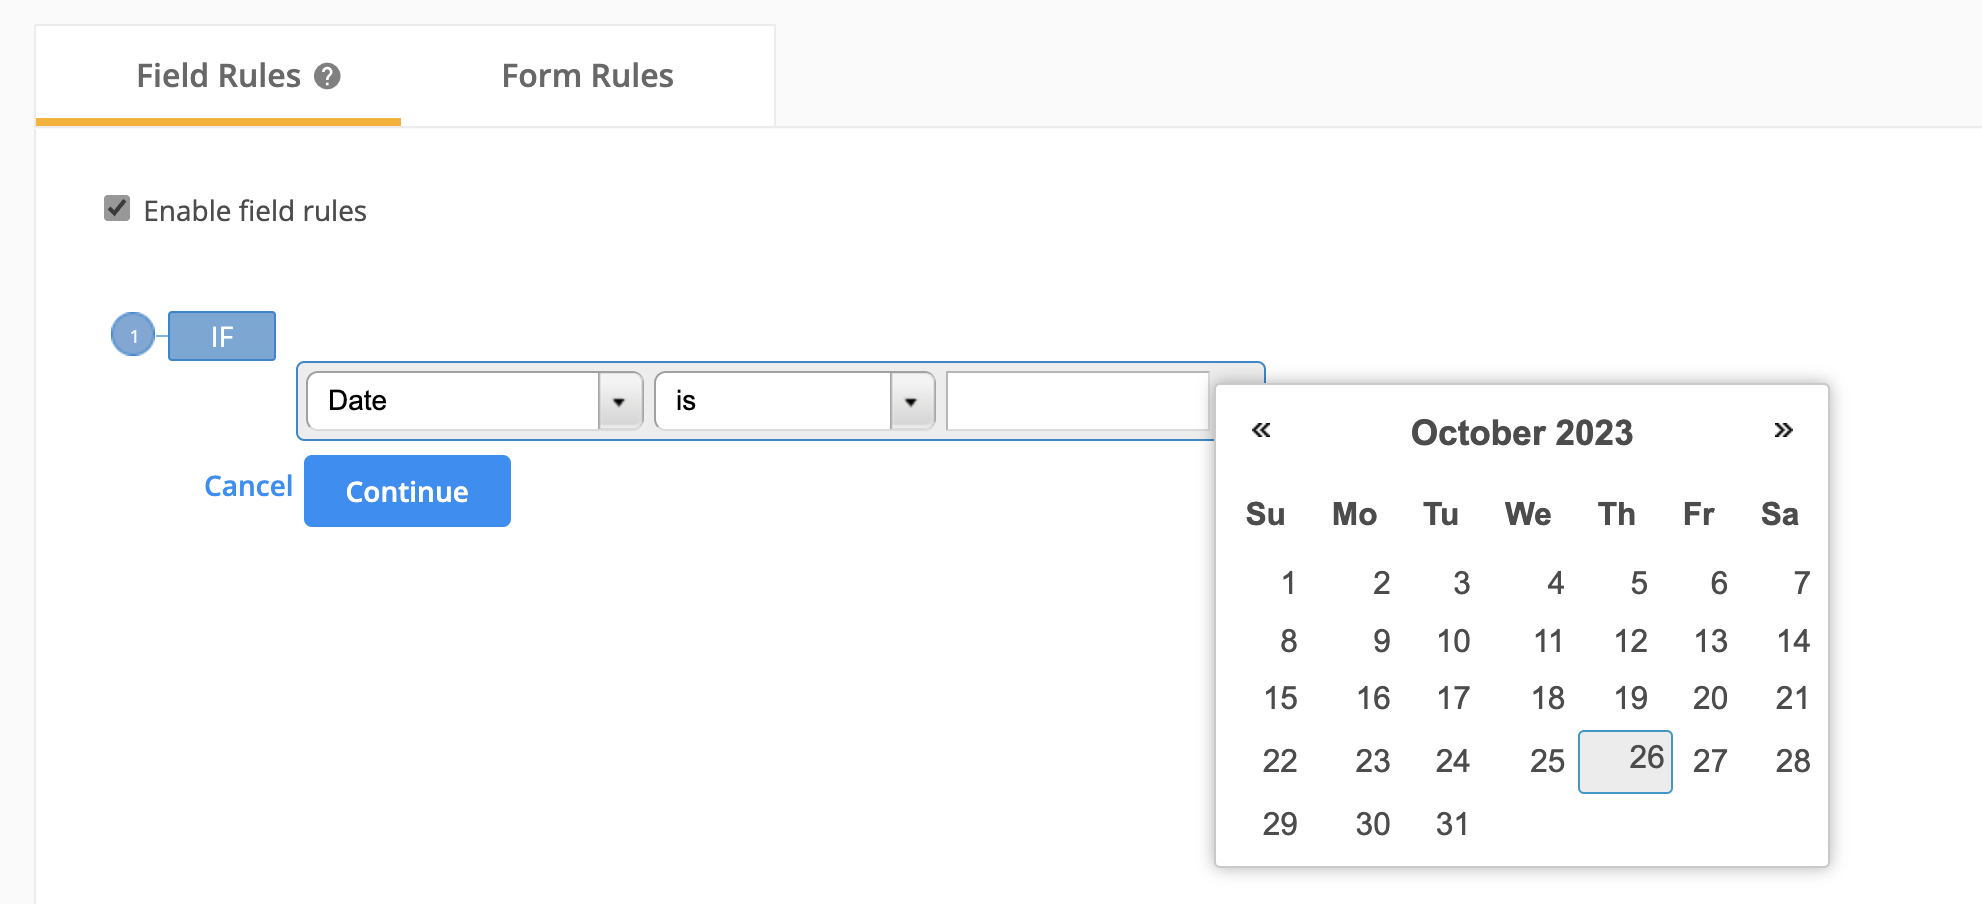
Then, by clicking on the calendar icon, you can select the exact date you are interested in.
Note: if you go with manually typing the date in Rules, then please follow the ISO format to collect data: YYYY-MM-DD. If you go with any other format, the rule will not work.
Similar Articles
Frequently Asked Questions
Here is a list of the most frequently asked questions. For more FAQs, please browse through the FAQs page.