123FormBuilder Knowledge Base
Search our documentation platform for answers, service specifications and 3rd-party integrations.
Product field
123FormBuilder is excited to announce the release of our latest feature – the Product field! This new feature makes it easier than ever for businesses to sell products or services directly through their online forms.
With the Product field, businesses can create customized forms allowing customers to select and purchase products or services without leaving the form. This can significantly streamline the buying process and boost sales.
How it works
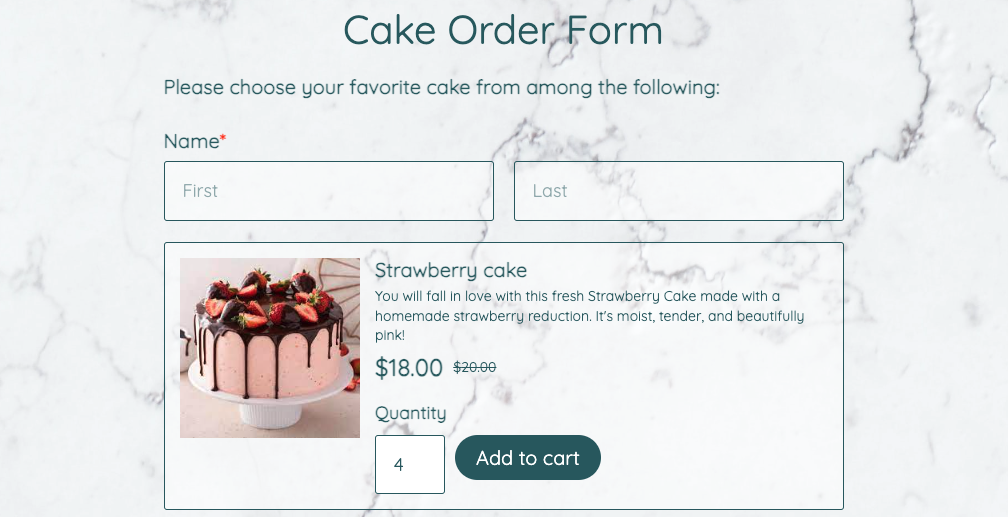
Let’s begin with a use case: you want to create a form through which you are collecting cake orders. You’ve added all the necessary info: name, delivery date and time, phone number, email, and address for delivery.
Now it’s time to add the products/cakes you want to sell. Simply drag and drop the Product/Service field onto your form.
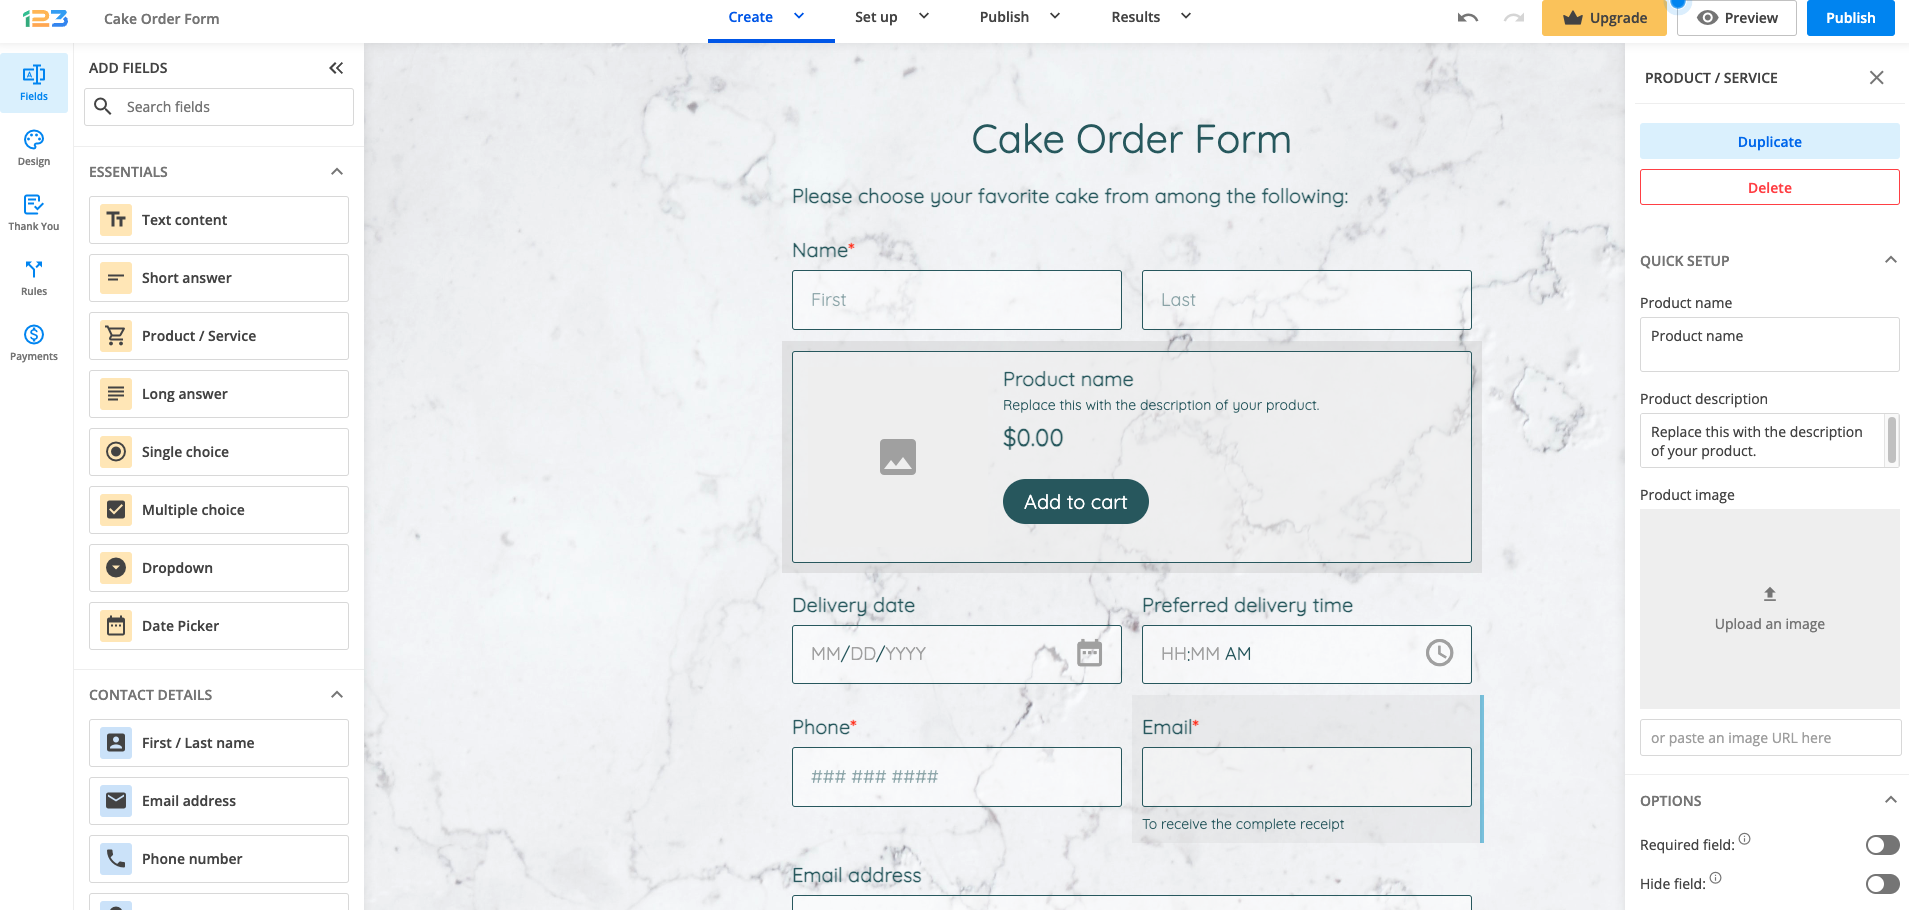
Once added to the form, you can easily customize the Product/Service field.
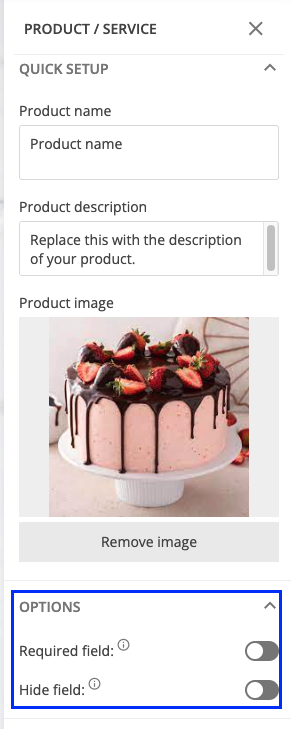
a. Product name – here you give a name to your product for your respondents to easily identify the product/service you are selling.

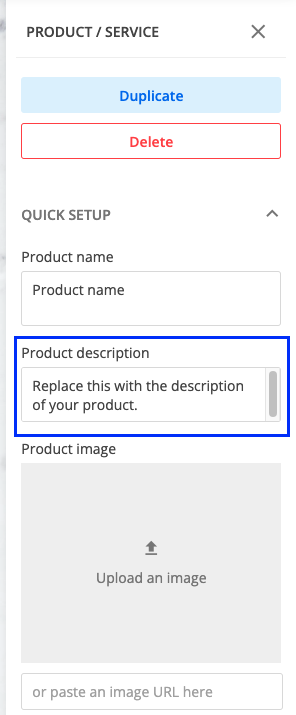
b. Product description – for your respondents to fully understand what your product/service offers, you can provide a product description.
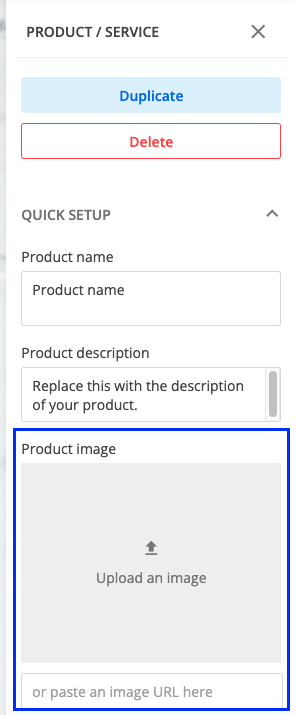
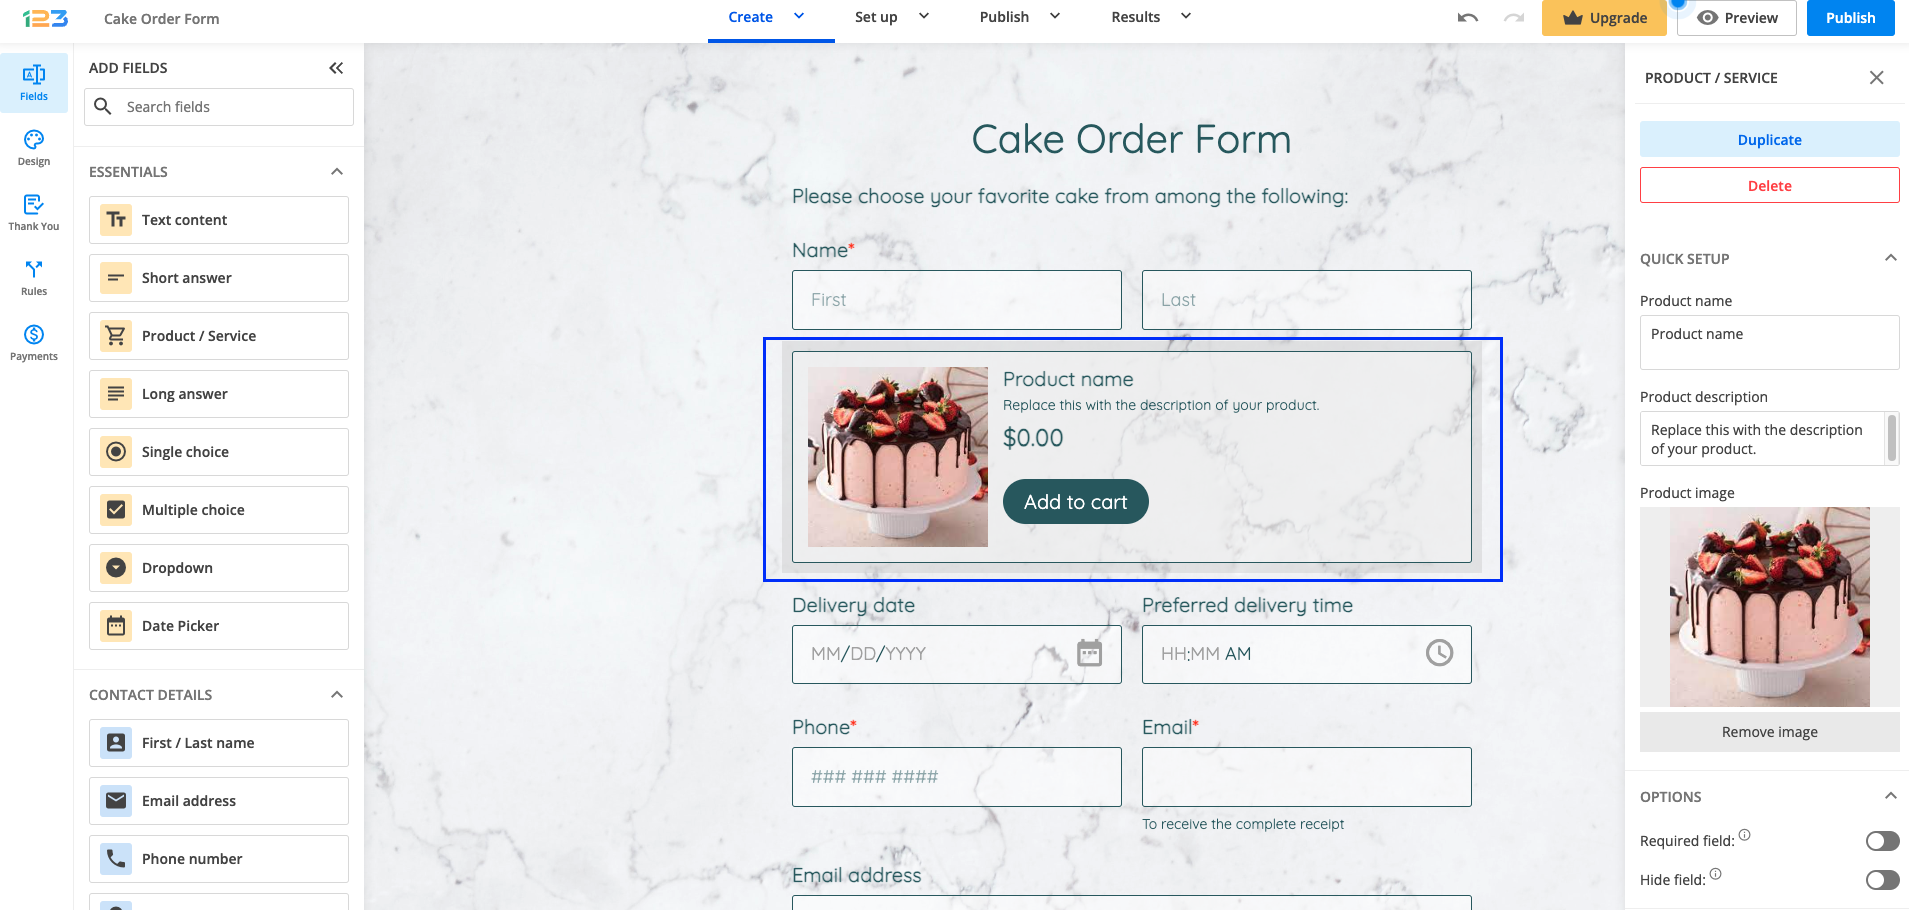
c. Product image – this may be the most eye-catching element for your respondents: the product image. Upload a picture of your product/service so that your respondents can easily scan the products and choose the most appropriate one for them.
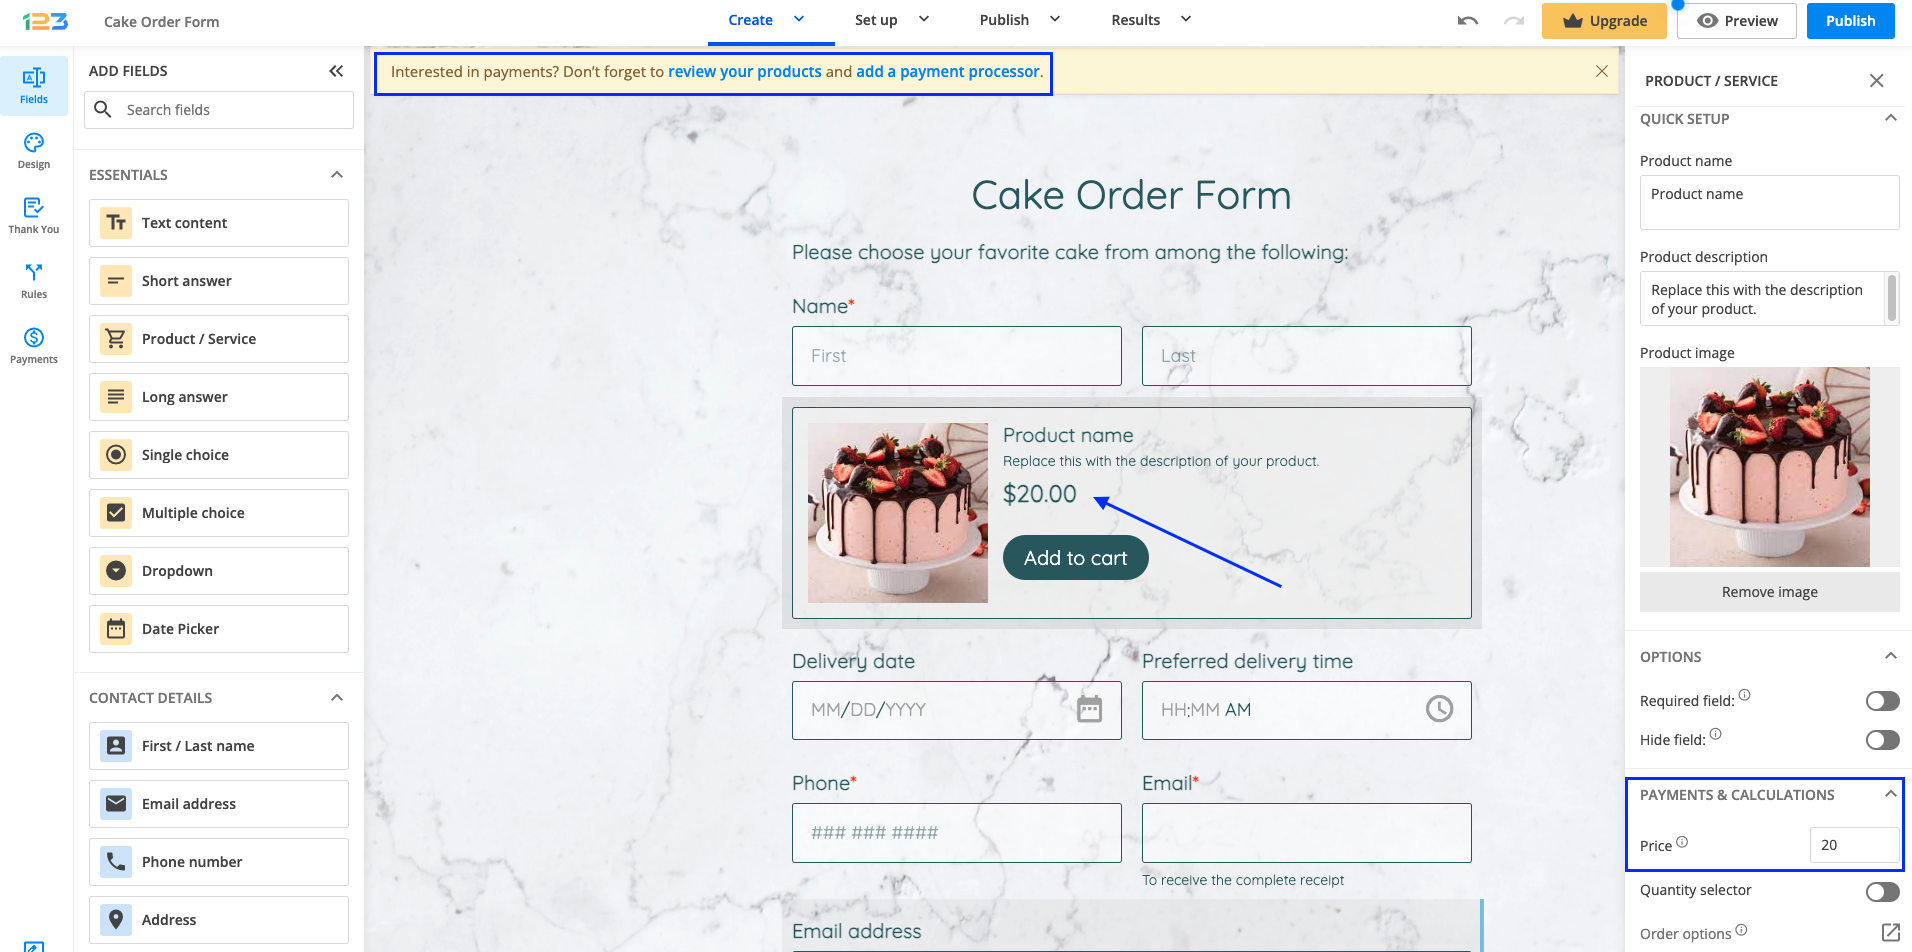
For our Cake Order form, we’ve created our first product: Strawberry cake!
Now we need to provide more customization to our first product. We can mark it as required – so your respondents will need to provide an answer to this field/choose this product/service or you can hide the field, if needed.
The next step would be to add a price to your product. You can do that by providing a value to the Price field from Payments & Calculations. The price you provide will be displayed on your form for your respondents.
Additionally, if you have not added a payment processor to the form yet, you will notice an informative banner at the top of the page. This is a reminder to add a payment processor, but we will get back to that in a second.
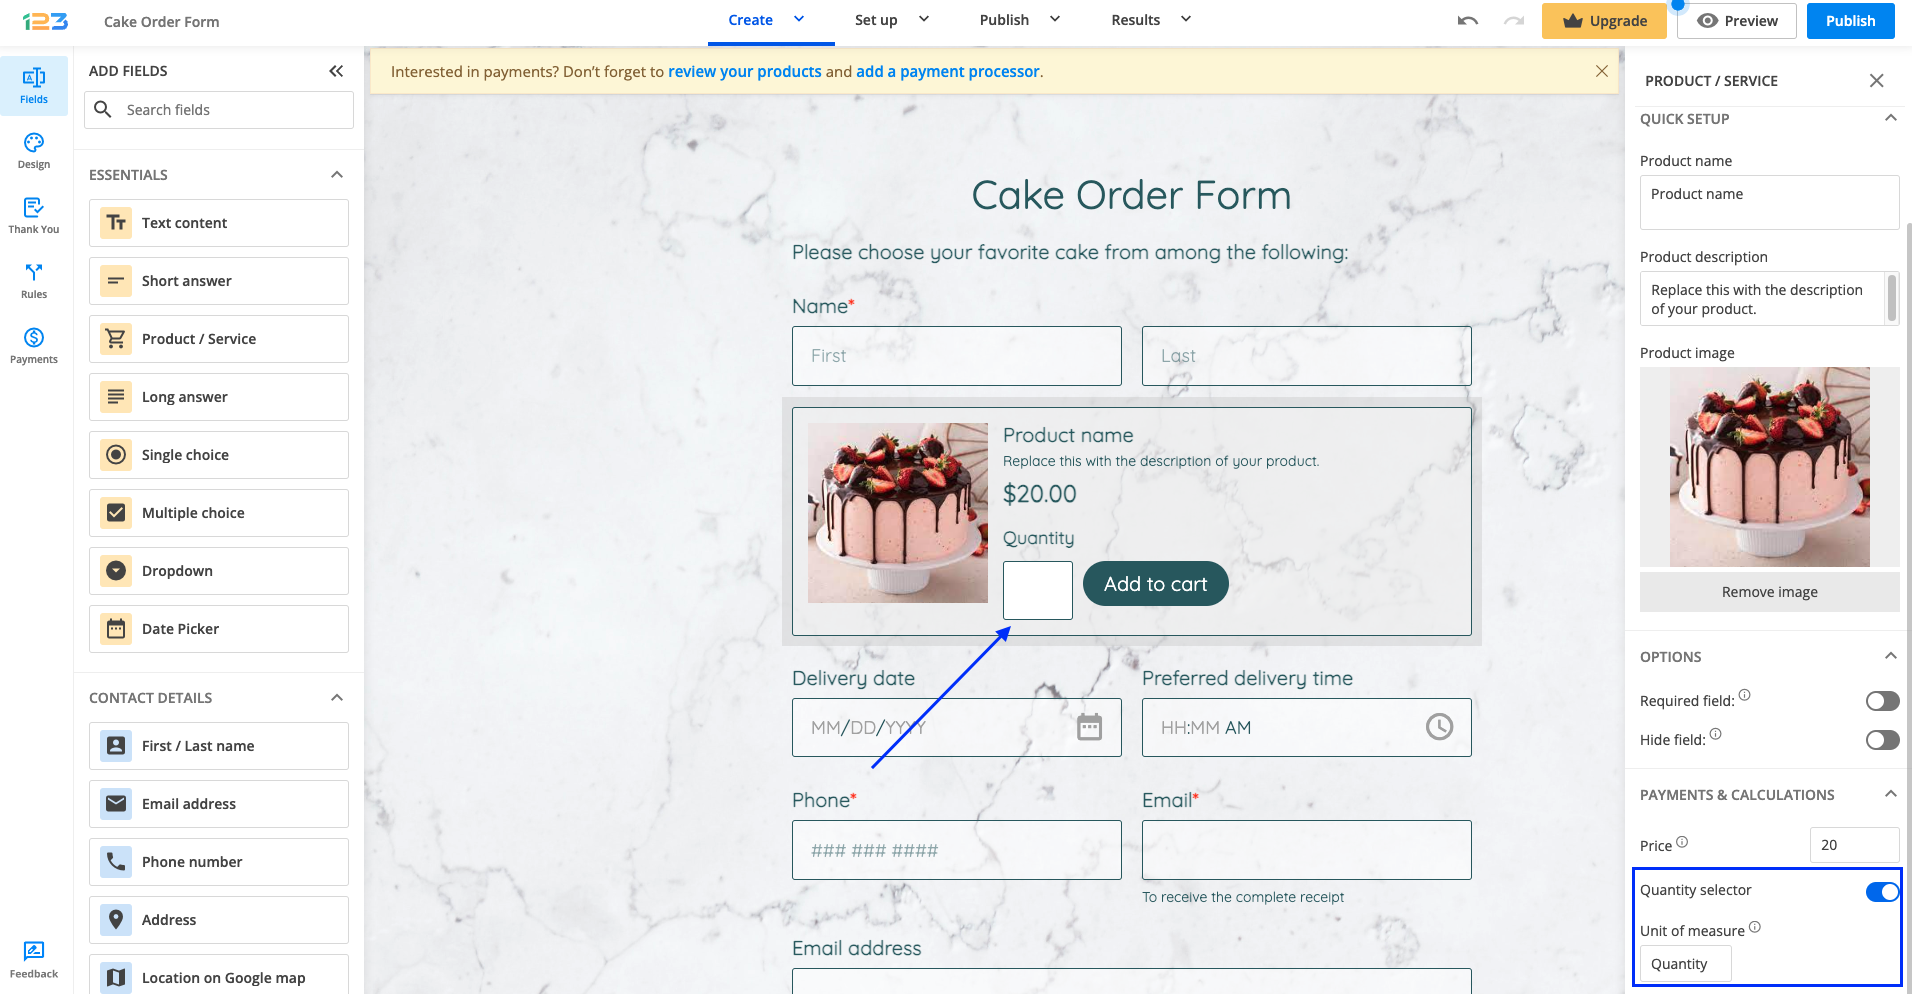
If you want to offer your respondents the possibility of ordering multiple items from the same product (e.g. 2 Strawberry cakes), then you have to enable the Quantity selector. Once enabled, you can establish the Unit of measure – the label you set here will appear as your unit of measure for your product (e.g. bottles, packs, lbs, kg).
The last customization that we can bring is related to Order options. Here you can change the currency, discount, and taxes, and add more advanced calculations.
Once you click on Order options, a pop-up will open where you can:
a. change the price of the product, if needed
b. apply a discount on the product
c. apply a tax on the product
d. set a stacked discount – which applies on top of the discount applied on each product
e. set a stacked tax – which applies on top of the taxes applied on each product
f. change the currency of the product – click on the USD – US Dollar dropdown and select the currency you are interested in

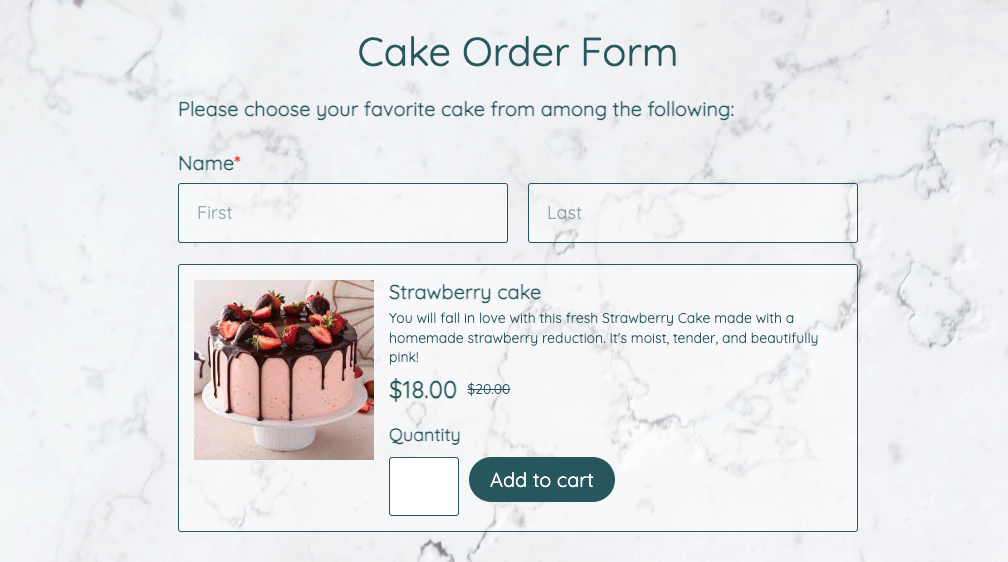
For example, let’s add a discount of 10% to our Strawberry Cake. Once you input your 10% discount on Order options and click on Save, our Strawberry cake will have the price updated: we are going to show the full price and the price after the discount has been applied.
Payment processor & Order summary
Moving forward with our form, let’s add more products to it: Mousse cake and Vegan Cake. And last but not least, let’s add a payment processor to the form. You can do that by navigating to Payments from the left side panel and selecting the payment processor you want to use.
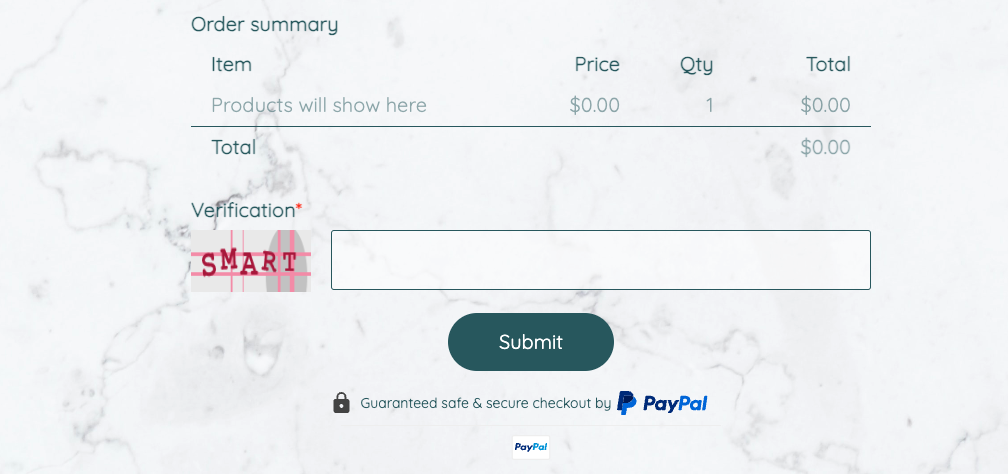
For our form, we have used PayPal. Once a payment processor has been added and enabled, you’ll notice an Order summary at the end of the form.
This table will be populated automatically based on your respondents’ choices for the product/service list.
Let’s test the form in Preview to see what it looks like. For our form, we have selected Strawberry cake and Mousse cake. The Order summary has been automatically updated to reflect our choices.
In the Order summary you can see the product that has been selected, its price and its quantity, and the total price for each product and the entire order.
If a discount has been added to a product, for example for our Strawberry cake, the discount will be reflected in the Order summary, as Discount (x%). We also display the value that has been discounted.
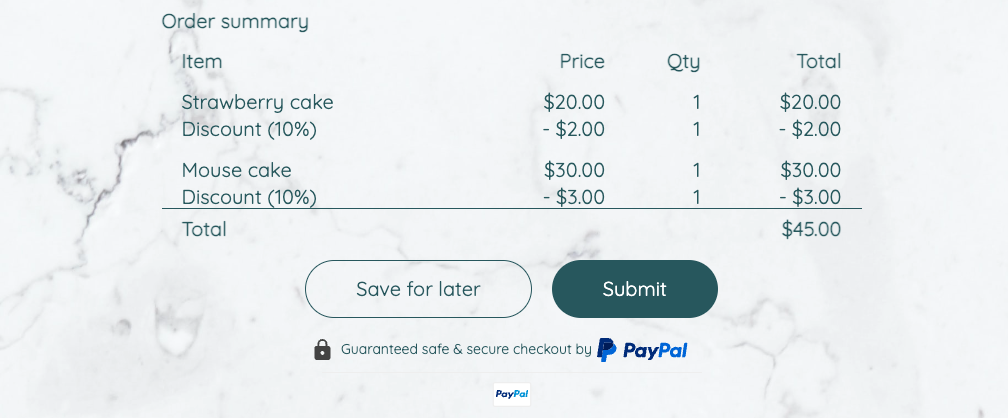
Following the same pattern, if a tax is applied to a product, the tax will be reflected in the Order summary as a Special tax(x%) along with the value of the tax.

If you have enabled the Quantity selector, respondents will be able to provide the number of items they want to order for that product and simply click the Add to cart button.
Subsequently, the Order summary will also reflect the quantity for each product.

Submissions
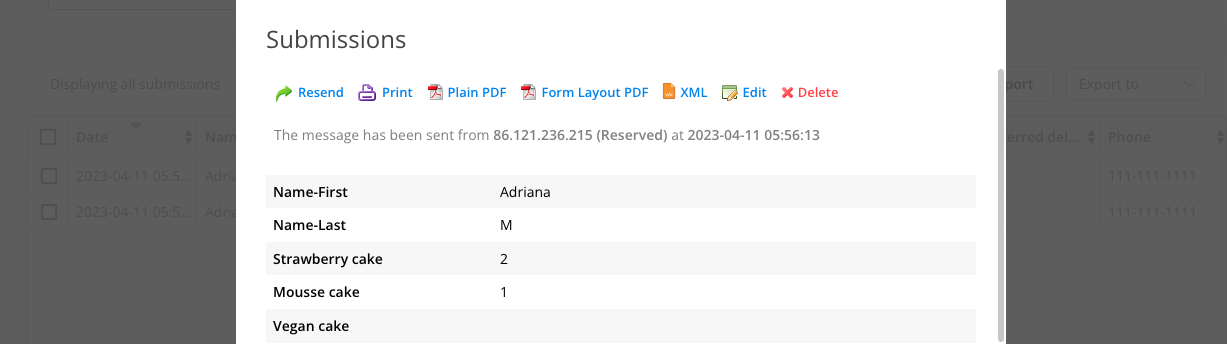
In order to test our form, let’s make a test submission and go to Results → Submissions. For each product added on your form, you can see the quantity:
a. Strawberry cake – 2 → this means that 2 Strawberry cakes have been ordered
b. Mousse cake – 1 → this means that 1 Mousse cake has been ordered
c. Vegan cake – no value → this means that no Vegan cake has been ordered.
Similar Articles
Frequently Asked Questions
Here is a list of the most frequently asked questions. For more FAQs, please browse through the FAQs page.