123FormBuilder Knowledge Base
Search our documentation platform for answers, service specifications and 3rd-party integrations.
How to add 123FormBuilder online forms to Webflow?
Online forms that you build with the form creator by 123FormBuilder can be easily added to your Webflow websites. All you need is the JavaScript code of your online form and the ability to use the Embed widget from your Webflow webpage editor, as it is a paid feature.
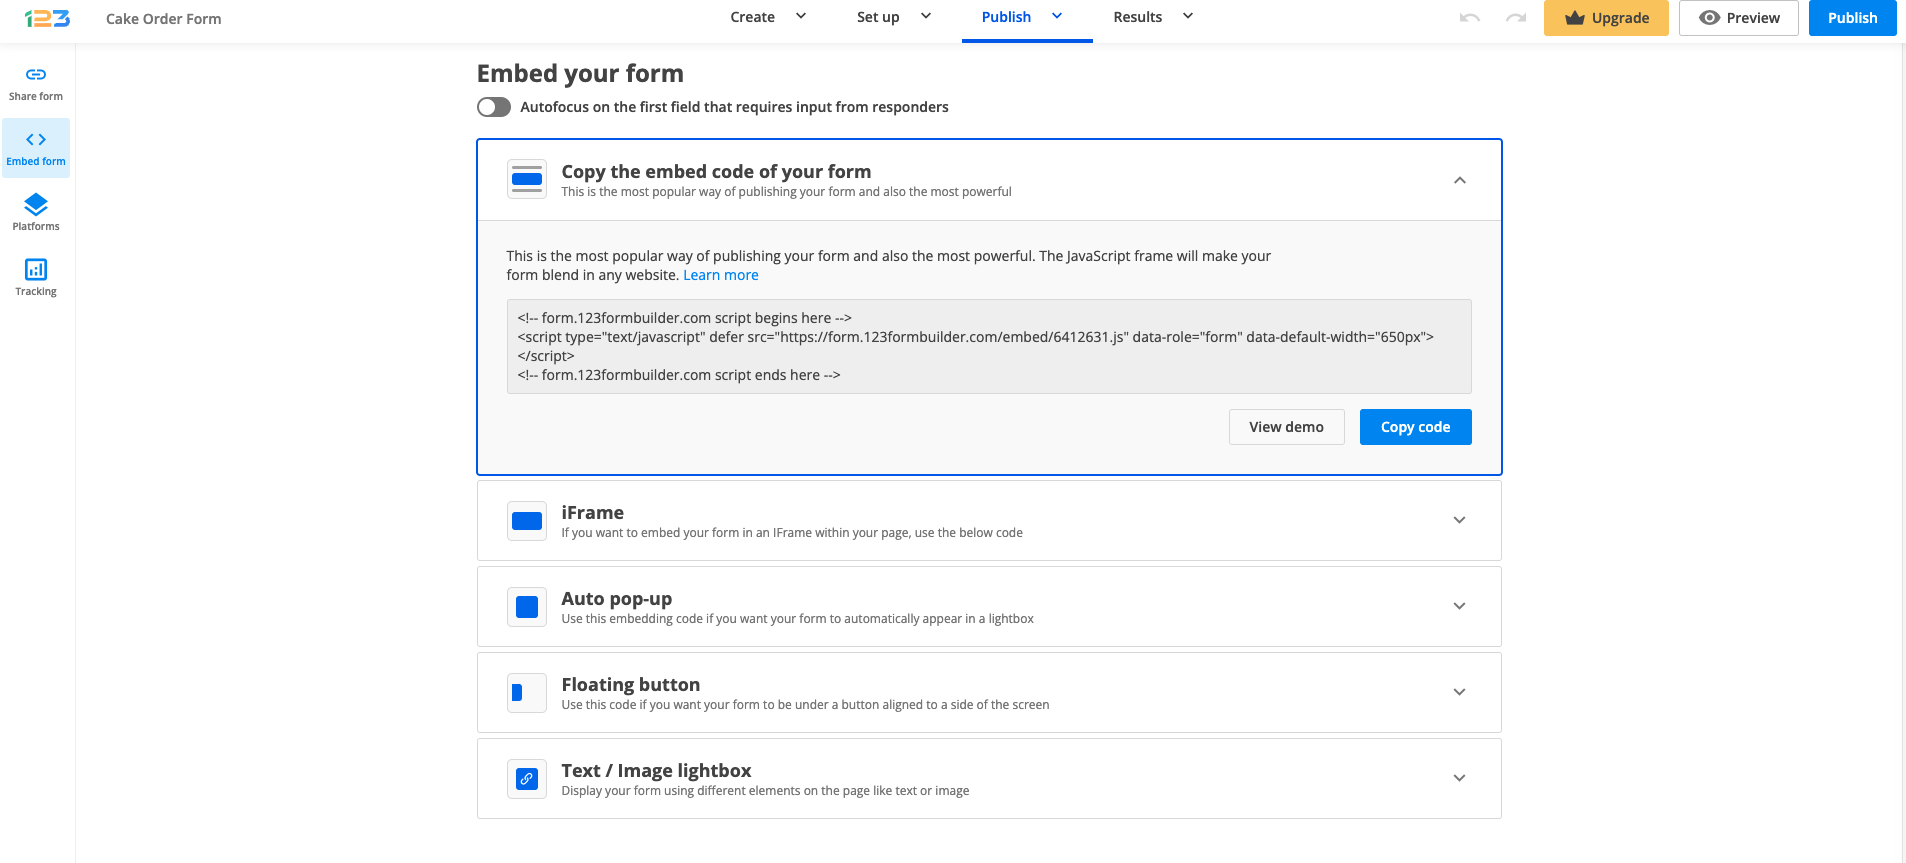
Go to the Publish section of the form you are interested in embedding and copy the JavaScript code.
Enter the editor of the webpage in WebFlow where you want to include your online form. In the left panel, go to Add (+) → Widgets and add the Embed widget on your webpage.

Inside the Paste HTML code, paste the JavaScript code of your online form and hit Save & Close.
Save changes and you are done. If you cannot see the online form in the page preview, don’t worry. Click on the Publish button from the top, go to the provided link of your website and you’ll see the online form smoothly embedded on the front-end of your webpage.
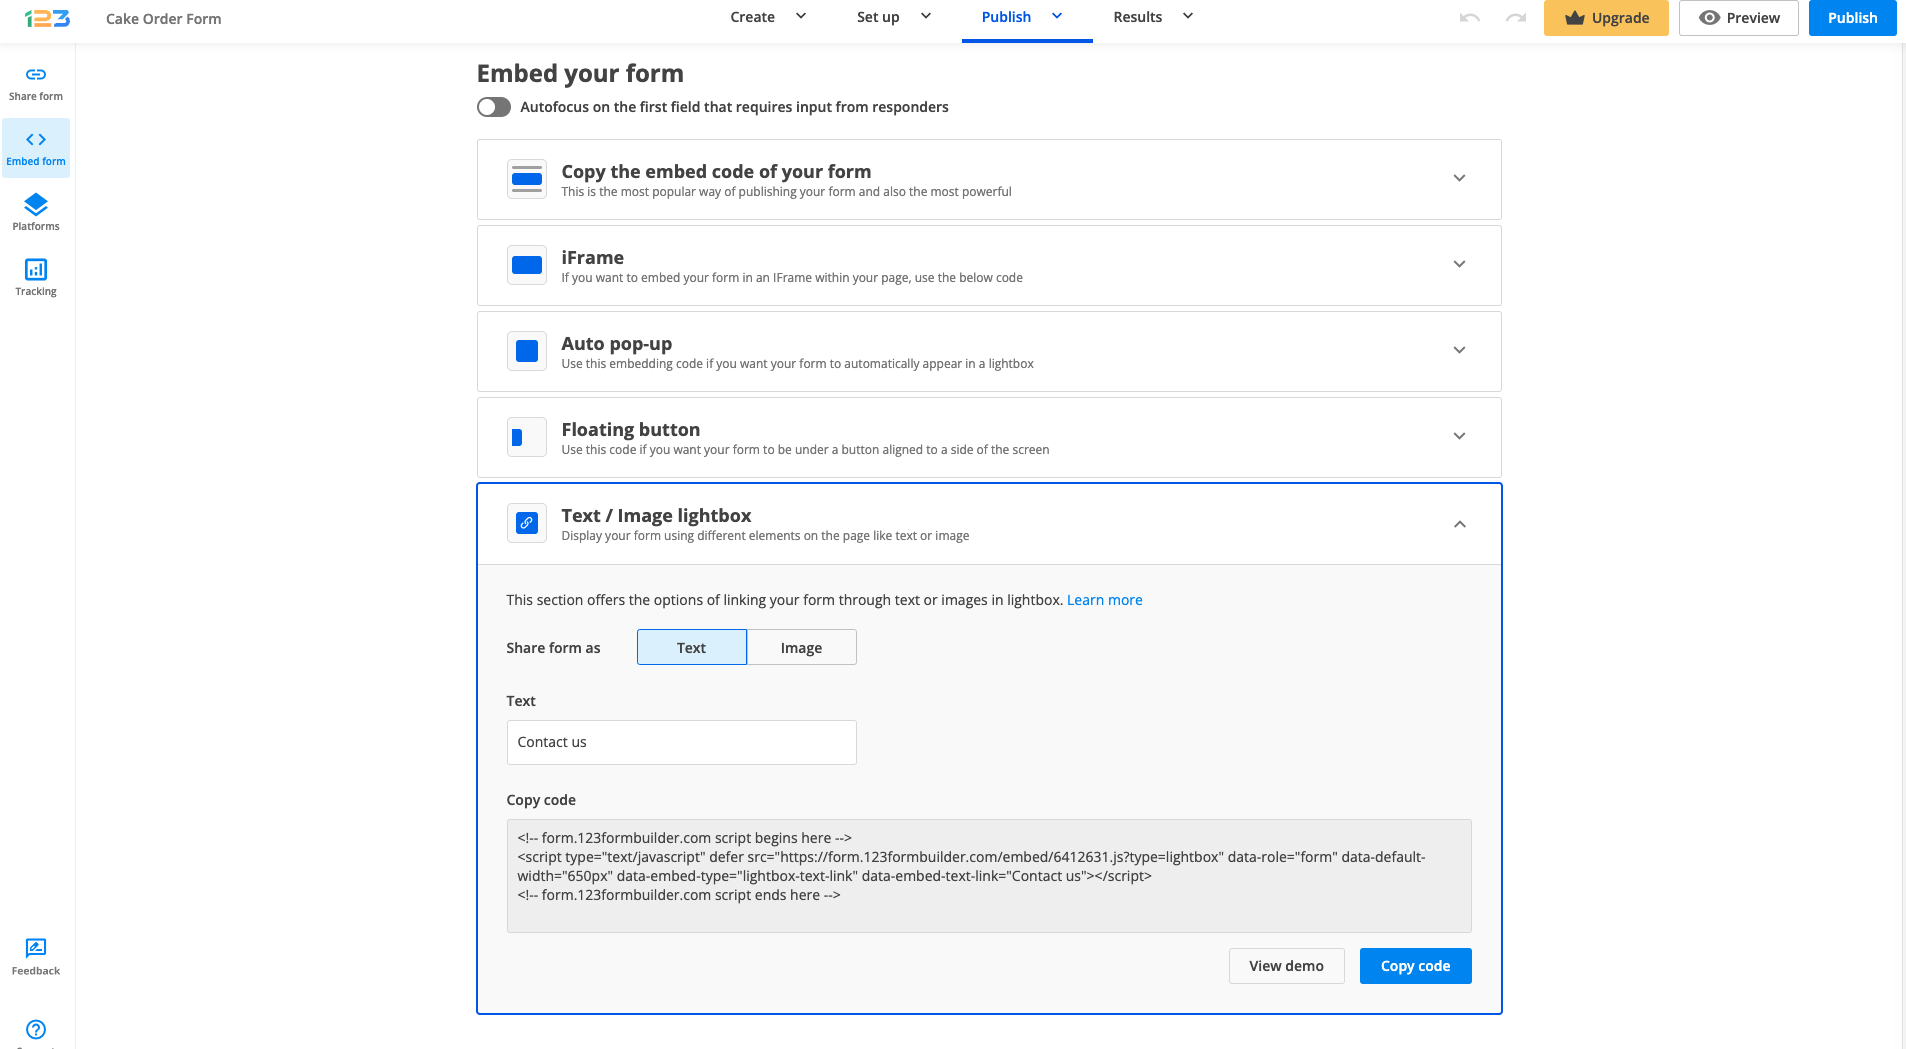
If you want to add a lightbox to your webpage, repeat the steps above but instead of using the JavaScript code of your online form, use one of the codes from the Text/Image lightbox.
Similar Articles
Frequently Asked Questions
Here is a list of the most frequently asked questions. For more FAQs, please browse through the FAQs page.