123FormBuilder Knowledge Base
Search our documentation platform for answers, service specifications and 3rd-party integrations.
Step by step guide on Stripe Checkout integration with 123FormBuilder tool
Our form builder comes equipped with a wide range of features for creating powerful forms and is the go-to solution if you want to generate leads, capture complex data, create order forms, and automate workflows.
We offer a secure Stripe-hosted payment page that lets you collect payments quickly. In this article, you will learn how easily you can enable Stripe Checkout on your forms. Stripe Checkout payment integration provides an extremely easy way to collect payments with your online order form.
Setting up Stripe Checkout
Let’s get started. Follow these simple steps:
1. Open the Form Editor to edit your form’s content.
2. Afterward, from the Payments section click to add Stripe Checkout.
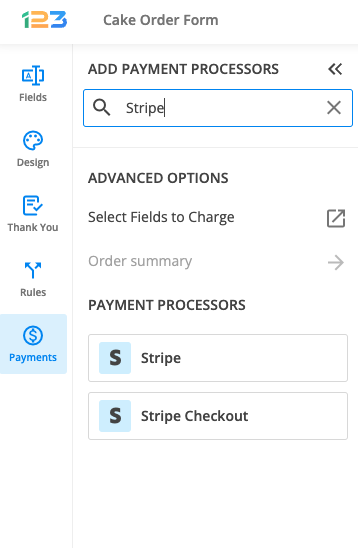
3. After adding Stripe Checkout to your form, you will notice a couple of changes: the Stripe Checkout payment processor has a tag near its name and the settings panel opens up to the right side of the page.
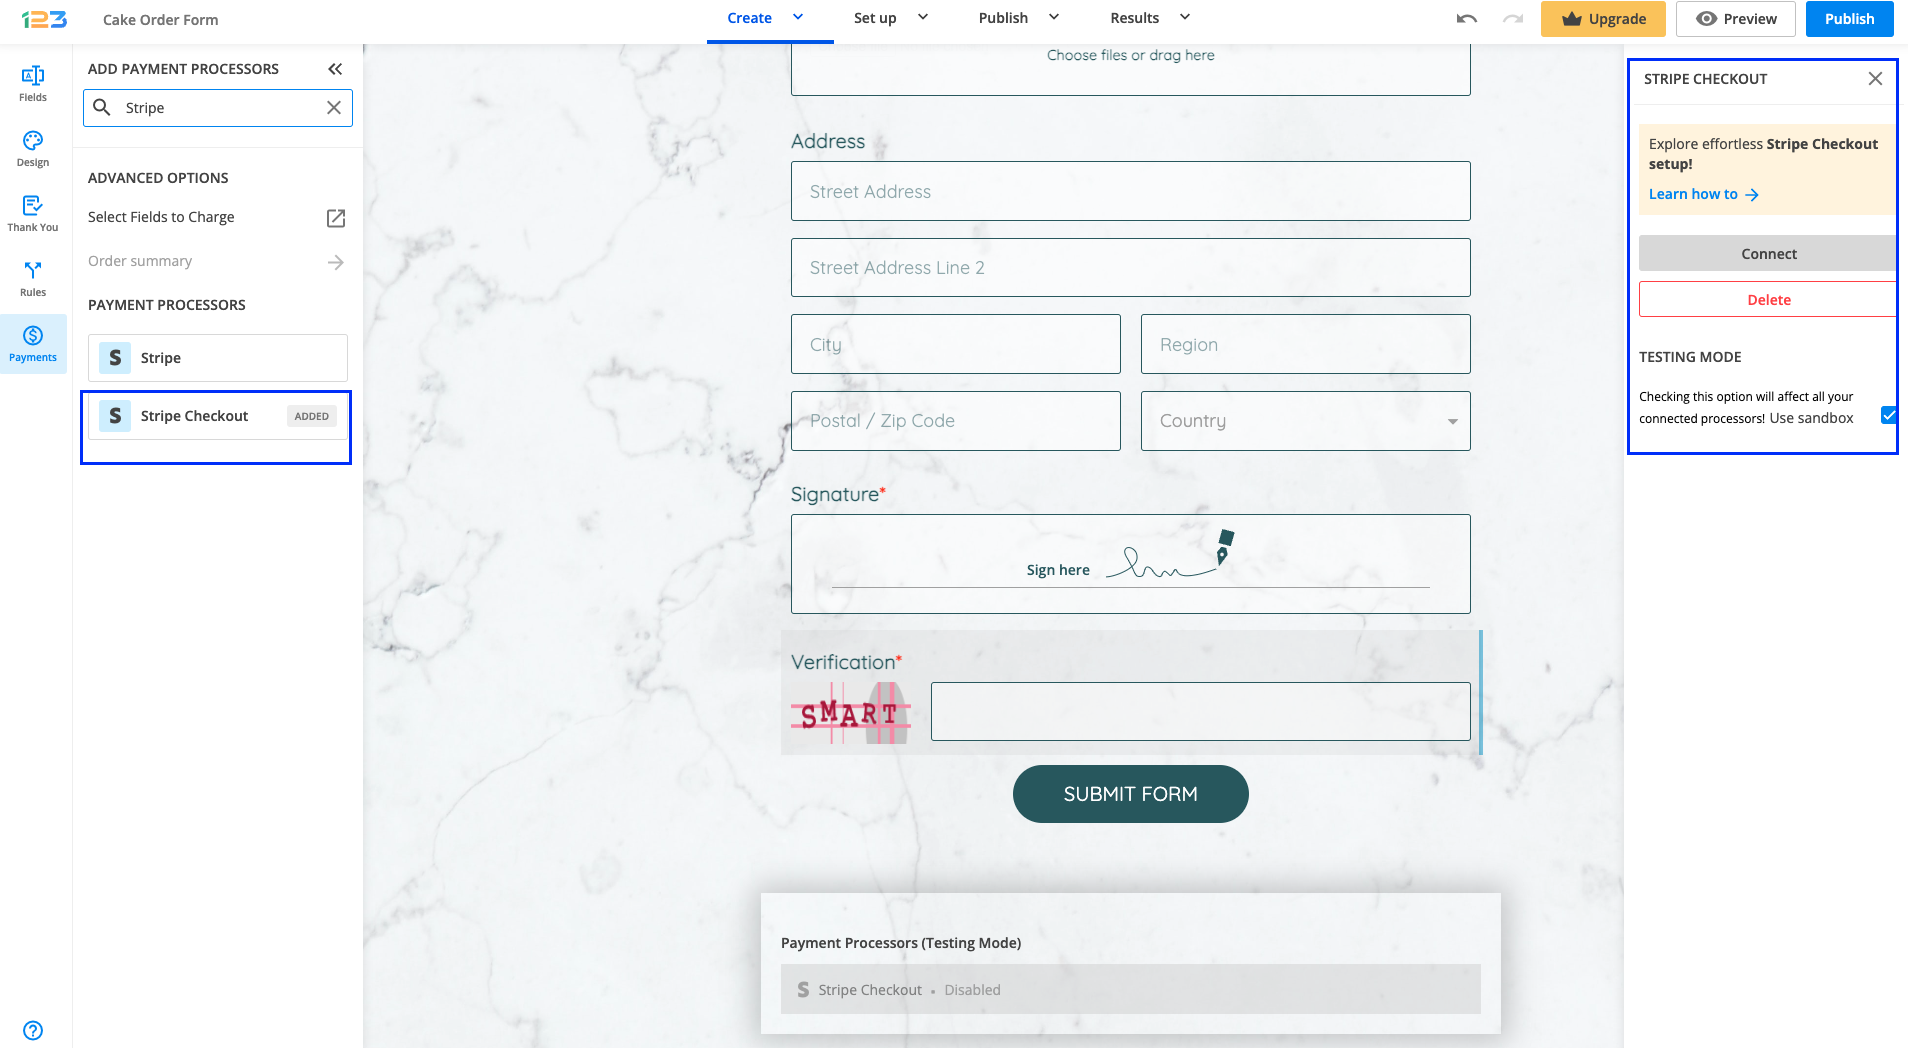
4. In order to set up the Stripe Checkout integration, you have to click on Connect and follow the instructions to enable the integration.
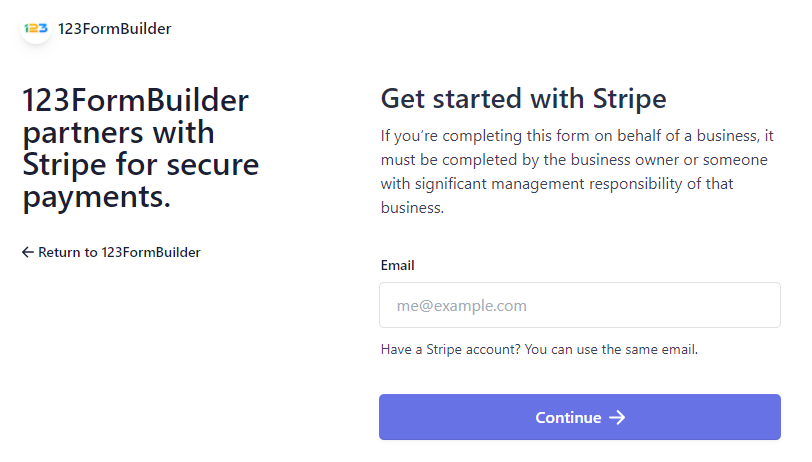
5. If you already have a Stripe account, enter your email address and follow the steps to connect your account. We also offer the possibility to create a new Stripe account.
5. After you have created the connection between 123FormBuilder and Stripe, click Enable. By enabling Stripe Checkout, you will notice a couple of changes on your form.
The Stripe Checkout payment processor on the left side panel has an Enabled tag on it so you can easily scan which payment processor is enabled.

Another change is that an Order summary will be displayed on your form. Here will appear all the products your respondents select on the form, together with the price per option, quantity, and the total price. If you want to customize the Order summary, all you have to do is click on it and the available settings appear on the right-side panel.

You’ll also notice a change related to the Submit button. Once your payment integration is enabled, the Submit button is changed to Continue to payment. Below it, we are displaying a disclaimer together with the Stripe logo so that respondents are aware they are proceeding to a payment.
Also, the accepted cards by the Stripe integration are visually displayed so that respondents know from the start what is the accepted payment method.
You can customize the action bar (everything that is related to the submit button, additional buttons, disclaimer, etc) by simply clicking on this area.

You can also make changes to the default settings related to showing the accepted cards and the icon & logo of the payment processor. By default, both of these settings are enabled, but you can disable them by clicking on the payment processor.

You can customize the integration by adding your store name, a short description, and even pasting a custom image URL with your company’s logo.
If you have a donation form, you can also tick the option Payment represents a donation.

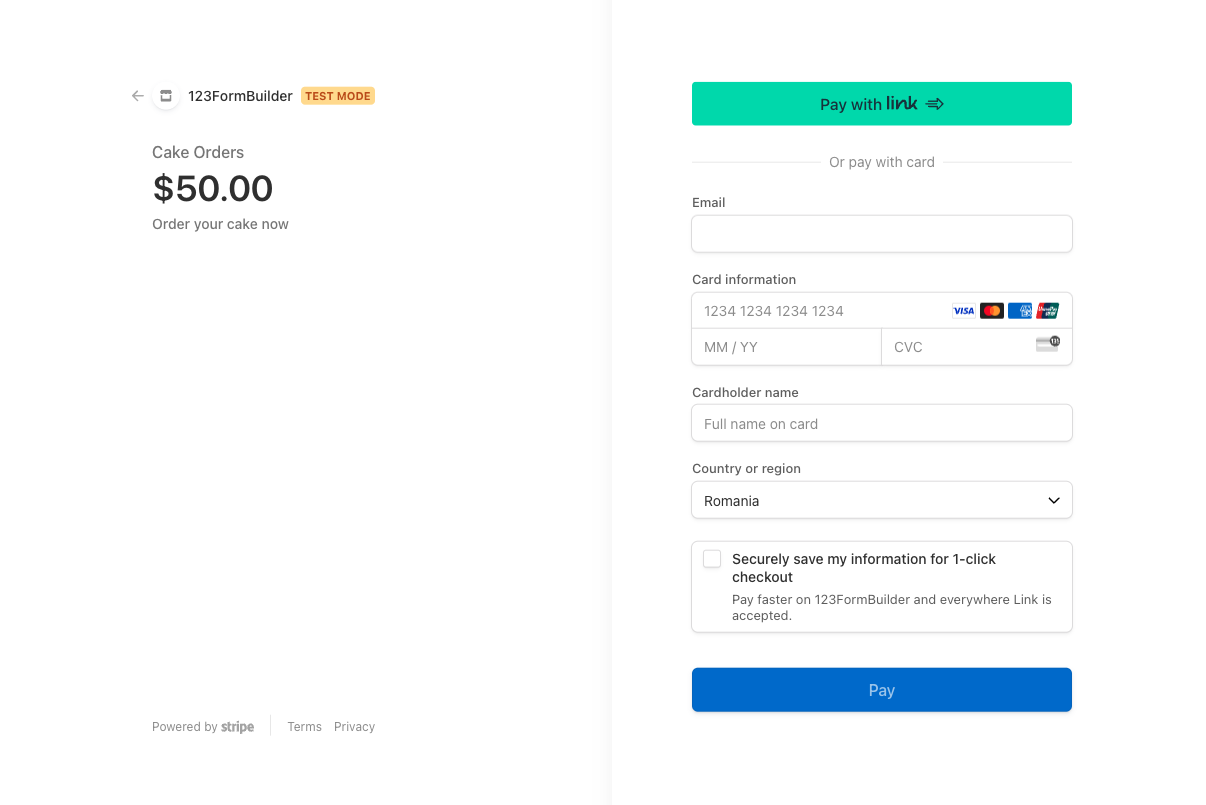
Once all the configuration is finished, the Continue to payment button will redirect your form users to Stripe’s Checkout pop-up window.
To the left side, respondents will see the total amount to pay, together with the Store name and the store short description you have provided in the 123FormBuilder app.
That’s it, your order form is complete!
Related articles
2 comments
Leave a Reply
Similar Articles
Frequently Asked Questions
Here is a list of the most frequently asked questions. For more FAQs, please browse through the FAQs page.
How do I say “Thank you for your payment!” and create a timer to redirect them back to the main website?
Hi there! You can customize your “Thank You” message by editing the Thank You page in your form settings. For detailed instructions, please take a look at our documentation on the Thank You page here: Thank You Page Documentation.